Advertisement
Quick Links
Advertisement

Related Manuals for VALMETAL PRO-FEED 2020


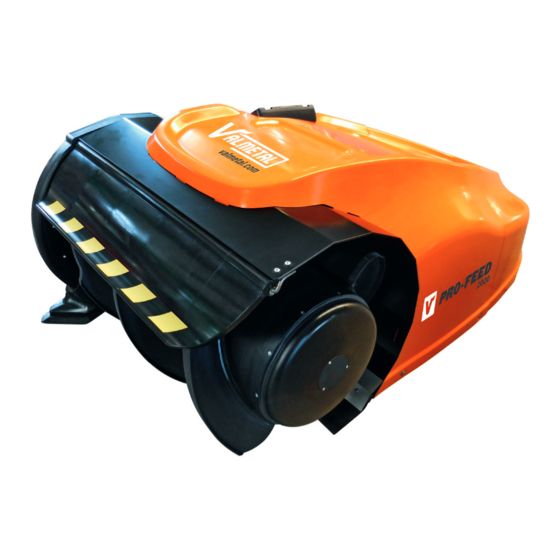
Summary of Contents for VALMETAL PRO-FEED 2020
- Page 1 EASY INSTALLATION GUIDE Step by step...
- Page 2 USEFULL FOR THE INSTALLATION: • Concrete drill with ¼ bit • Air compressor (to clean holes) • Metric measuring tape • Epoxy or silicone glue • Chalk line • 110V socket available for charger...
- Page 3 Step 1 : POSITIONING OF THE CHARGING STATION • Ask the owner the location that suits him best. A distance of two meters in front of the station is required to position the Pro-Feed; • Draw a line around the Pro-Feed, move it manually, and then position the charging station in the middle;...
- Page 4 Step 2 : INSTALLING THE MAGNETS It is really advisable to work in metric. This will simplify the task of correcting the position of the magnets in the Pro-Feed program. 2.1 : TRIANGLE OF REFERENCE Drill the holes in the concrete. The holes should all be at the same depth and not too deep, so that the magnet is almost level with the concrete;...
- Page 5 Step 2.2 : INSTALLING THE MAGNETS • Drill the holes; • Clean the holes; • Introduce the epoxy glue or sillicone in the holes; • Position the magnets by alternating the polarity to all the magnets; • Leave a distance of 2m between each magnet for a straight line and 1m when cornering;...
- Page 6 Step 3 : CALIBRATION OF THE MOTORS • A space of 3m x 3m (10’x10 ‘) is required for the calibration of the engines; • Trace parallel lines on both sides of the Pro-Feed; • Go to the menu at “Settings”. Then go to “Advanced Settings” (enter code 2201).
- Page 7 Step 4 : CONNECTION THE PRO-FEED TO THE WI-FI NETWORK • Go to “Settings”; • Note the number that starts with 10.0.88 (it is required by the company to connect remotely on the Pro-Feed); • Adjust the date and time; •...
- Page 8 Step 5 : CONNECTING THE CHARGING STATION • Take the wires from the charging station and insert them into the transformer box; • Connect the wires identified + and - in the connectors identified with the same polarity (see picture below)
- Page 9 Step 6 : TRAINING AT REFERENCE POINTS • Position the Pro-Feed manually on the loading station, the front of the Pro-Feed should raise; • Make sure the Pro-Feed is in charge mode (you may notice the amps mount on the charging indicator) If the Pro-Feed does not load, it is not correctly positioned.
- Page 10 Step 7 : CORRECTION OF THE MAGNETS POSITIONS * This step is very important * It is possible that the drawing of the magnets does not appear on the screen, as straight as the plot is in reality. Use the available correction tools (rotation, displacement, alignment, etc.) to correct the position of the reference points.
- Page 11 Step 8 : CREATING A PATH • In the main menu, press «Ride»; • Press «Track»; • Press «Path»; • Select your route; • Press «Change»; • Press the “+” button to start the data entry; • Insert the first point between ref # 1 and # 2 (see image below); •...
- Page 12 Step 9 : LET’S TRY IT ! • Try the road; • Check if the pushing distance is good; • Check all the way to make sure the ProFeed does not come in contact with an object, walls or any other things.
- Page 13 Step 10 : CREATING RIDES • Press «Ride»; • Press «Create Ride»; • Make sure to select the right track; • Enter the time; • Unselect the three fields (Must be started by user, Done for today, No more drives when an error occures). A good road should not have more than 1000m (3000’).
- Page 14 NOTES Name of the farm Commissioning date Serial number i.p. adresse CHECKLIST initial : Step # : Positioning the charging station Step 1: Step 2: Installing the magnets Step 2.1: Triangle of reference Step 2.2: Installing the magnets (path in the farm) Step 3: Calibration of the motors Connection the Pro-Feed to the wi-fi network...
- Page 15 230, boulevard Industriel Saint-Germain-de-Grantham (Québec) J0C 1K0 Tél. : 1 819 395-4282 Téléc. : 1 819 395-2030 Courriel : info@valmetal.com...
Need help?
Do you have a question about the PRO-FEED 2020 and is the answer not in the manual?
Questions and answers