Advertisement
Quick Links
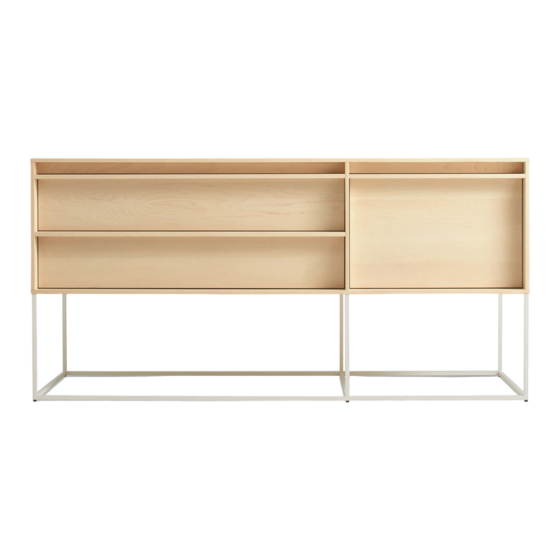
Rule Collection
DESI GNED IN 20 16
AS SEM BLY N OT ES | R E V 00
Y O U F O L L O W ?
Hot for geometry. Giddy for grids. The Rule collection serves up
well considered planes and angles that are ready to slay clutter
and get your room in formation.
N E E D A H A N D ?
Contact us at service@bludot.com or
844.425.8368 for assistance.
Advertisement

Related Manuals for BluDot Rule Chiffonier


Summary of Contents for BluDot Rule Chiffonier
- Page 1 AS SEM BLY N OT ES | R E V 00 Y O U F O L L O W ? N E E D A H A N D ? Contact us at service@bludot.com or Hot for geometry. Giddy for grids. The Rule collection serves up 844.425.8368 for assistance.
-
Page 2: Parts & Hardware
Parts & Hardware 8041 Anti-tip Bracket 8042 Anti-tip Strap Pt. 8041 Pt. 8042 Pt. 1217 Pt. 1218 Case 1 | 8 4 4 . 4 2 5 . 8 3 6 8 R U L E C O L L E C T I O N... - Page 3 Step 01 AT TA C H A N T I -T I P B R A C K E T T O T H E W A L L . Install anti-tip bracket to wall stud 1-inch below case top panel height. 1”...
- Page 4 Step 02 I N S TA L L A N T I -T I P B R A C K E T T O C A S E . Bracket must be installed to top panel of case. In order to prevent damage, it is recommended that 3/32”...
- Page 5 Step 03 S E C U R E T H E C A S E . Install and tighten the strap prior to using the product. 8042 Anti-tip Strap PT. 80 4 2 x 1 A S S E M B L Y N O T E S S E R V I C E @ B L U D O T .
-
Page 6: Additional Information
Additional Information TO R E M OVE TH E SL I DI NG SH EL F Pull lever up on the right side and push down on the left side of the shelf slide. With levers engaged pull shelf out. TO R E IN STA LL T H E S LI DIN G SHE LF To install the sliding shelf extend drawer slides out from case, align with shelf slides as shown, and slide shelf in. - Page 7 Additional Information TO R E M OVE D RAW ERS Extend the drawer completely. Squeeze both locks on the underside of the drawer while pulling the drawer out. TO R E IN STA LL T H E D RAWE R Pull both slides forward.
- Page 8 Additional Information TO A DJUST LID STAYS Open door and locate lid stay mechanisms. To reduce tension , turn adjustment screws counterclockwise. To increase tension, turn adjustment screws clockwise TO A DJUST DR AW ER FAC E To adjust drawer face alignment pull the drawer out until the undermount release is visible. Then turn the adjustment wheels until the drawer face is properly aligned.
Need help?
Do you have a question about the Rule Chiffonier and is the answer not in the manual?
Questions and answers