Advertisement
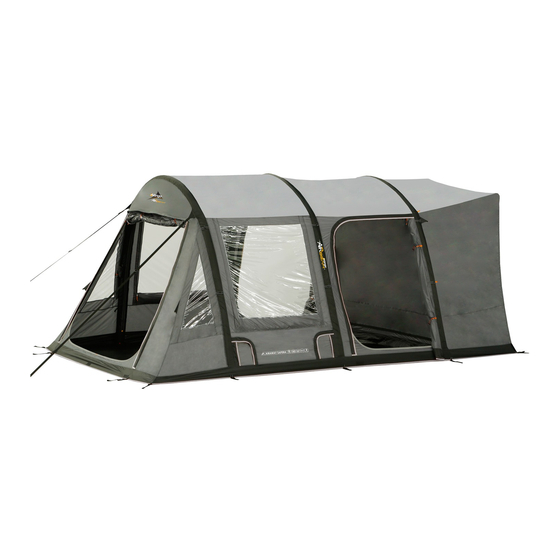
AirAway Sapera
Standard & Tall
ALL-IN-ONE PITCHING
• Park your vehicle in the best location on your pitch ensuring that there is at least 5m free space at the side
where you would like to pitch your AirAway.
• Unpack and position the AirAway in the required direction with the rear attachment section facing the vehicle
side.
• Attach the AirAway to your vehicle using one of the 4 available options:
• Kador - The AirAway comes fitted with a 6mm kador strip. This can be slid directly into a kador rail on the
vehicle but Vango recommends using figure eight strips and an extra kador adaptor (sold seperately) to
ensure the kador fits snuggly and to provide flexibility when driving the vehicle away whilst the AirAway
is pitched.
• Webbing Straps - Remove the supplied webbing straps from the peg bag and clip into the corresponding
buckles on the rear of the AirAway roof. Pass the straps over the roof of the vehicle and peg into the
ground. Adjust the straps to fully tension the roof.
• Velcro Tabs - Use the pre-attached velcro tabs to connect to the roof bars of your vehicle.
• Pole & Clamp - Slide the pole into the sleeve at the top of the rear section of the AirAway. Place the pole
and fabric into the gutter on the vehicle and use the clamps to secure at both ends and in the centre.
• Peg out the rear corners of the attachment section of the AirAway at the base of the vehicle.
• Pull the front pegging points of the AirAway away from the vehicle until the base of the flysheet is straight.
• Peg out the four corners of the main body of the AirAway.
• Locate inflating points at the base of each beam, these can be accessed through the zipped entry points.
• For the first use of the AirAway, fully unscrew all valves from the AirBeams and screw back in carefully
before inflating - this ensures that the valve is not cross-threaded.
• Remove smaller screw-cap on valve and insert appropriate pump nozzle of the Vango AirBeam
supplied.
• Inflate all AirBeams to
7psi
pressure if more than 7.5 - 8psi is put into the AirBeam.
• Final tube pressure MUST NOT exceed 8psi.
• Start with the rear AirBeam and guide into an upright position while it is inflating.
• Repeat for middle and front AirBeam.
• Remove pump and tighten valve screw-cap. Ensure both parts of valve are well fitted so it is air tight but do not over
tighten as this may make deflation difficult.
• Peg out the remaining pegging points and tighten the webbing adjusters to ensure that the AirAway is evenly
tensioned all round.
• Peg out ALL guy lines, ensuring that they are in line with the AirBeam or seam they are attached to.
• Re-position and adjust tensioning where necessary.
. The Vango AirBeam
pump is supplied with a pressure release valve which will release
®
DO NOT OVER INFLATE
®
pump
®
Advertisement
Table of Contents

Related Manuals for Vango AIRBEAM AirAway Sapera Standard


Summary of Contents for Vango AIRBEAM AirAway Sapera Standard
- Page 1 • Kador - The AirAway comes fitted with a 6mm kador strip. This can be slid directly into a kador rail on the vehicle but Vango recommends using figure eight strips and an extra kador adaptor (sold seperately) to ensure the kador fits snuggly and to provide flexibility when driving the vehicle away whilst the AirAway is pitched.
- Page 2 STORM STRAPS • When driving the vehicle away but leaving the AirAway up, Vango recommends using the supplied storm straps. • The straps should be attached to the corresponding clips on the fillets attached to the rear AirBeam of the AirAway and secured using the pegs supplied.
Need help?
Do you have a question about the AIRBEAM AirAway Sapera Standard and is the answer not in the manual?
Questions and answers