Advertisement
aspenhome
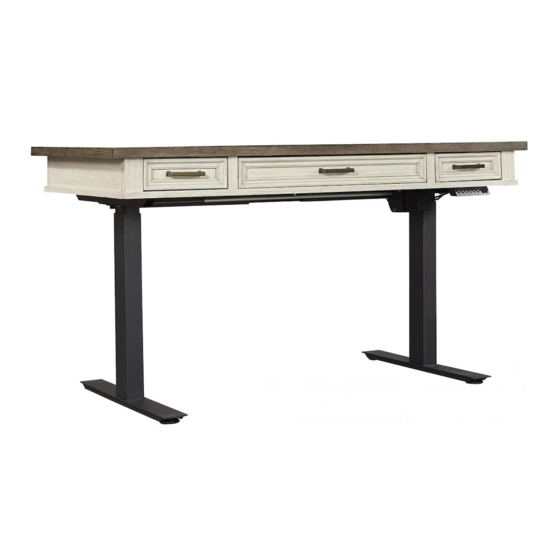
ITEM NO: I248-360T-1
Thank you for purchasing this quality product. Be sure to check all packing material carefully for
small parts that may come loose inside the carton during shipment.
HARDWARE LIST:
Description
No.
Bolt Ø5/16" x 3/4"
A
Lock Washer Ø5/16"
B
Flat Washer Ø5/16" x 3/4"
C
Allen Wrench 4mm
D
Plastic Wire Clip
E
F
Wood Screw #7 x 5/8"
FUNCTIONALITY INSTRUCTION
Lift Mechanism Handset
Lift Mechanism Power Box
2 AC outlet / 2 USB
power pack
Flip down keyboard tray
Lift mechanism
(IUAB-301-1)
BEFORE USING THIS PRODUCT PLEASE READ, UNDERSTAND, AND FOLLOW THESE INSTRUCTIONS.
Save these instructions for future reference.
Page 1/2
R
60" Adj. Lift Desk Top (for IUAB-301-1)
Quantity
Sketch
8 PCS
8 PCS
8 PCS
1 PC
6 PCS
10 PCS
FOR INDOOR USE ONLY
MADE IN VIETNAM
ASSEMBLY INSTRUCTIONS
TOOLS REQUIRED (NOT PROVIDED)
PHILLIPS SCREWDRIVER
Assembly instructions for the Lift
Mechanism are in the Lift
Mechanism package. Follow the
below instructions when attaching
desk top to the Lift Mechanism.
Lift Mechanism
COMPONENTS LIST:
Description
No.
1
Desk Top
Quantity
Sketch
1 Set
Metal plate
Hook latch
Press here to release
Leveler on Base
Adjust the leveler
when necessary
01-19-2021
Advertisement
Table of Contents

Related Manuals for aspenhome I248-360T-1


Summary of Contents for aspenhome I248-360T-1
- Page 1 ASSEMBLY INSTRUCTIONS ITEM NO: I248-360T-1 60" Adj. Lift Desk Top (for IUAB-301-1) Thank you for purchasing this quality product. Be sure to check all packing material carefully for small parts that may come loose inside the carton during shipment.
- Page 2 ASSEMBLY INSTRUCTIONS ITEM NO: I248-360T-1 60" Adj. Lift Desk Top (for IUAB-301-1) STEP 1: Put the desk top face down on a soft surface. STEP 2: Place Lift Mechanism IUAB-301-1 on desk top and adjust to align with threaded inserts. Follow Step 3 from the IUAB-301-1 assembly instructions for adjusting width of Lift Mechanism.
Need help?
Do you have a question about the I248-360T-1 and is the answer not in the manual?
Questions and answers