Advertisement
1) Locate post-motor filter on back of vacuum. Press down on filter door tab to
remove door.
2) Clear away any debris build up on and around filter. Reattach filter door.
3) Remove dirt tank by pressing release button and lifting tank away from machine.
Updated by A. Lentz 10/8/2021 P:\Customer Service Dept\Knowledge Base\Troubleshooting\TROUBLESHOOTING GUIDES NEW
MODELS\VACUUM\Troubleshooting 1994F\1994F Blowing Dust.docx
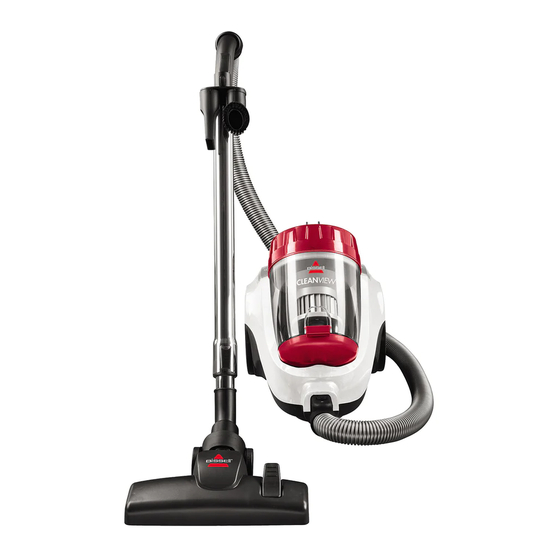
Cleanview Passive
1994F
Blowing Dust
Advertisement
Table of Contents

Subscribe to Our Youtube Channel
Related Manuals for Bissell Cleanview Passive


Summary of Contents for Bissell Cleanview Passive
- Page 1 Cleanview Passive 1994F Blowing Dust 1) Locate post-motor filter on back of vacuum. Press down on filter door tab to remove door. 2) Clear away any debris build up on and around filter. Reattach filter door. 3) Remove dirt tank by pressing release button and lifting tank away from machine.
- Page 2 4) Over a trash bin, press empty latch on back of tank to empty tank. Snap shut bottom lid. 5) Separate top handle from bottom tank by grasping carry handle and base of dirt tank. Twist the carry handle counterclockwise. 6) Grasp filter handle and lift it out of dirt tank.
- Page 3 9) To reassemble, align tabs on filter piece with their mating slots on the inner cyclone and twist clockwise. 10) Do the same to connect inner and outer cyclone pieces. Reinsert pieces into dirt tank. Filter should sit level. NOTE: filter will not sit level if tabs on front are not aligned Updated by A.
- Page 4 11) Reattach top lid to dirt tank by aligning clear notch with slot on top lid. Clear notch should point towards unlocked. Twist clockwise to lock. 12) Reattach dirt tank to canister and turn on. If still blowing dust, remove hose to check for clog.
- Page 5 16) Also, inspect hose section by section for holes or cracks. If a hole or crack is found, BISSELL Consumer Care: please refer to product changeover guide. External Support: Contact BISSELL 17) Reattach pieces by inserting them into their corresponding parts.
Need help?
Do you have a question about the Cleanview Passive and is the answer not in the manual?
Questions and answers