
Related Manuals for AeroGarden AeroGarden 1-Season


Summary of Contents for AeroGarden AeroGarden 1-Season
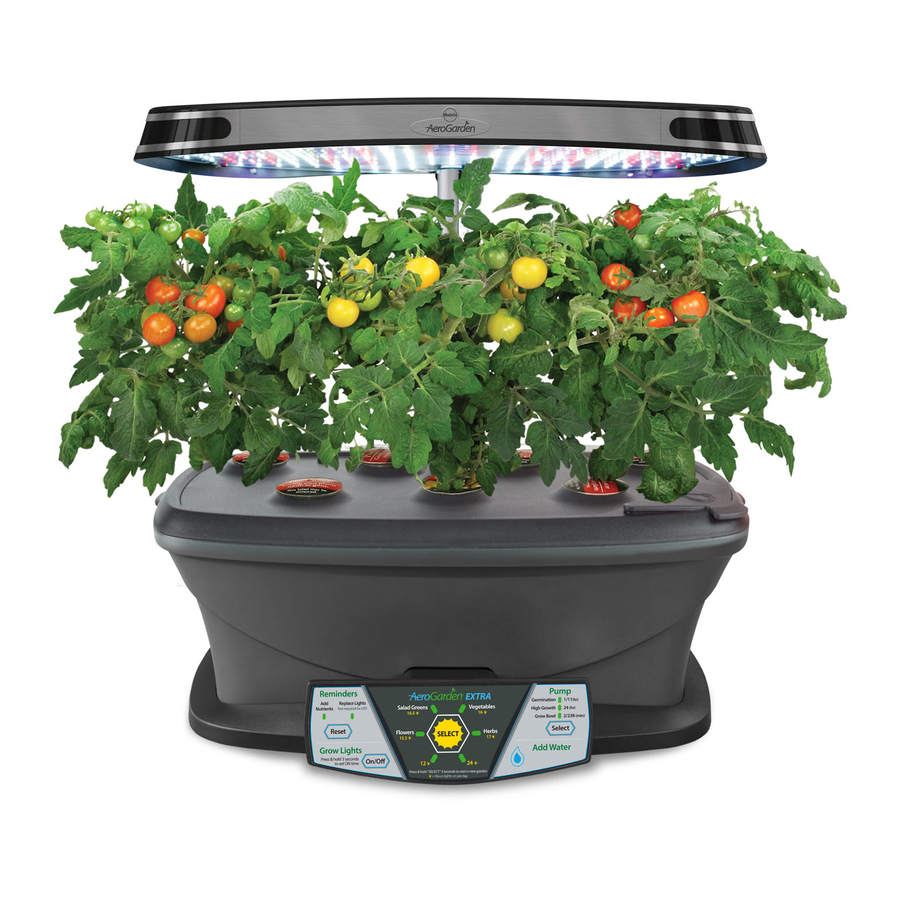
- Page 1 *Seeds not included Plant & Grow Your Own Seeds MASTER GARDENER GUIDE Quick, Plug & Grow Planting with Your Own Seeds...
-
Page 2: Table Of Contents
C O N T Introduction Introduction . . . . . . . . . . . . . . . . . . . . . . . . . . . . . . . . . . . .3 Additional Supplies Needed . - Page 3 Troubleshooting . . . . . . . . . . . . . . . . . . . . . . . . . . . . . . . 2 8 Images of the AeroGarden Classic and AeroGarden 3 are shown throughout this guide, but instructions apply to all AeroGarden models.
-
Page 4: Introduction
. We recommend that you read the entire Guide before starting your Garden. NOTE: Planting an AeroGarden with your own seeds or cut- tings is a bit of an experiment. We hope your efforts will be successful and you enjoy the discovery process. To get started, refer to “Designing Your Garden”... -
Page 5: Additional Supplies Needed
AeroGarden, you will need to reference your Quick Start Guide. If you have planted a garden in your AeroGarden prior to this one, please refer to “Replanting Your AeroGarden” in the Quick Start Guide before you proceed . -
Page 6: Designing Your Garden
. lant Type While we encourage you to try growing a variety of plant types in your AeroGarden, there are a few that will not do well in an aeroponic system . Subterranean plants, such as carrots, beets, potatoes or peanuts should not be planted in an AeroGarden . -
Page 7: Nutrients
Garden . For example, dwarf tomatoes and basil are a great flavor combination, but would be hard to grow in the same AeroGarden . Basil will be nearing the end of its growth cycle just as dwarf tomatoes are starting to... -
Page 8: Plant Habit & Layout
lant Habit & Layout Some plants are bushy, others feathery, some grow straight, others branch out . As you plant your Garden, think about shape and growth habits of plants . You may want to put a feathery leafed plant in front where it can be seen and use the back row for plants that grow straight or bushy . -
Page 9: Building A Grow Pod
uIldIng a umber of Seeds It is important to plant extra seeds to ensure success . For larger seeds and fruiting plants, sow only a few extra seeds . Increase number of seeds as seed size decreases and for plants that grow in bunches, such as chives . Typically, 6 seeds per Grow Pod works well . -
Page 10: Place Seeds & Grow Sponge
lace Seeds & Grow Sponge • Place seeds into Dibble (hole located on end of Grow Sponge) . • Insert Grow Sponge into Split-Apart Basket . • Make sure Grow Sponge base rests in bottom of Split-Apart Basket . Building a Grow Pod... -
Page 11: Attach Pod Labels
ttach Pod Labels The Pod Label reminds you of planting date and what you planted, and also promotes germination and inhibits algae growth . Be sure to fill out and apply Pod Labels . IMPORTANT! If you are planting SEEDS in your Grow Pods… Attach Pod Labels AFTER Grow Pods are assembled and seeds are in place . -
Page 12: Place Stem Cuttings
lace Stem Cuttings Using stem cuttings is a common method for propagating many plant varieties, but it does require a bit of care on your part . A number of vegetables and shrubs root very easily, but stem cuttings from tree species can be difficult to root . - Page 13 • Moisten Grow Sponge and insert cutting 1/3 to 1/2 of its length into Grow Sponge . • Carefully push Grow Sponge (with cutting in place) through Pod Label and into Split-Apart Basket. • Insert assembled Grow Pod into Grow Surface Opening (see page 13 for instructions) .
-
Page 14: Planting Your Garden
Planting a custom Grow Pod is the same as planting a Seed Pod from any AeroGarden Seed Kit. We recom- mend recording the planting date and number of seeds planted in a notebook or on a model-specific Gardener’s Log (located at www .aerogardensupport . c om) . This will be a great reference when planting future Gardens . -
Page 15: Feeding Your Garden
The amount of nutrients in your Garden increases with tablet size . Each tablet also contains ingredients that will keep the water in your AeroGarden at a pH level that is ideal for aeroponically grown plants . hoose a Nutrient Regime Most gardens will need a combination of small and large nutrient tablets . - Page 16 L (1) = 1 “Large” Nutrient Tablet – 3-Pod AeroGarden models only S (2) = 2 “Small” Nutrient Tablets – 6- and 7-Pod AeroGarden models only L (2) = 2 “Large” Nutrient Tablets – 6- and 7-Pod AeroGarden models only...
-
Page 17: Add Nutrient
NOTE: If browning is severe, you may need to empty all water from Bowl, put in fresh water, and add nutrient tablet(s). If you do this, remember to reset Nutrient Timer . See “Replanting Your AeroGarden” in Quick Start Guide for reset instructions. Undernourished Undernourished plants become yellow . -
Page 18: Remove Domes
endIng A little bit of care for your Garden will ensure rapid growth and healthy plants. This section provides some general guidelines to follow as your Garden grows . emove Domes • Shortly after planting Seeds in your garden (4 days to 2 weeks), tiny plants will appear through the hole in each Grow Pod Label . -
Page 19: Thin Plants
Raise Lamp Hood (Light[s]) As your Garden grows, it’s important to keep water in the Bowl of your AeroGarden, and 1-2” (2.5-5cm) of space between the top of plants and the light(s). For instructions, see “Add Water Using a Spouted Con- tainer”... -
Page 20: Pollinate Plants
ollinate Plants The table below shows some common plant types and recommended methods for hand pollination. For plants not listed below, you may need to do some additional pollination research – the internet and seed suppliers are good sources of information . Pollination Methods for Common Garden Plants Pollination Method Self-pollinating... -
Page 21: Prune Plants
Cut main stem just above 5 branch . Fruiting Plants with Upright Main Stem (Ongoing) Fruiting plants grown in an AeroGarden require ongoing pruning to control plant height and spreading . Controlling Height Use scissors to cut branches that are growing into light(s) . - Page 22 rune Plants Fruiting Plants (Ongoing) Controlling Spreading Use scissors to cut branches that hang outside the edge of Lamp Hood . Make cut so branch is no more than 3” beyond outer edge of Lamp Hood. Herbs with Upright Main Stem pruning of plants such as basil, will encourage plants to branch out, rather than grow straight up .
- Page 23 All Non-Fruiting Plants flowers on a plant that is being grown for its leaves, not its fruit or flowers, remove them . Cut flowering stem just above a set of leaves, no more than 1/3 of the way down stem . This will ex- tend the life and produc- tivity of the plant .
-
Page 24: Keep Your Garden Healthy
Lamp Arm with a tie . Suggested Materials to Use The best way to support fruiting plants is with AeroGarden Soft•Ties – purchase at www . a erogardensupport . c om or from your retailer . Ribbon, at least 1/4” (0 . 6 cm), hook & loop tape, or old stockings will also work for securing your plants . - Page 25 HELPFUL HINT: The best way to figure out where to place tie is to gently push on main stem with your fingers, testing for strength and ability to support the plant. Typically, your tie will be no more than 2” above the base of plant.
- Page 26 Plants Support for Full-Size Fruiting Plants If you are growing full-size, fruiting plants using an AeroGarden Deluxe, PRO or a 7-Pod model outfitted with a Deluxe Upgrade Kit, we recommend using the AeroGrow Trellis System* to support your plants . Trellis Systems and additional Trellis Coils can be ordered at www .
-
Page 27: Harvesting Your Garden
If you grow culinary plants, it is important to continu- ally harvest to keep plants healthy and productive. Here are some general guidelines for harvesting plants grown in an AeroGarden . • Do not remove more than a third of leaves or stems from any one plant at a time . -
Page 28: Bunching Herbs
arvest Your Garden Bunching Herbs (such as chives and parsley) • Harvest herbs that grow in a bunch by cutting an entire stem – just a stem, not the entire plant! • Select the oldest stems, found near outer edges of plant . - Page 29 Quick Start Guide to see how light timer is affected when your model is unplugged. To move your AeroGarden, be sure to pick it up by hold- ing the Lamp Arm with one hand and sliding your other hand under the bottom of the Base .
- Page 30 . See page 8 for more details on how many seeds to plant in each Grow Pod . What if one of the plants in my AeroGarden dies? Occasionally you might find that one of the plants in your custom Garden does not thrive .
-
Page 31: Appendix
Bowl . Choose a material that will tolerate moisture such as aluminum foil or a plastic milk jug lid . What if one of the plants in my AeroGarden is much taller than the others? Despite all your planning, you may find a plant in your garden that is growing faster than the others . - Page 32 AeroGrow International, Inc . Quick Start Guides available at: www.aerogardensupport.com 507314-0000 AA 8/28/08 U .S . Patents Pending © 2007-2008 AeroGrow International, Inc .
Need help?
Do you have a question about the AeroGarden 1-Season and is the answer not in the manual?
Questions and answers