
Related Manuals for Graphic Whizard PT MCP


Summary of Contents for Graphic Whizard PT MCP
- Page 1 PT MCP Manual Creaser/Perforator Operator’s Manual 755 Griffith Court, Burlington, Ontario, Canada L7L 5R9 Tel: +(905) 633-7663 Fax: +(905) 637-4419 www.graphicwhizard.com...
-
Page 2: Table Of Contents
9/29/2020 Table of Contents Introduction ..............................2 Safety ................................3 Specifications ..............................4 Features ................................ 5 Unpacking & Set Up ............................6 Operation ..............................7 Changing Dies ..............................8 Maintenance ..............................9 Troubleshooting ............................9 Paper Sticking to Perf Blade ........................9... -
Page 3: Introduction
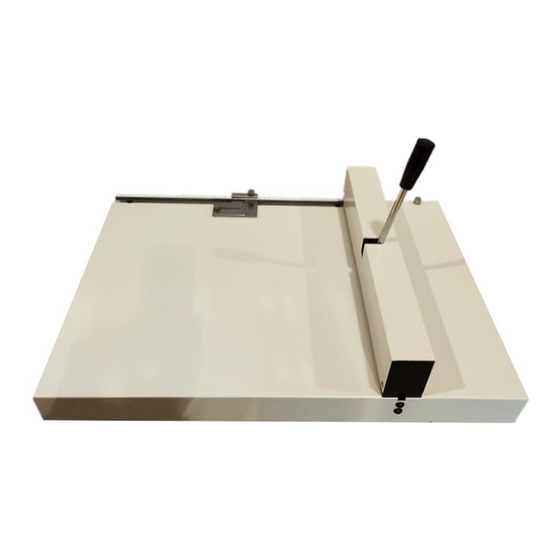
Shipped with a crease and a perf die, the PT MCP is an economical solution for short run creasing and perfing needs. It features three different die configurations: single line crease, double line crease and perforation for operator convenience. -
Page 4: Safety
Do not place any liquid receptacles on the surface of machine. • Do not put other pieces on loading table. Graphic Whizard Inc. cannot anticipate every possible situation that might involve a potential hazard. The instructions in this manual and the warning labels on this machine are not all inclusive. -
Page 5: Specifications
Specifications Electrical Speed 750 sheets per hour (manual feed)** Maximum Sheet Size 18” (45.7cm) wide x unlimited length 2” wide x 2” long Minimum Sheet Size (5cm x 5cm) Stock Weight 50-450 gsm Tabletop/Floor Tabletop Feeder Manual Max Number of Creasing Positions Unlimited Creasing Depth 0.5mm... -
Page 6: Features
Auto Sheet Measure Controls Warranty 1 Year Parts ** Machine performance will vary based on stock weight, type, and specifications of the job being performed. Features • Channel crease die system to eliminate cracking • Easy to use handle operation •... -
Page 7: Unpacking & Set Up
Unpacking & Set Up Remove the packaging and dispose of the cardboard material in an appropriate recycling container. Unwrap the metal handle, blade and anvil all included in the shipping box. Attach the operating handle to the top of the machine. Gauge Inner page lock bolts Inner page position block... -
Page 8: Operation
Operation Manually insert a single sheet of paper under the crease unit. The machine has a sliding stop. The position of these can be determined by using either the millimeter or inch ruler at the side of the machine. Press handle down to operate the crease or perf tool. -
Page 9: Changing Dies
Changing Dies Pull out the crease/perf dies using the removal tool provided. It is important, for best results and to avoid damaging the blades, make sure that the anvil for perforating or creasing matches the appropriate perforating/crease bar position. i.e. DO NOT use the perforating blade against the creasing rule side of the anvil or vice versa. -
Page 10: Maintenance
Maintenance • Cover the machine when not in use to avoid dust from collecting on surface and dies. • Replace the crease/perf bar and the composite bar if worn or damaged. Troubleshooting Paper Sticking to Perf Blade • Remove the top cover. This will allow you to see the mechanism and ensure the perf blade is inserted correctly.
Need help?
Do you have a question about the PT MCP and is the answer not in the manual?
Questions and answers