
Subscribe to Our Youtube Channel
Related Manuals for Graphic Whizard PT 330 Mini


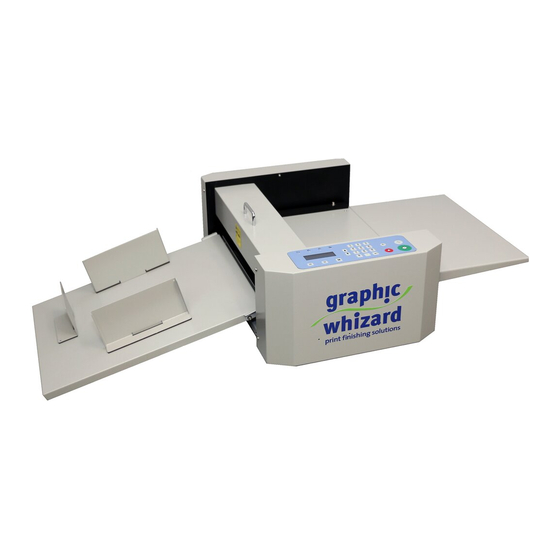
Summary of Contents for Graphic Whizard PT 330 Mini
- Page 1 PT 330 Mini Hand Feed Creaser Operator Manual 755 Griffith Court, Burlington, Ontario, Canada L7L 5R9 Tel: +(905) 633-7663 Fax: +(905) 637-4419 Toll Free: 1-800-265-3376 www.graphicwhizard.com...
-
Page 2: Table Of Contents
10/14/2020 Table of Contents Introduction ................................2 Specifications ................................. 2 Safety Precautions ..............................3 Main Parts and Assemblies ............................ 4 Outfeed Tray ..............................5 Outfeed Assembly ............................. 5 Additional Parts ..............................6 Display and Keypad ..............................7 Operation ................................8 Main Screen ............................... -
Page 3: Introduction
Keypad programming for simple operation makes for an efficient option to move away from rotary scoring and into a true die crease with minimal effort. The PT 330 Mini can be placed on an optional stand or used as a tabletop machine with removable trays to minimize the footprint. -
Page 4: Safety Precautions
Safety Precautions Please read this entire manual before attempting to operate the PT 330 Mini creaser. • DO NOT operate the machine when any covers are removed, or safety switches disabled. The machine should be serviced only by qualified personnel. Obey all safety instructions and warning labels. -
Page 5: Main Parts And Assemblies
Main Parts and Assemblies Part Description Outfeed Tray Guides Are set to control finished projects that exit the machine. Outfeed Tray An area that contains the finished project. Top Cover Protects outfeed assembly. Keypad Input and display creasing data. -
Page 6: Outfeed Tray
Increases the area for larger stocks to be used. Outfeed Tray The outfeed tray latches onto screw shafts mounted on the PT 330 Mini chassis. Outfeed Assembly The outfeed assembly is equipped with a roller that helps move stock through the machine and out onto... -
Page 7: Additional Parts
Additional Parts To hold the stock in place, the PT 330 Mini is equipped with two different feed guides. The guide indicated with the arrow should be placed tight against the paper and is held in position by a magnetic strip on the bottom of the guide. -
Page 8: Display And Keypad
The outfeed tray guides have a magnetic base and can be placed anywhere on the outfeed tray. These guides are used to trap finish projects and pile them up to increase productivity. Display and Keypad Name Description Stop Button Stop the machine. -
Page 9: Operation
Upon initial power on, “Welcome” will appear on the display. The crease motor will cycle once then the creaser will display the “Ready” screen. The PT 330 Mini is now ready for use. The PT 330 Mini creaser has five modes. To scroll through the mode options, press M. In each MODE, there may be more than one... -
Page 10: Main Screen
If only one crease was programmed, 2) would display 0.0. The PT 330 Mini creaser can be programmed for a total of 6 auto creases. From the main screen, press Down ↓ to see the rest of the programmed creases. -
Page 11: Recall Job
M three times to get to the “Save Job” screen. Enter the number under which you would like to save the job and press Enter. The PT 330 Mini creaser can only save jobs as a number and not as a name. -
Page 12: Skew Adjustment
The PT 330 Mini is an entry-level creasing machine. From time to time, adjustments and troubleshooting may be required. See below for a list of common adjustments that will help ensure the best crease outcome. Skew Adjustment Skew adjustment is maintained through the placement of the feed table side guides. The non-operator side guide is secured with screws but can be adjusted. -
Page 13: Crease Depth Adjustment
6. When the pressure is even across the sheet, tighten the set screws with a 1.5mm hex tool. Maintenance Proper maintenance will prolong the life and functionality of the PT 330 Mini. These maintenance procedures are recommended with the assumption that the customer is completing daily and weekly cleaning.
Need help?
Do you have a question about the PT 330 Mini and is the answer not in the manual?
Questions and answers