
Subscribe to Our Youtube Channel
Related Manuals for E-Ready Furniture bookcase


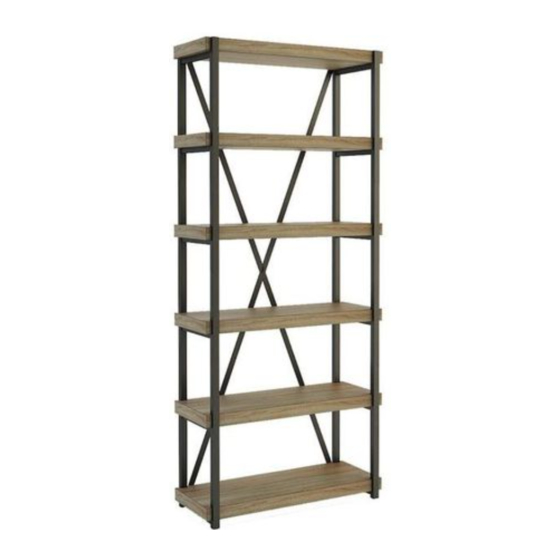
Summary of Contents for E-Ready Furniture bookcase
- Page 1 Assembly Instructions bookcase Questions, problems, missing parts? Before returning to the store call Customer Service Time available: 8:00 am - 5:00 pm PST 1-888-552-0592 Hotline: Thank you for choosing E-Ready Furniture. 1 of 11...
-
Page 2: Part List
Assembly Instructions Getting to know your product Part List: Description Quantity Part shelf Side frame Back metal 2 of 11... -
Page 3: Hardware List
Assembly Instructions Two persons are recommended for assembly. Unpack the inventory parts on a soft and smooth surface. Do not use power tools. Do not overtighten any connectors. A Philips head screwdriver is required (not included) for the assembly. Se recomienda que dos personas participen en el armado. Desempaque las partes de inventario sobre una superficie suave y plana. - Page 4 Assembly Instructions Instrucciones de Armado Instructions d'ssemblage Step 1 4 of 11...
- Page 5 Assembly Instructions Instrucciones de Armado Instructions d'ssemblage Step 2 5 of 11...
- Page 6 Assembly Instructions Instrucciones de Armado Instructions d'ssemblage Step 3 6 of 11...
- Page 7 Assembly Instructions Instrucciones de Armado Instructions d'ssemblage Step 4 7 of 11...
- Page 8 Assembly Instructions Instrucciones de Armado Instructions d'ssemblage Step 5 8 of 11...
- Page 9 Assembly Instructions Instrucciones de Armado Instructions d'ssemblage Step 6 9 of 11...
- Page 10 Assembly Instructions Instrucciones de Armado Instructions d'ssemblage Step 7 10 of 11...
- Page 11 Assembly Instructions Wall Pared Step 8 Mark a desired position on the wall and drill a 17/64" hole, tap the Wall Anchor (H10) into the wall with care. Step 9 Connect the Wall Strap (H5) to the Wall Anchor (H4) on the wall with a Wall Screw (H6) by turning the Philips Head screwdriver clockwise until tight.
Need help?
Do you have a question about the bookcase and is the answer not in the manual?
Questions and answers