Advertisement
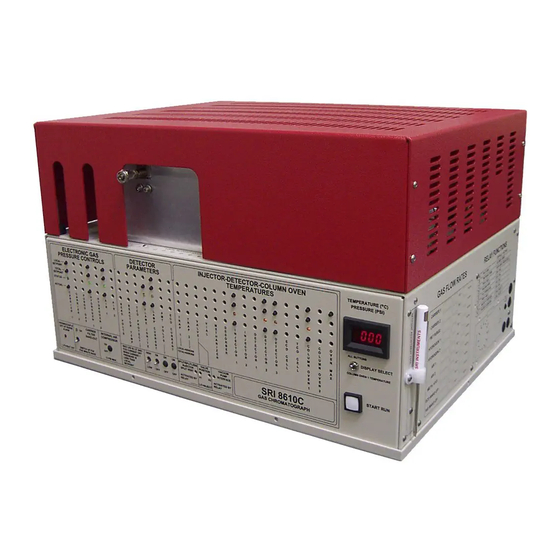
Capacitor installation on 8610C and 301C GC
Remove the 6 Phillips head
screws from around the bottom of
the GC.
Remove the two Phillips head
screws and rubber bumpers from
the top front edge of the GC.
Remove the 8 hex head ( 5/64th )
screws from around the front
panel.
SRI Tech Support 310-214-5092
Page 1
www.srigc.com
Advertisement
Table of Contents

Related Manuals for Sri 8610C


Summary of Contents for Sri 8610C
- Page 1 Capacitor installation on 8610C and 301C GC Remove the 6 Phillips head screws from around the bottom of the GC. Remove the two Phillips head screws and rubber bumpers from the top front edge of the GC. Remove the 8 hex head ( 5/64th ) screws from around the front panel.
- Page 2 Capacitor installation on 8610C and 301C GC Lift the front panel away to provide better access to the amplifier board. You do NOT need to dis- connect any wires. Remove the two brass thumb- screws which hold the metal shield on the amp board.
- Page 3 Capacitor installation on 8610C and 301C GC Remove the BNC connectors. Use a 9/16” wrench to loosen and remove the nuts holding the BNC jacks. It’s a tight fit, but now you can wig- gle the amp board and A/D board out of the GC.
- Page 4 Capacitor installation on 8610C and 301C GC Locate the holes into which the ca- pacitors will be soldered. The lo- cations are labeled C1, C2 and C1 is the high gain position and should have a 100 picofarad poly- styrene capacitor C2 is the low gain and needs a .01uf cap.
- Page 5 Capacitor installation on 8610C and 301C GC If the legs of the capacitors pro- trude too far they will contact the metal shield on the back side of the amp board. If this happens, just remove the shield and trim the legs flush with the surface of the board.
Need help?
Do you have a question about the 8610C and is the answer not in the manual?
Questions and answers