Advertisement
BEFORE YOU BEGIN
BEFORE YOU BEGIN
·
Please read these instructions carefully to familiarize
yourself with the required tools, materials, and installation
sequences. Follow the sections that pertain to your
particular installation . This will help you avoid costly
mistakes. In addition to proper installation, read all
operating and safety instructions.
·
All information in these instructions is based upon the
latest product information available at the time of
publication. Kohler China. reserves the right to make
changes in product characteristics, packaging, or
availability at any time without notice.
·
These instructions contain important care, cleaning, and
warranty information-
consumer.
·
Before installation carefully inspect the new fixture for any
signs of damage.
WARNING: Risk of injury or product damage.
Tempered glass cannot be cut.
WARNING:
Don't use acidic or alkalic cleaners or
alcohol to clean the wooden surface. Use a dampened
cloth to clean.
PARTS
Parts supplied with your cabinet. (For cabinet body and door
replacement, call customer service with model number.) Be
sure to check the cardboard supports in the carton, glass
parts are packed in them.
ACCESSORIES LIST
ACCESSORIES LIST
Wall Anchors
Screws ST3.5 35
X6
X6
1142822-T01-A
please leave instructions for the
Z Clip
ST3.5 35
Z
X2
M
·
·
·
·
Glass Shelves
Screw M8x8
X1
X4
13-1
-1-
M MODULAR
Installation INSTRUCTIONS
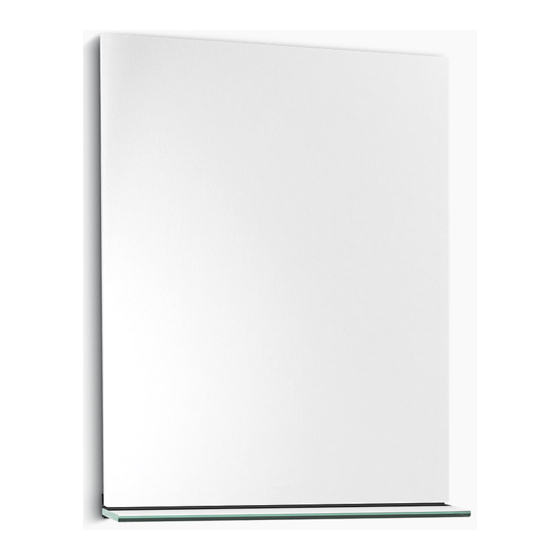
MIRROR W/DEFOGGER
WPS Bracket
M8x8
WPS
X1
528437
Copyright Kohler China Ltd., 2010
(
)
K-15515T
-
, 2010
Advertisement
Table of Contents

Summary of Contents for Kohler K-15515T
- Page 1 · · All information in these instructions is based upon the latest product information available at the time of publication. Kohler China. reserves the right to make changes in product characteristics, packaging, or availability at any time without notice. ·...
- Page 2 ROUGHING-IN UNIT : mm INSTALLATION 1. Confirm the desired place to install the mirror and the basic outline of the frame. 2. Pre-drill mounting holes by referring to the outline of the frame and the sizes in the picture below. 3.


Need help?
Do you have a question about the K-15515T and is the answer not in the manual?
Questions and answers