Advertisement
Advertisement
Table of Contents

Related Manuals for Polyprint TexJet echo 2


Summary of Contents for Polyprint TexJet echo 2
-
Page 2: Table Of Contents
TABLE OF CONTENTS Before you Start p. 01 Unboxing p. 01 Printer Setup p. 03 Install Ink Cartridges p. 04 Power ON p. 05 Initial Ink Cartrides p. 06 Perform Nozzle Test p. 08 Ink & Pretreatment Storage p. 09 Transporting the TexJet®... -
Page 3: Before You Start
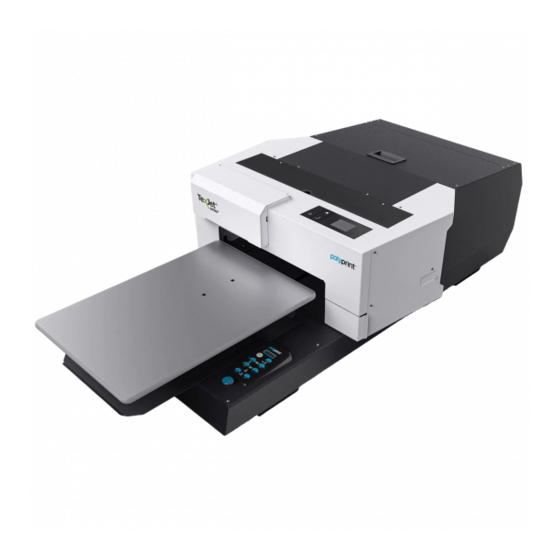
INSTALLATION GUIDE Before you Start Echo is compatible with Polyprint's Uni Stand. If the stand is not available, prepare a flat, stable surface with dimensions of at least 700x700 mm. The surface should be capable of supporting more than 95kg. - Page 4 TexJet® ECHO² Items contained in the box • TexJet echo² Direct-to-Garment Printer ® • Standard 52x34cm Snap On Platen • Emergency Stop Button • Nine (9) Labeled Sealed Cartridges • One (1) spare Maintenance Tank • One (1) Chip Resetter •...
-
Page 5: Printer Setup
INSTALLATION GUIDE _STEP Remove the yellow safety bar and store it at a safe place. Fig.4: Remove the screw. Fig.5: Pull the tower out slowly. Fig.6: Remove the yellow safety bar. NOTE : Do not throw it away, you will need it when transporting the printer. -
Page 6: Install Ink Cartridges
TexJet® ECHO² _STEP Connect the Emergency Stop Button On the left side of the printer. Fig.7: Connect the Emergency stop button. _STEP Connect the power cord. Turn on the blue switch at the left side of the printer. NOTE: Check that the source voltage is the same as the rated voltage, listed on the SN –... -
Page 7: Power On
INSTALLATION GUIDE _STEP Install each sealed cartridge to their respective slots and close the cover. Fig.8: Install Ink cartridge. Fig.8: Close Ink cartridge cover. Power ON _STEP Press the power button. Follow the instructions at Platen Control Panel to set time, date and shake the cartrdiges. -
Page 8: Initial Ink Cartrides
Initial Ink Charge Connect Texjet echo , from the ® USB labeled port at the printer, to the PC. Open the echo service program from Polyprint usb drive , following the path steps from Fig.11 Fig.11: TexJet echo² Adjustment program. ®... - Page 9 INSTALLATION GUIDE Execute Echo2ServiceProgram.exe. Press OK on the first display screen and then select adjustment individual. Fig.12: TexJet echo² Adjustment program. ® Select Ink System Related Check & Adjustment and then initial Ink charge. Click Run. Fig.13: TexJet echo² Initial Ink charge. ®...
-
Page 10: Perform Nozzle Test
TexJet® ECHO² Perform Nozzle Test _STEP Insert one of the transparent sheets that come with the printer on the left corner of the 34x52cm platen. Fig.14: TexJet echo² Nozzle test. ® _STEP Press AUTO on the lower panel to set the platen at optimum distance from the head. -
Page 11: Ink & Pretreatment Storage
INSTALLATION GUIDE _STEP Check the pattern. If there are no gaps nozzles are clean. Fig.16: Nozzle check correct sample. If there are gaps in the pattern, perform a Head Cleaning. Fig.17: Nozzle check failed sample. Select the Settings Menu, tap Maintenance and Head Cleaning option. NOTE: If there are still gaps or missing lines in the pattern please refer to the Quick User Guide for instructions on cleaning the Print... - Page 12 www.polyprintdtg.com POLYPRINTDTG...
Need help?
Do you have a question about the TexJet echo 2 and is the answer not in the manual?
Questions and answers