Table of Contents
Advertisement
Quick Links
RavensBlight
– ASSEMBLY INSTRUCTIONS
page 1.
NOTE: This project should be printed on heavy card stock.
WHAT YOU'LL NEED:
Scissors, Elmer's glue (or a glue stick) and a ruler or other straight-edge. (A black
marker is optional for darkening any white paper edges as you build the model.)
FOLDING TIP: It's handy to 'score' the fold lines before folding. You can use an old ink pen, a knitting
needle, the end of a paper clip, or any metal object that will crease the paper without tearing it. Scoring
helps you fold more precisely and also makes the project much faster to assemble.
ASSEMBLY:
FOR THE ART GALLERY: Begin by cutting out the ART GALLERY on Parts Page 1. Separate the black
tabs from the shingled roof panels by cutting along the red lines. Separate the left black tab from the
adjacent gray tab. Fold the two black tabs, the two dark gray tabs and all four light gray tabs
DOWNWARD. Next, fold the three roof panels DOWNWARD and then fold DOWNWARD between all
four wall panels.
Glue the two dark gray panels to the back of the adjoining roof panels. Then glue the two black tabs to the
back of the adjoining roof panels. Glue the large gray tab to the back of the opposite wall panel (to form a
rectangular building as shown in Figure 1) and then glue the three smaller gray tabs to the back of the
roof panels to finish the building. (You can reach inside the building with your fingers or a ruler to press
the three small gray tabs into place).
(CONTINUED ON NEXT PAGE)
Advertisement
Table of Contents

Related Manuals for RavensBlight MAIN STREET


Summary of Contents for RavensBlight MAIN STREET
- Page 1 RavensBlight – ASSEMBLY INSTRUCTIONS page 1. NOTE: This project should be printed on heavy card stock. WHAT YOU'LL NEED: Scissors, Elmer's glue (or a glue stick) and a ruler or other straight-edge. (A black marker is optional for darkening any white paper edges as you build the model.) FOLDING TIP: It’s handy to ‘score’...
- Page 2 RavensBlight – ASSEMBLY INSTRUCTIONS page 2. Cut out the SIGN of your choice and glue it to the front of the building. Cut out the ART GALLERY BASE on Parts Page 1. Fold the black panels UPWARD and then fold the blue panels DOWNWARD as shown in Figure 2.
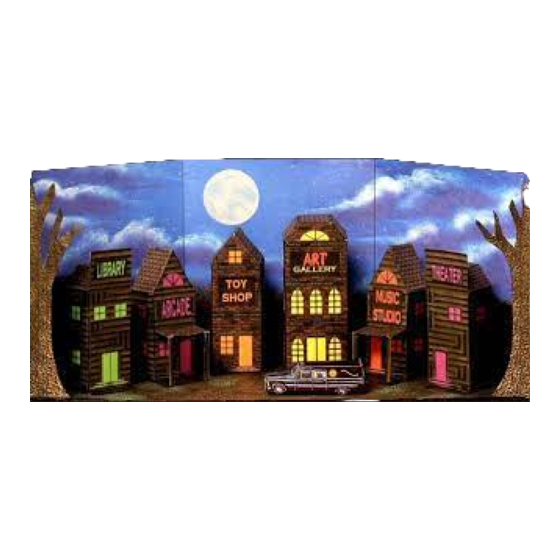
- Page 3 RavensBlight – ASSEMBLY INSTRUCTIONS page 3. This model can be built with either a moonlit sky or a sunset. Also, you can make a 'convertible' model so you can change backgrounds. For a Single Background: Cut out BACKGROUND PART 1 and BACKGROUND PART 2 (using either the moonlit panels on Parts Page 5 and 6 or the sunset panels on Parts Page 7 and 8).
Need help?
Do you have a question about the MAIN STREET and is the answer not in the manual?
Questions and answers