Table of Contents
Advertisement
Quick Links
User's Manual
V2.0 2010.05
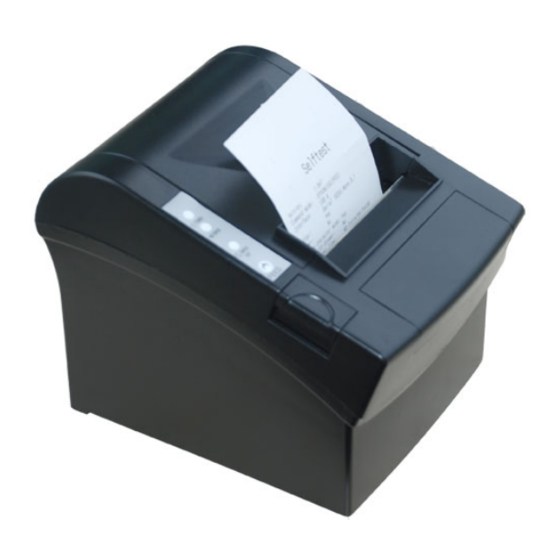
Sinocan P06-S/U/L
WARNING:
All rights reserved. No part of this publication may be reproduced,
THERMAL RECEIPT PRINTER
stored in a retrieval, or transmitted in any form or by any means,
electronic, mechanical, photocopying, recording, or otherwise, without
the prior written permission of Sinocan International Tech.The company
reverses the rights of modifications of manufacture technology,
assembly, software and hardware without notice. Contact your
franchiser if you need further information about the product.
Sinocan International Technologies Co., Ltd.
www.lcdpc.com.cn
Sinocan International Tech.
www.lcdpc.com.cn
Advertisement
Table of Contents

Related Manuals for Sinocan P06-S


Summary of Contents for Sinocan P06-S
- Page 1 Sinocan International Tech.The company reverses the rights of modifications of manufacture technology, assembly, software and hardware without notice. Contact your franchiser if you need further information about the product.
-
Page 2: Table Of Contents
Contents 1. General Information 1.1) Main Features ...............2 1.2) P06-U/S/L Series Function List ..........3 2. Quick Start 2.1) Unpacking & Parts Identification ..........4 2.2) Loading the Paper Roll ............5 3. Printer Interface and Connection 3.1) Connecting the Interface Cable..........8 3.2) Connecting to a Cash Drawer ..........8 3.3) Connecting the AC Adapter ............9 4. -
Page 3: General Information
1. General Information 1.1) Main Features 1.2) Function List 1. High speed printing: 1. Maximum printing speed 230mm/sec 230mm/s maximum print speed. 2. Fully-compatible with EPSON ESC/POS command ( see command sets for programming reference) Low-noise thermal printing. 3. Characters can be scaled up to 8 times larger than standard size(*) High reliability due to a stable mechanism. -
Page 4: Quick Start
2. Quick Start 2.2) Loading the Paper Roll 2.1) Unpacking & Parts Identification a. Unpacking: a. Make sure that the paper roll matches the printer specification. Do not use paper rolls that have the paper glued to the core because the printer cannot detect the paper end correctly. - Page 5 e. Tear off the paper outside the cover as shown c. While oberserving the direction of the roll, set the paper roll into the hollow, and pull on the leading edge of the paper toward you as shown: d. Close the cover. When closing the cover, press the center of the printer cover firmly to prevent paper miss-loading...
-
Page 6: Printer Interface And Connection
3. Printer Interface and Connection 3.1) Connecting the Interface Cable 3.3) Connecting the AC Adapter a. Before connecting/disconnecting the interface cable, make sure that power to the a. Connect the AC power cord to the inlet of AC adapter, and then connect the power printer and all the devices connected to the printer is turned on cord plug to a suitable electrical outlet b. -
Page 7: Configuration
4. Configuration Printer Control Panel & Status Indicator 4.2) DIP Switch Settings The DIP switch panel is locating at bottom of the printer as shown: 4.1) Panel LED Indicators 1. Power ( POWER) LED: Green On: Power is stable DIP Switch Functions: Off: Power is not stable POW ER 2. -
Page 8: Printer Self Test
4.3) Printer Self Test This is to test whether the printer is working properly or not and also checks the printing quality, firmware version, and DIP switch settings. 1. Hold the FEED button first and then turn on the power at the same time, release the button after around 1 second. - Page 9 -14- -15-...
-
Page 10: Safety And Maintenance
5. Safety and Maintenance 5.1) Safety Information 5.4) Fixing Paper Jam The Status LED(Red) on the printer control panel will flash with beeps if paper is jammed. 1. Do not touch the HEAD of printer with anything. Please follow below instruction to remove paper jam. 2. -
Page 11: Appendix
6. Appendix 1.4) Paper Specification 1. Product Specifications 1.Paper type: Specified thermal paper 1.1) Printing Specifications 2. Form: Paper roll 3.Paper width: 79.5 0.5mm (3.13 0.02 ) Roll diameter: Maximum 83 mm 4. Paper roll size: 1. Printing method: Thermal line printing Specified thermal roll paper;... -
Page 12: Configuration
2. CONFIGURATION 1.7) Reliability 1.Life Span: Mechanism: 15,000,000 lines Thermal head: 100 million pulses, 100 Km 2.1) Interface Auto cutter: 1,500,000 cuts (End of life span is defines to have reached the a. RS-232 serial interface end of its life when reaches the beginning of the Wear out Period.) a.1) RS-232 Specifications 360,000 hours... - Page 13 a.3) Interface connector terminal assignments and signal functions b.2) Parallel Interface Pin Assignments for Each Mode b. IEEE1284 Bidirectional Parallel Interface (Parallel Interface Specifications) b.1) Parallel Specifications 1. Data transmission: Parallel 2. Synchronization: Externally supplied nStrobe signals 3. Handshaking: nAck and Busy signals 4.
- Page 14 2.2) Connectors a. Interface Connectors 3. Drawer kick-out drive signal Refer to interface explain. Output signal: Output voltage: Approximately 24V b. Power Supply Connector Output current: 1A or less This connector is used to connect the printer to an external power source. Power Supply Connector Pin Assignments c.
-
Page 15: General Printer Commands
General Printer Commands Command Lists: -27- -26-... - Page 16 Command classification Executing: Printer executes the command, which does not then affect the Select character code table ESC t n following data. ASCII Format Setting: Printer use flags to make setting and those setting affect the following data. Decimal 10 16 Range Note: Commands for International Fonts Description...
- Page 17 Optional multilingual character model supports printing with one of the following characters: a. B- Traditional Chinese (Big 5) b.G- Simplify Chinese (GB) c. K- Korean d. J-Japenese Kanji (JIS) To enable/disable the multilingual character code use following commands: (*) FS & Select Multilingual Character Mode ON ASCII &...
Need help?
Do you have a question about the P06-S and is the answer not in the manual?
Questions and answers