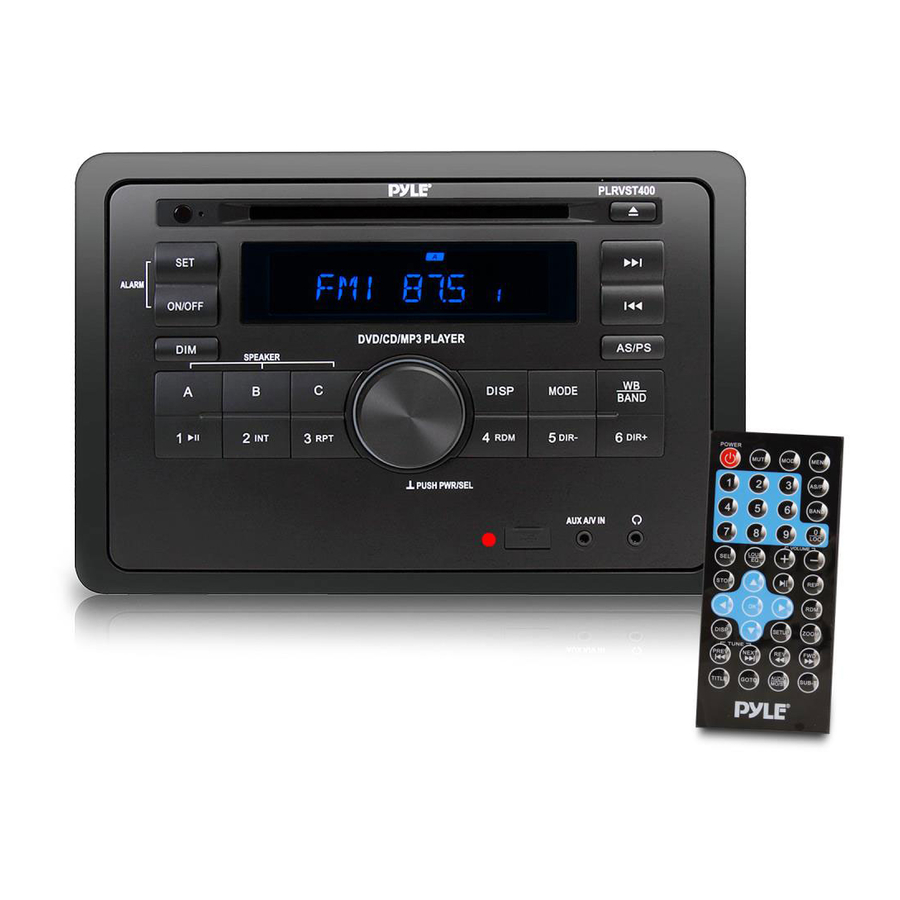
Pyle PLRVST400 User Manual
Mobile audio system
Hide thumbs
Also See for PLRVST400:
- User manual (19 pages) ,
- User manual (22 pages) ,
- User manual (16 pages)
Table of Contents
Advertisement
Quick Links
Advertisement
Table of Contents

Summary of Contents for Pyle PLRVST400
-
Page 2: Table Of Contents
CONTENT Installation ..........3 Pausing playing ......9 DIN Front-Mount Rear-Mount ....3 Previewing all tracks ..... 9 Mounting ..........4 Repeating the same track ..... 9 Wiring Connection ........ 5 Playing all tracks in random ..9 Operation ..........6 Ejecting a disc ....... -
Page 3: Installation
INSTALLATION Notes: Choose the mounting location where the unit will not interfere with the normal driving function of the driver. Before finally installing the unit, connect the wiring temporarily and make sure it is all connected up properly and the unit and the system work properly. ... -
Page 4: Mounting
INSTALLATION... -
Page 5: Wiring Connection
WIRING CONNECTION ISO CONNECTION... -
Page 6: Operation
OPERATION LOCATION OF KEYS /DISP VOL/PWR/SEL DISC SLOT (Eject) SLEEP 21. EARPHNE OUTPUT ALARM 22. AUX IN Jack DIM (Dimmer) 23. USB INTERFACE SPEAKER A/B/C 24. RESET button 1 PAU 2 INT 10. 3 PRT 11. 4 RDM 12. 5 DIR- 13. -
Page 7: Turn On/Off The Unit
OPERATION Turn on/off the unit and mute function Press /MUTE button to turn on the unit. When the unit is on. Shortly press this button for mute on/off. Press and hold this button to turn off the unit. Audio & Setting adjustment Shortly press SEL button and rotate VOL knob to show below: ZONE A->ZONE B->ZONE C. -
Page 8: Alarm On/Off
OPERATION ALARM operation Press and hold ALARM button to set the alarm time (using VOL knob to set them). Shortly press ALARM button to on/off alarm function. When alarm function is on. And the time is running to the alarm time. The speaker will output beep sound. The beep sound will output all the time until any key was pressed. -
Page 9: Selecting The Frequency Band
OPERATION button for manual tuning the frequency. Auto Store station Press and hold BAND button for 2 seconds to auto store stations to numeric buttons 1-6 of band 1~3. Manually store station & recall preset station To receive a station with button. -
Page 10: Usb Play Operation
OPERATION Song search operation Press BAND button to select song search mode: DIR SCH or NUM SCH 1) DIR SCH: Press BAND button one time. It shows “DIR SCH”. Rotating VOL knob to select the folder then press SEL knob into the folder. Rotate the VOL knob again to select the song. - Page 11 OPERATION Bluetooth audio (A2DP function) Press MODE button switch to “BT MUSIC” source. It will play a song of your mobile phone automatically. Press key to pause/play the song. Press button to select next/previous song. Disconnect the Bluetooth After the phone is paired with the unit. Hold MODE key to disconnect/re-connect the Bluetooth.
-
Page 12: Disc Notes
OPERATION DISC NOTES A. Notes on discs: Attempting to use non-standard shape discs (e.g. square, start, heart) may 1. damage the unit. Be sure to use round shape CD discs only for this unit. 2. Do not stick paper or tape, etc, onto the label side or the recording side of any discs, as it may cause a malfunction. -
Page 13: Remote Control
REMOTE CONTROL ACTIO KEYS RADIO DISC AUX/AV IN BT MUSIC Power off Power off Power off Power off Power off Short POWE power off power off power off power off power off Long Zone A Zone A Zone A Zone A Zone A Short mute on / off... - Page 14 switch to DISC DIR SCH/ switch to DISC switch to DISC switch to DISC Short DISC source NUM SCH source source source Long switch to radio switch to radio switch to radio switch to radio band change Short AM/FM source source source source...
- Page 15 ZONE A->ZONE ZONE A->ZONE ZONE A->ZONE ZONE A->ZONE ZONE A->ZONE B->ZONE C B->ZONE C B->ZONE C B->ZONE C B->ZONE C Short (BAS-TRE-BAL-E (BAS-TRE-BAL-E (BAS-TRE-BAL-E (BAS-TRE-BAL-E (BAS-TRE-BAL-E Q-LOUD-P_VOL) Q-LOUD-P_VOL) Q-LOUD-P_VOL) Q-LOUD-P_VOL) Q-LOUD-P_VOL) CT(indep/sync/)-> CT(indep/sync/)-> CT(indep/sync/)-> CT(indep/sync/)-> CT(indep/sync/)-> CLOCK(12/24)-> CLOCK(12/24)-> CLOCK(12/24)-> CLOCK(12/24)-> CLOCK(12/24)->...
-
Page 16: Specification
SPECIFICATION GENERAL Power Supply Requirements : DC 12 Volts, Negative Ground Chassis Dimensions : 178 (W) x 160 (D) x 100 (H) Tone Controls Bass (at 100 Hz) : ±10 dB Treble (at 10 kHz) : ±10 dB Maximum Output Power : 4x40 watts Current Drain : 15 Ampere (max.) (For Normal Power Version) -
Page 17: Trouble Shooting
TROUBLE SHOOTING Before going through the checklist, check wiring connection. If any of the problems persist after checklist has been made, consult your nearest service dealer. Symptom Cause Solution The car ignition switch is power supply No power. not on. connected to the car accessory circuits, but the engine is not moving, switch the ignition key...


Need help?
Do you have a question about the PLRVST400 and is the answer not in the manual?
Questions and answers