Advertisement
Quick Links
Tools Needed:
•
Phillips screwdriver
•
Rubber mallet (Optional)
•
Needle Nose Plyers
•
2.5 mm Hex Head Wrench
REMOVAL
Step 1: Remove Pull Handle. Using the Phillips
screwdriver, loosen the upper two screws from
each joint (left and right).
Step 2: To remove the screws, loosen the black
knob and squeeze joint together. Use the needle
nose plyers to pull screw out. Do this for both joints.
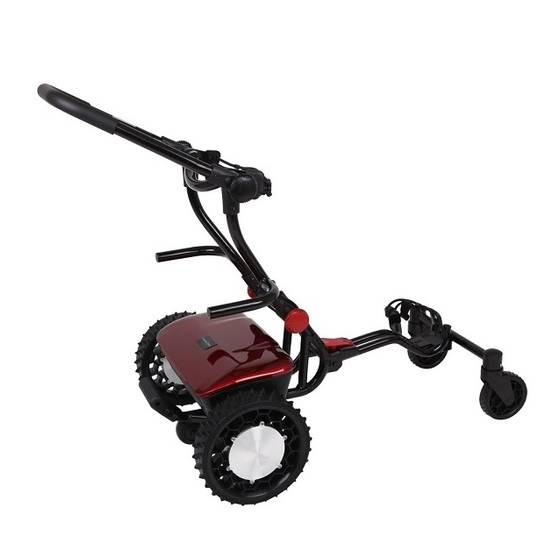
UPPER JOINTS and BAG SUPPORT
REMOVAL AND REPLACEMENT SOP
Step 3: Using a rubber mallet, gently tap
upward to remove pull handle.
Step 4: Remove Upper Joint Assembly. Using the
screwdriver, loosen and remove the lower two
screws from each joint (left and right).
Step 5: Using the Rubber Mallet, gently tap
upward and remove the upper joint assembly.
Pg. 1 of 2
Advertisement

Related Manuals for caddytrek R2


Summary of Contents for caddytrek R2
- Page 1 UPPER JOINTS and BAG SUPPORT REMOVAL AND REPLACEMENT SOP Step 3: Using a rubber mallet, gently tap Tools Needed: upward to remove pull handle. • Phillips screwdriver • Rubber mallet (Optional) • Needle Nose Plyers • 2.5 mm Hex Head Wrench Step 4: Remove Upper Joint Assembly.
- Page 2 Step 6: Remove Bag Support Bar. Use the Step 9: Install the Upper Joint Assembly to frame. 2.5 mm hex wrench and loosen the set screw Use rubber mallet and gently tap into place. Align inside joint(s) to remove the bag support bar. holes, insert screws, and tighten.
Need help?
Do you have a question about the R2 and is the answer not in the manual?
Questions and answers