Advertisement
Quick Links
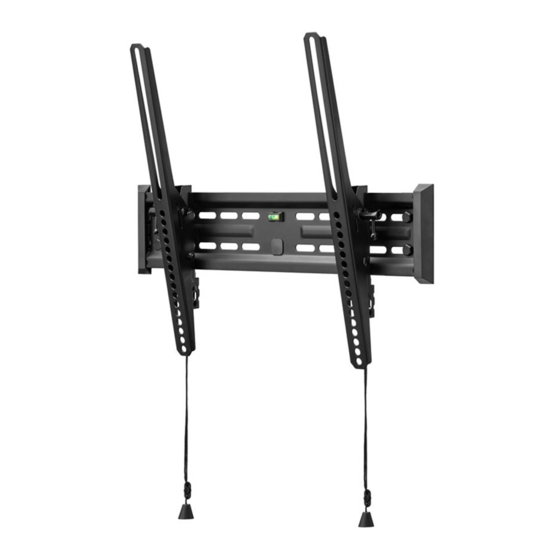
Large & Extra Large Tilt Flat Panel Mount
REDLTHD120P
REDXLTHD175P
INSTRUCTION MANUAL
MANUAL DE INSTRUCCIONES
MANUEL D'INSTRUCTIONS
!
CAUTION:
CAUTION: DO NOT EXCEED MAXIMUM
THE MAXIMUM LOADING WEIGHT IS 120
LISTED WEIGHT CAPACITY. SERIOUS
LBS FOR LARGE MOUNT AND 175LBS FOR EXTRA LARGE
INJURY OR PROPERTY DAMAGE MAY
MOUNT. USE WITH PRODUCTS HEAVIER THAN THE
MAXIMUM WEIGHT INDICATED MAY RESULT IN
OCCUR!
INSTABILITY AND POSSIBLE PERSONAL INJURY.
Large Full Motion Mount
Max Screen Size: 60"(L) / 90"(XL)
Max Screen Size: 70"
Max weight: 125lbs
V4
V1
P 1
Advertisement

Subscribe to Our Youtube Channel
Related Manuals for RED ATOM REDLTHD120P


Summary of Contents for RED ATOM REDLTHD120P
- Page 1 Large & Extra Large Tilt Flat Panel Mount REDLTHD120P REDXLTHD175P INSTRUCTION MANUAL MANUAL DE INSTRUCCIONES MANUEL D’INSTRUCTIONS CAUTION: CAUTION: DO NOT EXCEED MAXIMUM THE MAXIMUM LOADING WEIGHT IS 120 LISTED WEIGHT CAPACITY. SERIOUS LBS FOR LARGE MOUNT AND 175LBS FOR EXTRA LARGE INJURY OR PROPERTY DAMAGE MAY MOUNT.
- Page 2 DISCLAIMER – WARNING INFORMATION Disclaimer –. RED ATOM has extended every effort to ensure to accuracy and completeness of this manual. However, RED ATOM does not claim that the information covers all installation and or operational variables. The information contained in this document is subject to change without notice or obligation of any kind. Regarding the information contained herein, RED ATOM makes no representation of warranty, expressed or implied, and assumes no responsibility for accuracy, sufficiency, or completeness of the information contained in this document.
- Page 3 HARDWARE PRODUCT NUMBERS M4 x 12 M5 x 12 M6 x 15 M8 x 15 M4 x 25 M5 x 25 M6 x 25 M8 x 25 SQUARE WASHER SPACER STEEL WASHER STEEL WASHER 8 mm LAG ANCHOR BOLT PRODUCT COMPONENT PARTS Flat Panel Mounting Pattern (W X H) Minimum: 100mm x 100mm (Large and Extra Large) Maximum: 400mm x 400mm (Large)
- Page 4 STEP 1A - FLAT BACK FLAT PANEL (UNIVERSAL VERTICAL RAILS) Connect Universal Vertical Rails to flat panel Conecte el adaptador al monitor Connectez l'adaptateur au moniteur STEP 1B - CURVED BACK FLAT PANEL (UNIVERSAL VERTICAL RAILS) Connect Universal Vertical Rails to flat panel Spacers can also be used to Conecte el adaptador al monitor provide clearance for cables...
- Page 5 STEP 1C - USE M8 STEEL WASHER IF THE PHILLIPS SCREWS FROM THE MONITOR KIT ARE TOO LONG Diagrams show three options for using additional washers if hardware screws are too long to properly tighten into back of flat panel television.
- Page 6 STEP 2 - WOOD STUD INSTALLATION (CONCRETE INSTALLATION SKIP TO STEP 3) STEP 2- CENTER UNIVERSAL MONITOR PLATE Find stud and mark edge and center locations Ubique el panel y marque las ubicaciones de los bordes y el centro. Repérez l'emplacement d'une poutre, puis marquez l'emplacement des bords et du centre de cette poutre. LEVEL WALL PLATE WITH INCLUDED BUBBLE LEVEL AND...
- Page 7 STEP 2C - MOUNT WALL PLATE TO WALL Mount wall plate 16” STUD (Large Tilt Mount) Coloque la placa de pared 16” or 24” STUD (Extra Large Tilt Mount) Montez la plaque murale...
- Page 8 STEP 3 – SOLID CONCRETE INSTALLATION Use wall plate to mark mounting locations/drill pilot holes Use la placa de pared para marcar el lugar donde se realizará la instalación Utilisez la plaque murale pour marquer l'emplacement de montage Level Solid Concrete Drill Bit Drill Pilot Hole DRILL BIT...
- Page 9 STEP 3C - SOLID CONCRETE INSTALLATION. Mount wall plate Coloque la placa de pared Montez la plaque murale Insert wall anchors gently into concrete wall with hammer if necessary Hammer...
- Page 10 STEP 4A - ATTACH PANELTO WALL PLATE & ADJUST TILT ANGLE Hang Vertical Rails with monitor attached Cuelgue con el monitor adherido. Accrochez avec le moniteur installé. Flat Panel Tilt Vertical Rails Pull spring lock cord down and gently push bottom of panel to wall and...
- Page 11 STEP 4C - ADDITIONAL SECURITY FEAUTURE (OPTIONAL) Option Opcione Option Vertical Rails Flat Panel Wall Plate Vertical Rails have 7mm hole located at the bottom for placement of pad lock for additional theft security (pad lock not included)
- Page 12 Para obtener el servicio de garantía, comuníquese con el servicio de Atención al cliente de RED ATOM. Escribanos an info@redatomproducts.com. Deberá proporcionar el recibo original. Si fuera necesario enviar el producto a RED ATOM para revisarlo, los gastos de envío correrán por su cuenta. El producto de reemplazo que se le envíe se le devolverá...
Need help?
Do you have a question about the REDLTHD120P and is the answer not in the manual?
Questions and answers