Aquatec ORCA Assembly Instructions
Hide thumbs
Also See for ORCA:
- User manual (256 pages) ,
- Operating instruction (74 pages) ,
- Operating instructions manual (52 pages)
Table of Contents
Advertisement
Available languages
Available languages
Quick Links
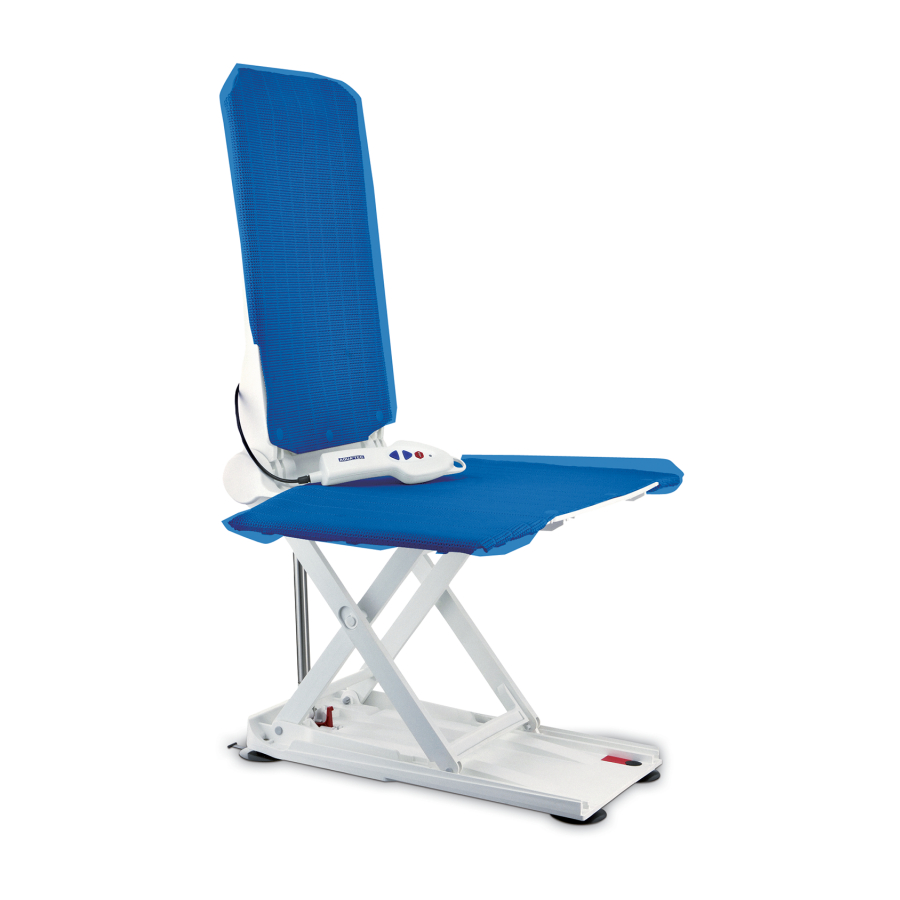
Aquatec® ORCA, ORCA F, ORCA XL
Assembly instructions: Spare Parts Kit - Changing the seat plate
Montageanleitung: Ersatzteil-Kit - Sitzplatte austauschen
When replacing the backrest for products produced before May 2015, the seat plate will also need to
i
be changed. For production date, see identification label on the backside of the backrest.
Safety information
WARNING Risk of injury
If the bath lift is not assembled correctly it can cause accidents and severe
injuries.
▸ Assembly and Disassembly of the bath lift should only be carried out by an
authorized specialist dealer.
CAUTION
Danger of crushing and pinching your hands and fingers.
▸ Take care of your hands and fingers when working on the lifting scissors of
the bath lift.
IMPORTANT
▸ Run the unloaded lift once to the top and then back to the bottom after the
seat plate has been changed (function test).
Scope of delivery
Spare parts kit (part no. 1580158) contains the following items:
Pos. Designation
Backrest
Seat plate
Socket pin (ORCA / ORCA F)
Wedge piece (ORCA F)
Bolt right (ORCA F)
Bolt left (ORCA F)
Changing the seat plate
1. Starting from one side press in clips A and simutanoeusly pull out the side flap slowly.
2. Repeat step 1 for the opposite side flap.
Part number
Qty.
1563010
1
1563012
1
16679
2
1471055
2
1471058
1
1471059
1
1
en
XXXXXX
=1
8m
n
i
M
a
d
e
in
xxVD
C
=
2
m
n
i
G
e
m
r
a
ny
xxV A
XXX kg
IPXX
MD
YYYY -MM
xx,x kg
XXXXXXX
S N
( 0 1 ) 0 4 0 2 8 6 9 8 1 2 3 4 5 6 ( 2 1 ) X X X 2 1 0 0 0 0 1
Advertisement
Table of Contents

Related Manuals for Aquatec ORCA


Summary of Contents for Aquatec ORCA
- Page 1 Aquatec® ORCA, ORCA F, ORCA XL Assembly instructions: Spare Parts Kit - Changing the seat plate Montageanleitung: Ersatzteil-Kit - Sitzplatte austauschen When replacing the backrest for products produced before May 2015, the seat plate will also need to be changed. For production date, see identification label on the backside of the backrest.
- Page 2 4. Using a flat head screwdriver, remove the outer socket pins C, which connect the front part of the lifting scissors with the seat plate, push them through to the inside and remove. For the ORCA XL remove the retaining rings from the stainless steel pins, push them through to the inside and remove.
- Page 3 Der Ersatzteil-Kit (Art-Nr. 1580158) enthält folgende Teile: Pos. Bezeichnung Artikelnummer Stück Rückenlehne 1563010 Sitzplatte 1563012 Steckbolzen (ORCA / ORCA F) 16679 Keilstück (ORCA F) 1471055 Bolzen rechts (ORCA F) 1471058 Bolzen links (ORCA F) 1471059 ...
- Page 4 6. Die Gleitschuhe B der Hubschere in die Flachführung der neuen Sitzplatte einfädeln. Mit den neuen Steckbolzen C die Hubschere und die Sitzplatte durch die Bohrungen von innen nach außen abstecken. Bei ORCA XL die zuvor demontierten Edelstahlbolzen von innen nach aussen durchstecken und mit den Sicherungsringen abstecken.
Need help?
Do you have a question about the ORCA and is the answer not in the manual?
Questions and answers