Table of Contents
Advertisement
2020
2020
2020
2020
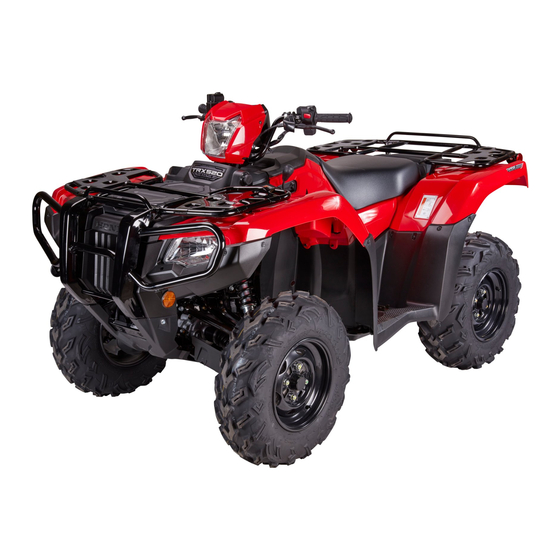
TRX520FA5 4x4 AT
TRX520FA5 4x4 AT
TRX520FA6 4x4 AT with Power Steering
TRX520FA6 4x4 AT with Power Steering
TRX520FA7 4x4 AT Deluxe
TRX520FA7 4x4 AT Deluxe
FOURTRAX FOREMAN RUBICON
FOURTRAX FOREMAN RUBICON
Read this manual carefully,
it contains important safety information.
Minimum recommended operator age: 16
Models sold in and used in California:
The removal or modification of evaporative
emission-related parts on this OHRV is illegal. Violators
may be subject to civil and/or criminal penalties as
provided under California and federal law.
OWNER'S MANUAL
OWNER'S MANUAL
Part Number
Advertisement
Table of Contents


Need help?
Do you have a question about the FourTrax Rubicon TRX520FA5 2020 and is the answer not in the manual?
Questions and answers