Sign In
Upload
Download
Table of Contents
Contents
Add to my manuals
Delete from my manuals
Share
URL of this page:
HTML Link:
Bookmark this page
Add
Manual will be automatically added to "My Manuals"
Print this page
×
Bookmark added
×
Added to my manuals
Manuals
Brands
CEFLA Manuals
Dental equipment
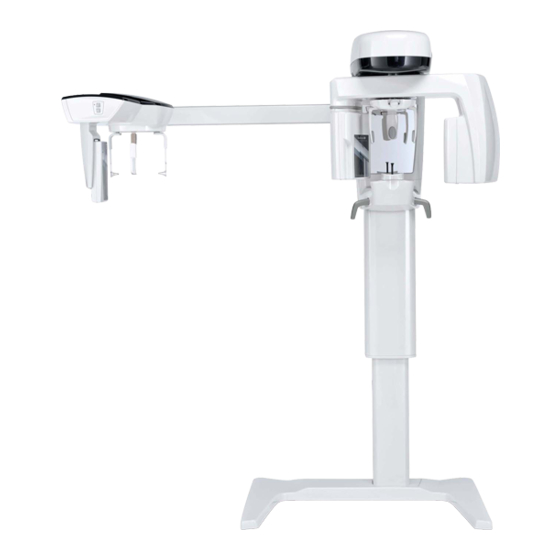
NewTom GO 2D
Technical manual
CEFLA NewTom GO 2D Technical Manual
Hide thumbs
1
2
Table Of Contents
3
4
5
6
7
8
9
10
11
12
13
14
15
16
17
18
19
20
21
22
23
24
25
26
27
28
29
30
31
32
33
34
35
36
37
38
39
40
41
42
43
44
45
46
47
48
49
50
51
52
page
of
52
Go
/
52
Contents
Table of Contents
Troubleshooting
Bookmarks
Table of Contents
Table of Contents
Device Installation
Required Instruments
Internal Connections
External Connections
Cover, Handles, Mirror Removal
Monobloc Cover
Panel Cover
Mirror
Handles
Mirror Frame Cover
Side Covers
Arch Cover
Pc Configuration
System Requirements
Preliminary Operations
Operating System Settings
Disabling Windows Firewall
Pc-Device Connection
Cbct Panel Installation
Pleora Driver Installation and Intel Pro 1000 Network Card Configuration
Acquisition Server Software Installation
Intel Pro 1000 Driver Update
Acquisition Server Configuration
Nnt Software Installation and Configuration
CALIBRATION See Corresponding "3D CALIBRATION MANUAL - OPT Entry Level" Code 97071221
Control Boards Description
Unit Block Diagram
Power Board 97661407
Connectors List
Fuses and Dip Switches List
Leds List
Logic Board 97661408
Connectors List
Dip Switches List
Leds List
Sensor Interface Board 97661485
Connectors List
Leds List
Monobloc Area
Keyboard Board 97661484
Connectors List
Logo Board 97661539
Troubleshooting
Craniostat Adjustment
Installation Check List (for Usa Only)
Advertisement
Quick Links
1
Table of Contents
2
Device Installation
3
Pc Configuration
4
Pc-Device Connection
5
Troubleshooting
Download this manual
Cod.
97071219
Rev. 01 01.2017
Table of
Contents
Previous
Page
Next
Page
1
2
3
4
5
Advertisement
Table of Contents
Need help?
Do you have a question about the NewTom GO 2D and is the answer not in the manual?
Ask a question
Questions and answers
Related Manuals for CEFLA NewTom GO 2D
Dental equipment CEFLA NewTom GO 3D Technical Manual
(52 pages)
Dental equipment CEFLA NewTom GO Manual
(76 pages)
Dental equipment CEFLA RX DC Technical Manual
X-ray unit (49 pages)
Dental equipment CEFLA RX DC Technical Manual
X-ray unit (67 pages)
Dental equipment CEFLA VENUS PLUS Operator's Manual
(24 pages)
This manual is also suitable for:
Newtom go 3d
Table of Contents
Save PDF
Print
Rename the bookmark
Delete bookmark?
Delete from my manuals?
Login
Sign In
OR
Sign in with Facebook
Sign in with Google
Upload manual
Upload from disk
Upload from URL


Need help?
Do you have a question about the NewTom GO 2D and is the answer not in the manual?
Questions and answers