Table of Contents
Advertisement
Quick Links
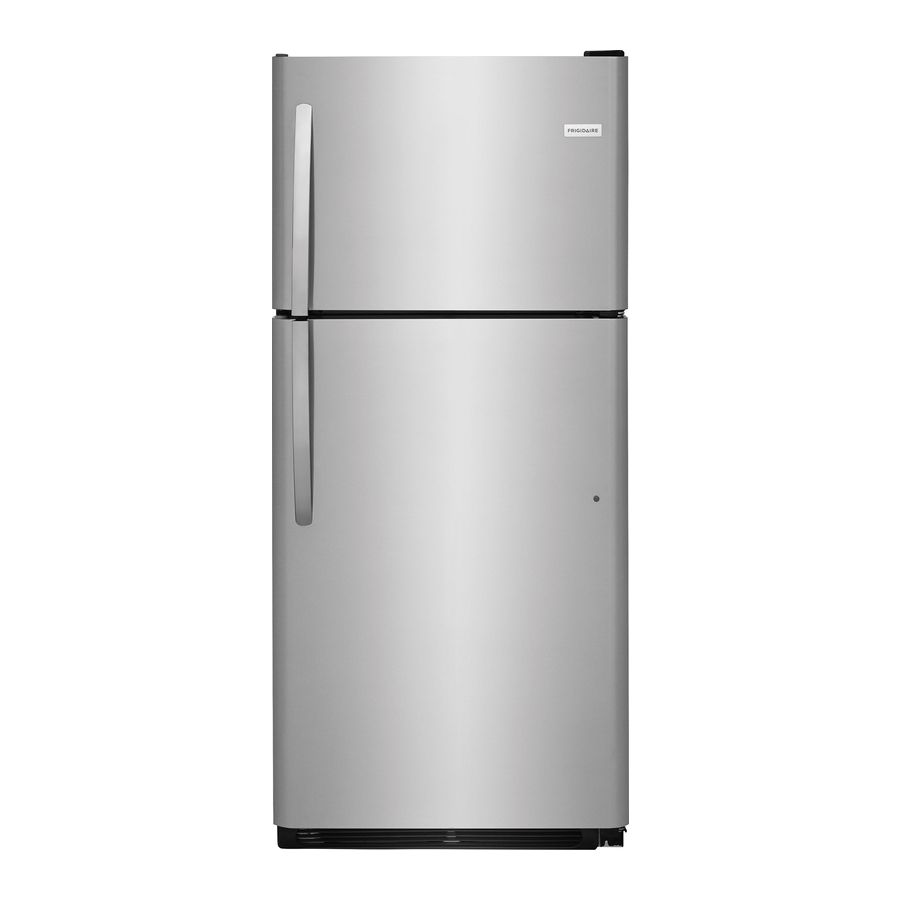
Use & Care Manual
Top Mount
Refrigerator
Español
READ AND SAVE THESE INSTRUCTIONS
19
Installation --
Includes Connecting
Household Water Supply to Refrigerator
Do r
o
Food Storage
& Energy Saving Tips
2
3
4 - 5
6 - 9
9
10
11 - 12
13
14
15
16 - 17
18
19
P/N 241813800
(Jan 2007)
Advertisement
Table of Contents

Related Manuals for Frigidaire Gallery GLHT186H


Summary of Contents for Frigidaire Gallery GLHT186H
-
Page 1: Table Of Contents
Use & Care Manual Top Mount Refrigerator Español READ AND SAVE THESE INSTRUCTIONS Welcome Safety Instructions Installation -- Household Water Supply to Refrigerator Do r Removal & Reversal Features at a Glance Temperature Controls Looking Inside Ice Service Food Storage &... -
Page 2: Welcome
Fast, convenient toll-free service is just a phone call away. • Top-quality repairs by factory-trained experts. • Quick access to genuine replacement parts so you can rest assured your refrigerator is repaired with the proper components. WELCOME & CONGRATULATIONS Need Parts or Service? -
Page 3: Safety Instructions
Such damage is not covered under your warranty. • Do not plug the unit into an outlet controlled by a wall switch or pull cord to prevent the refrigerator from being turned off accidentally. • Avoid connecting refrigerator to a Ground Fault Interruptor (GFI) circuit. -
Page 4: Removal & Reversal
LEVELING All four corners of your refrigerator must rest firmly on a solid floor. Your refrigerator is equipped with adjustable front rollers or front leveling screws to help level your unit. -
Page 5: Connecting Household Water Supply
To determine the length of copper tubing needed, you will need to measure the distance from the ice maker inlet valve at the back of the refrigerator to your cold water pipe. Then add approximately 7 feet (2.1 meters), so the refrigerator can be moved out for cleaning (as shown). -
Page 6: Door Removal/Reversal
11. Move freezer and refrigerator door stops to opposite side. Before starting screws, use an awl to puncture the foam. 12. Position refrigerator door onto bottom hinge pin and screw center hinge pin through center hinge into top of door. Close refrigerator door to help align hinge hole. - Page 7 TRIM REMOVAL (FULL-LENGTH TRIM MODELS ONLY) In some models, the refrigerator door has a full length trim piece which continues from the bottom of the handle to the bottom of the door. The top of the trim attaches to the handle bracket (Figure 1) or fits around the base of the handle (Figure 2).
- Page 8 TO REMOVE REFRIGERATOR HANDLE: (Handles may be easier to reverse while doors are off.) Figure 1 Style Handles Remove two screws attaching handle to top of refrigerator door. Remove screw attaching bottom of handle to door. Remove two hole plugs and hinge pin plug on top of door and install on opposite side.
-
Page 9: Features At A Glance
Remove top hinge and lift freezer door off of center hinge pin. Set door aside. Unscrew center hinge bin using adjustable wrench and save for reassembly. Ensure plastic washer stays on hinge pin. Lift refrigerator door off of bottom hinge and set aside. Ice Maker Ice Bucket Freezer Shelf Freezer... -
Page 10: Temperature Controls
COOL DOWN PERIOD To ensure safe food storage, allow the refrigerator to operate with the doors closed for at least 8 to 12 hours before loading it with food. REFRIGERATOR & FREEZER CONTROLS N O T E N O T E... -
Page 11: Shelf Adjustment
TALL BOTTLE RETAINER (SOME MODELS) The Tall Bottle Retainer keeps tall containers in the bin from falling forward when opening or closing the refrigerator door. shelves slide To install, hold the retainer at the top, and slide it over the outside wall of the bin, as shown in the diagram. -
Page 12: Looking Inside
The Special Item Rack mounts on the left side of your refrigerator. To install, just slide the Special Item Rack onto any shelf as shown in the drawing. - Page 13 Periodic cleaning of the condenser will help the refrigerator run more efficiently. See the Care and Cleaning Chart . • Do not overcrowd the refrigerator or block cold air vents. Doing so causes the refrigerator to run longer and use more energy. •...
-
Page 14: Ice Service
If your refrigerator has an automatic ice maker, it will provide a sufficient supply of ice for normal use. During the initial startup of your refrigerator, no ice will be produced during the first 24 hours of operation. Air in new plumbing lines may cause the ice maker to cycle two or three times before making a full tray of ice. -
Page 15: Normal Operating Sounds
Your new high-efficiency refrigerator may make unfamiliar sounds. These are all normal sounds and soon will become familiar to you. They also indicate your refrigerator is operating as designed. Hard surfaces, such as vinyl or wood floors, walls, and kitchen cabinets may make sounds more noticeable. -
Page 16: Care & Cleaning
• When moving the refrigerator, pull straight out. Do not shift the refrigerator from side to side as this may tear or gouge the floor covering. If the refrigerator has an automatic ice maker, be careful not to move the refrigerator beyond the plumbing connections. -
Page 17: Care & Cleaning
Unscrew and replace old bulb with an appliance bulb of the same wattage. Replace light shield. Remember to plug the refrigerator back in. • Leave refrigerator operating during vacations of 3 weeks or less. • Short Use all perishable items from refrigerator compartment. •... -
Page 18: Warranty
Rust on the interior or exterior of the unit. Products purchased "as-is" are not covered by this warranty. Food loss due to any refrigerator or freezer failures. Products used in a commercial setting. Service calls which do not involve malfunction or defects in materials or workmanship, or for appliances not in ordinary household use or used other than in accordance with the provided instructions. -
Page 19: Before You Call
Set freezer control to a warmer setting until freezer temperature is satisfactory. Allow 24 hours for the temperature to stabilize. • Set refrigerator control to a warmer setting. Allow 24 hours for temperature to stabilize. Then check freezer temperatures and adjust as needed. •...
Need help?
Do you have a question about the Gallery GLHT186H and is the answer not in the manual?
Questions and answers