Table of Contents
Advertisement
Quick Links
Advertisement
Table of Contents

Related Manuals for Avigilon RM6-WKS-4MN


Summary of Contents for Avigilon RM6-WKS-4MN
- Page 1 User Guide Avigilon Remote Monitoring Workstation RM6-WKS-4MN and RM6-WKS-2MN...
- Page 2 (2) is responsible for your use of, or reliance on, the information. Avigilon Corporation shall not be responsible for any losses or damages (including consequential damages) caused by reliance on the information presented herein.
-
Page 3: Table Of Contents
Back View Package Contents Installation Connecting Cables Logging into Windows 10 for the First Time Activate the ACC Software and Connect to Avigilon Cloud Services Activate ACC Software and Feature Licenses Connect to Avigilon Cloud Services Reactivating a License Troubleshooting Network Configuration... -
Page 4: Introduction
Introduction The Avigilon Remote Monitoring Workstation is preloaded with Avigilon Control Center (ACC) Client software and is configured for exceptional performance and reliability. The Remote Monitoring Workstation offered in small form factor can be easily integrated into any existing Network Video Recorder (NVR) products or Avigilon surveillance systems to add an additional monitoring station. -
Page 5: Overview
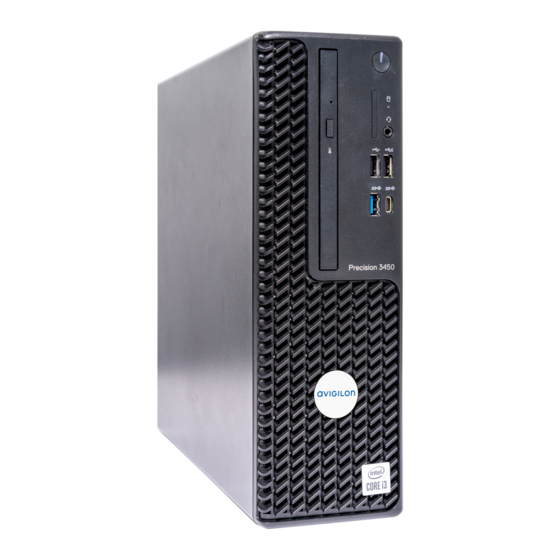
Overview Front View Figure 1: Front view of 4 monitor remote monitoring workstation and 2 monitor remote monitoring workstation (shown with dust filter accessory) 1. Power button Controls the power supply to the workstation. For more information, see Power Status Indicator on page 13. -
Page 6: Back View
Back View Figure 2: Rear view of 4 monitor remote monitoring workstation and 2 monitor remote monitoring workstation 1. Audio port Accepts a connector to an audio system — line in or line out. 2. DisplayPorts Accepts DisplayPort connectors to display monitors. To ensure optimal performance, use the mDP ports instead of these ports. -
Page 7: Package Contents
9. Power supply connector Accepts a power supply connection. Package Contents Ensure the package contains the following: Avigilon 4-Monitor Remote Monitoring Workstation Power cable Keyboard and mouse 4 x mDP to DP adapters 4 x mDP to HDMI adapters Avigilon 2-Monitor Remote Monitoring Workstation... -
Page 8: Installation
After the workstation starts, you will need to configure the Windows operating system for the first time. 1. On the first screen, the MICROSOFT SOFTWARE LICENSE TERMS and AVIGILON CONTROL CENTER™ SOFTWARE END USER LICENSE AGREEMENT are displayed. Review the terms and click Accept. -
Page 9: Activate The Acc Software And Connect To Avigilon Cloud Services
You can start to back up the system settings for your new site in the ACC Client software after it is configured. These settings include the ACC password, and the settings for the camera connections. For more information on backing up the site and server configurations, see the Avigilon ACC Client User Guide. Reactivating a License... -
Page 10: Troubleshooting
You can monitor the health of the system components in the Site Health in the ACC Client software. See the Help files provided with the ACC Client software, or the Avigilon ACC Client User Guide available from the Avigilon website for more information. - Page 11 Allow up to half an hour for the recovery to complete. 5. After system reboot, complete the Windows setup process. 6. Navigate to C:\Avigilon\Control Center Installation Files, and run the ACC installer for the version of ACC software in use at your site.
- Page 12 7. After reinstalling the ACC software, reactivate the ACC licenses. For more information about reinstalling and reactivating the ACC software, see avigilon.com/recovery. Operating System Recovery By Avigilon Recovery Partition...
-
Page 13: Led Indicators
The following table describes what the hard drive activity LED indicates: LED Indicator Description Hard drive is not being used. Flashing white Data is being read or written. Limited Warranty Avigilon warranty terms for this product are provided at avigilon.com/warranty. LED Indicators... -
Page 14: For More Information
For More Information For additional product documentation and software and firmware upgrades, visit avigilon.com/support. Technical Support Contact Avigilon Technical Support at avigilon.com/contact. For More Information...
Need help?
Do you have a question about the RM6-WKS-4MN and is the answer not in the manual?
Questions and answers