Table of Contents
Advertisement
Quick Links
Advertisement
Table of Contents

Subscribe to Our Youtube Channel
Related Manuals for Beko TFF654APW


Summary of Contents for Beko TFF654APW
- Page 1 Tall Larder Fridge TFF654W TFF654S TFF654APW TFF654APS SOM 9650...
- Page 2 Please read this manual first! Dear Customer, We hope that your product, which has been produced in a 1st-class manufacturing facility and checked under the most meticulous quality control procedures, will provide you with years of good service. For this, we recommend you to carefully read the entire manual of your product before using it and keep it at hand for future reference.
-
Page 3: Table Of Contents
1 Your refrigerator 5 Using your refrigerator 12 Setting the operating temperature 12 Making ice cubes ......14 2 Warnings Defrosting of the appliance ..14 ELECTRICAL REQUIREMENTS ..5 WARNING! THIS APPLIANCE MUST 6 Maintenance and BE EARTHED ........ 5 cleaning 3 Installation 7 Do's and Don'ts... -
Page 4: Your Refrigerator
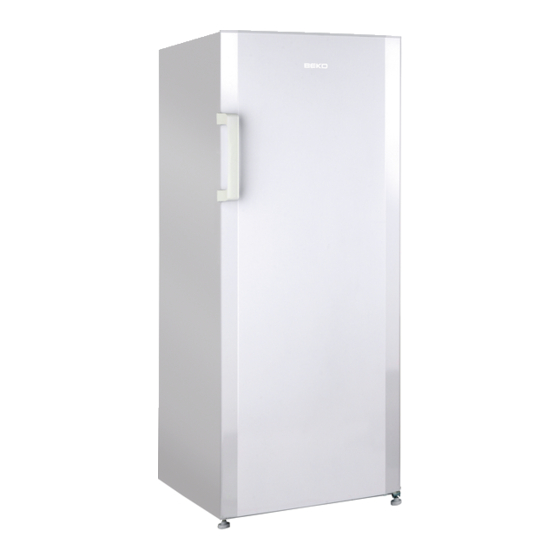
Your refrigerator Congratulations on your choice of a BEKO quality Appliance which has been designed to give you service for many years. MAX. 1. Thermostat 2. Flap (Fast-Freeze compartment) 3. Ice cube tray & Ice bank 4. Drawers 5. Adjustable front feet C Figures that take place in this instruction manual are schematic and may not correspond exactly with your product. -
Page 5: Warnings
• Do not dispose of the appliance on a • Do not use mechanical devices fire. At BEKO, the care and protection or other means to accelerate the of our environment is an ongoing defrosting process, other than those commitment. -
Page 6: Electrical Requirements
With alternative plugs a 13 A fuse must mains lead which can only be obtained be fitted either in the plug or adaptor from a BEKO Authorised Service or in the main fuse box. If in doubt Agent. contact a qualified electrician. -
Page 7: Installation
Installation 5. The appliance should be located on INSTALLATION INSTRUCTIONS a smooth surface. The two front feet can be adjusted as 1. The space in the room where the required. appliance is installed must not be smaller than 10 cubic metres. To ensure that,your appliance is standing upright adjust the two front feet by turning clockwise or anti-... - Page 8 “IMPORTANT: Care must be taken while cleaning / carrying the appliance to avoid touching the bottom of the condenser metal wires at the back of theappliance as you might injure your fingers and hands. “IMPORTANT: This appliance is not designed for stacking with any otherappliance.When positioning your appliance, take care not to damage your flooring, pipes,wall coverings etc.
-
Page 9: Reversing The Doors
REVERSING THE DOORS 3.Gently prise off plastic hinge covers on both sides of front top panel using a small flat-headed screwdriver. (1-2) We recommend that you reverse the 4-Unscrew the bolts of the top hinge door before switching on for the first and remove top hinge. - Page 10 15-Locate and re-fit door to bottom hinge pin. (14) 16-Re-fit the upper hinge on the opposite side by using a flat headed screwdriver. (15) 17.Fit front top panel plastic hinge covers on the opposite sides. (16) 18.Remove the handle cover gently taking care not to damage the appliance.(17) 19.Unscrew and remove the handle...
- Page 11 (12) 45 ° 180°...
-
Page 12: Before Operating Starting
Before operating STARTING 8.Front edges of the cabinet may feel Final Check warm. This is normal. These areas are Before you start using the refrigerator designed to be warm to avoid check that: condensation. 1.The front feet have been adjusted 9.We recommend that you set the so the appliance is level. -
Page 13: Using Your Refrigerator
Using your refrigerator We recommend checking the temperature with a thermometer to Setting the operating ensure that the storage compartments temperature are kept to the desired temperature. Remember to take the reading The operating temperature is regulated immediately since the thermometer by the temperature control. - Page 14 MAX. In these situations the red LED There are three coloured indicator indicator will continue to be switched lights located inside the appliance on until the appliance reaches the which show the operating mode of the freezer. preset temperature. If the red LED indicator is still switched on then wait for 24 hours before calling service.
-
Page 15: Making Ice Cubes
Be careful with frozen products such It is strongly recommended to keep the at MAX. position at least 24 hours as coloured ice-cubes. to freeze maximum amount of fresh Do not exceed the freezing capacity food declared as freezing capacity. of your appliance in 24 hours. -
Page 16: Maintenance And Cleaning
Maintenance and cleaning ** We recommend that you switch ** Any dust that gathers on the off the appliance at the socket outlet condenser, which is located at the and pull out the mains plug before back of the freezer, should be removed cleaning. -
Page 17: Do's And Don'ts
Do's and Don'ts Do-Check contents of the freezer at Don’t- Exceed the maximum freezing regular intervals. capacity (16 kg in any 24 hours) when Do- Clean your freezer regularly. freezing fresh food. Do- Keep food for as short a time as Don’t- Consume ice-cream and water possible and adhere to “Best Before”, ices direct from the freezer. -
Page 18: Problem Solving
PROBLEM SOLVING If the appliance does not operate when switched on, check: • The plug is inserted properly in the socket and that the power supply is on. (To check the power supply to the socket, plug in another appliance) •... - Page 19 • The cost of functional replacement parts, but excluding consumable items. • The labour costs of a Beko approved repairer to carry out the repair. What is not covered? • Transit, delivery or accidental damage or misuse and abuse.
- Page 20 Otherwise please call the appropriate number above where service can be obtained at a charge. Should you experience any difficulty in obtaining service please contact the Beko Customer Help-Line. Tel: 0845 6004911 e-mail: service@beko.co.uk...
- Page 21 BEKO plc Beko House Caxton Way Watford Hertfordshire WD18 8UF Tel: 0845 6004911 Fax: 0845 6004922 Printed in Turkey e-mail: service@beko.co.uk 48 9746 0000 Part no: website: www.beko.co.uk Revision no:...
Need help?
Do you have a question about the TFF654APW and is the answer not in the manual?
Questions and answers