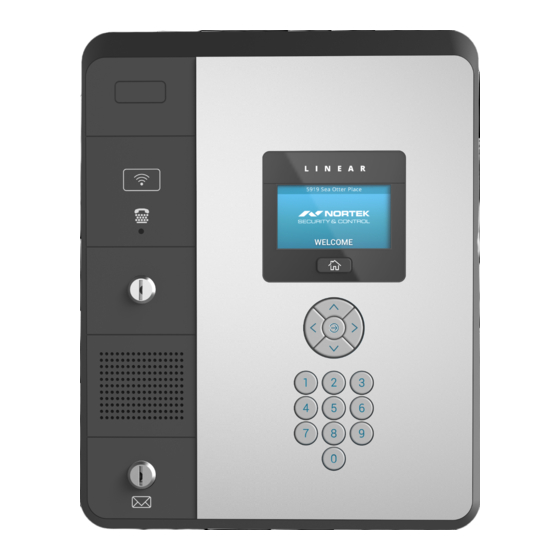
Summary of Contents for Nortek EP-402
- Page 1 Quick Start Guide Telephone Entry & Access Control System (EP-402 / EP-436) (EP-736) ( EP-EXN ) Quick Start Guide or dial...
-
Page 2: Ip Address Configuration
IP Address Configuration NOTE: This Quick start guide is applicable to Entry Pro (EP) Series Telephone Entry system. The thumbdrive in the hardware bag contains additional installation and wiring instructions. WARNING: Do Not connect an Ethernet cable from the EP CPU to the Local Area Network (LAN) before the Initial IP System Configuration has been completed. - Page 3 Select the Network Setting icon, then the IP Address icon to display the IP settings page. Enter the static IP address, Subnet Mask, Gateway and DNS server so that it matches the requirements of the local network provided by the IT administrator.
- Page 4 Multi-Unit Installation - Telephone Entry Below is an example of a multi-unit installation displaying multiple EP and EXN units: Ethernet Switch To Router/Firewall EP-436 EP-EXN Client EP-EXN Client Client EP-736 EP-436 Controller Client...
- Page 5 Adding additional hardware to build a system with multiple interconnected units - one database (EP Series Only) NOTE: Standalone installations proceed to pg. 6 to add users. EP-x36 Series units provide the ability to add additional controllers to expand the amount of doors, inputs and outputs. These additional controllers are referred to as clients.
- Page 6 Note: All TE controllers and clients must be operating on the same software revision. System failure may occur if not updated to the same software revision. Refer to Nortek Security and Control technical support for assistance in determining and/or updating the software revision.
- Page 7 Controller to Client Conversion (continued) Locate the license client key sheet document contained in the manual and hardware packet. The system now will provide a new license key. When this key is applied to license the panel will convert from a server role to a client role Copy this key so it can be pasted into the license screen.
- Page 8 Controller to Client Conversion (continued) 14. The license page provides Software Version, MAC Address and Edit button to change the license key. 15. Click on the Edit button, and paste the new license. 16. Click Save. NOTE: The TE Front End is now a client which can be added to the EP Models as an expansion Module. The license screen will now say TE Client. 17.
-
Page 9: Adding Users
Adding Users Specific information must be input into the system to establish basic user profile. An access level must be created before a new User can be created. An asterisk (*) denotes required information. Perform the following steps to create a new user profile. On the main navigation menu, click New User button. - Page 10 EP Unit Operation Requesting Access with an Entry Code • Residents have up to 40 seconds to key in their entry code. • Up to eight seconds are allowed between each keystroke. ENTRY CODE AT LOCAL KEYPAD • All digits of the entry code must be entered. Example: If the entry code length is set for four digits, and the code is 0042, the user must enter “0 0 4 2”.
-
Page 11: Limited Warranty
Consumers should inquire from their selling dealer as to the nature of the dealer’s warranty, if any. There are no obligations or liabilities on the part of Nortek Security & Control LLC for consequential damages arising out of or in connection with use or performance of this product or other indirect damages with respect to loss of property, revenue, or profit, or cost of removal, installation, or reinstallation. - Page 12 Page left intentionally blank...


Need help?
Do you have a question about the EP-402 and is the answer not in the manual?
Questions and answers
Fob has 8 digits on back. How do I list this to add card to resident? Looks like last 4 digits then first 3 are in ( )