Table of Contents
Advertisement
Quick Links
1.IP Camera Connection
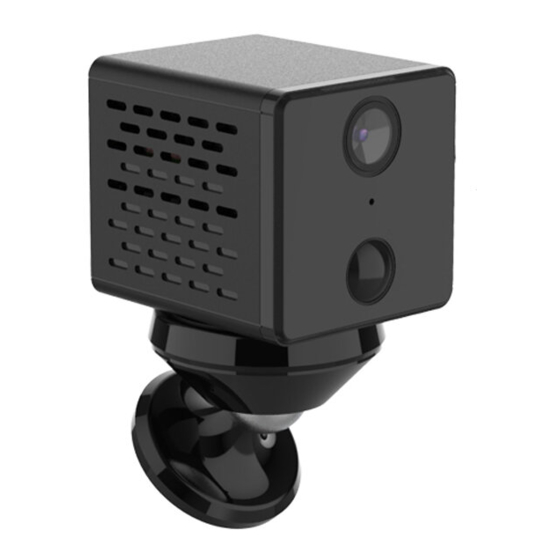
Please connect IP camera with power adapter, refer to the picture below. Start-up time
is about 1 minute.
Notes:IP/Network 2.4GHz Wi-Fi (Incompatible with 5GHz). If the router supports both bands,
please switch off 5GHz band. Set WPA2-PSK(AES)/ WPA-PSK(AES) as encryption.
2.App download & Account register
2.1. Download app
Scan below QR code to download app.
2.2 Sign up/login Eyecloud account
Advertisement
Table of Contents

Related Manuals for VStarcam cb73


Summary of Contents for VStarcam cb73
- Page 1 1.IP Camera Connection Please connect IP camera with power adapter, refer to the picture below. Start-up time is about 1 minute. Notes:IP/Network 2.4GHz Wi-Fi (Incompatible with 5GHz). If the router supports both bands, please switch off 5GHz band. Set WPA2-PSK(AES)/ WPA-PSK(AES) as encryption. 2.App download &...
- Page 2 Launch the APP, and click the register,fill in user name and password,then click submit. Note: After you login, please go to “Me-Account & security-Bind Email”to bind your account with your email address, for retrieving your forgotten password. 3. Add the camera to the APP 3.1 After logging in to the APP, click "Add Device"...
- Page 3 3.2 Make sure the device has been reset by hearing the warning tone or indicator light blue light flashing, then “tick” the tip after scan the QR code and click “Next”. 3.3 Turn up the mobile phone volume and get close to the device, then confirm your WiFi account and password to start configuration.
- Page 4 3.4 The device UID, name and password will be shown when configuration finished, click “add it” button to complete the configuration. Click “play” icon on the video, then you can view real-time video.
-
Page 5: Device Sharing
4. Device sharing If other users want to add this camera,he can access to the camera via the function of“device sharing”. Click on“device sharing”and enter the page of the “QR code sharing”.Other users can open the downloaded Eye4 APP to scan the QR code and watch the live video. Through the option of “user management”,all the user name added to the camera can be seen,you can delete the shared users here. - Page 6 5. Image/Sound settings 5.1 Change camera name Click “settings” icon to camera settings interface, tap the icon beside camera’s name, as shown below, then you can modify the name directly. 5.2 Night vision model Click “image/sound settings”to enter the setting page.there are two night models “automatic night vision"...
-
Page 7: Brightness & Contrast Adjustment
5.3 Display time on the video Click “setting” icon, and go to “Image/Sound Settings” to find “set time” option and turn it on. 5.4 Brightness & contrast adjustment Login the APP, click on “SETTINGS” icon, find “image/sound settings” option. To adjust the brightness/contrast parameters, drag the dot on the brightness/contrast slider. -
Page 8: Camera Volume Adjustment
5.5 Camera volume adjustment The camera's microphone and speaker volume can be adjusted here. Tap this option to bring up the microphone and loudspeaker volume slider, slide the dot to adjust it. 6. TF Card Recording Settings 6.1 If you need to use TF card recording, please insert the TF card into the TF card slot of the camera, click "Settings"... - Page 9 TF card recording mode can also be set here. There are modes of No recording, 24h recording, Schedule recording and Motion recording. If you need to record with sound, you can turn on the "Record Sound" option (Note: this function is only supported for cameras with microphones). Format: Click "Format"...
- Page 10 6.3 How to playback TF card video To play back the TF card video, tap the TF card icon in the camera home page, select the date and time period and click the video file to watch. 6.4 Download/deletion of TF card video files TF card video download: click the video file to start watching, tap the download...
- Page 11 arrow on the right of the video to download, the downloaded video file will be automatically saved to the phone album. TF card video deletion: Click "Edit" at the bottom right of the video playback,select the video files and delete them. 7.
-
Page 12: Motion Detection Alarm
7.1 Motion detection alarm This option includes motion detection and human detection. Click to turn on the alarm function and enter the setting page of the alarm function. Motion detection Click to turn on the motion detection alarm, and the camera will trigger the alarm when it detecting movement. - Page 13 Detection sensitivity: Three levels of sensitivity are available. The higher the sensitivity, the more sensitive the camera is to detect the movement. Sound management: The alarm sound from the camera. Go to notification type to set “push sound customization”, click it and choose the song you like. Detection area: Areas that do not need monitoring can be covered.
- Page 14 Add schedule:Can set the alarm detection period. Set the time and click "Save" to save the setting. Notification type : Support client(mobile APP) notifications, push sound customization and mail notifications.
- Page 15 Client notification After the client notification is enable, when the alarm is triggered, the camera will push the alarm message to the mobile APP. Push sound customization It’s the sound that will be emitted on the phone when the alarm is triggered. You can choose the ‘Follow system (the alarm sound is the notification sound in the "Settings"...
- Page 16 Click “firmware” in the setting interface, so that the current firmware version can be seen, latest version also. 9. Four screen viewing at the same time 1. Login the APP→Click the four-screen button at the top left corner to enter the four-screen model(when there are extra cameras, you can slide left and right on the screen to view them).
-
Page 17: Image Quality Adjustment
Image quality adjustment 1. Login the APP→click to watch camera→click the button at the lower right corner in the live video to switch to the full-screen model→tap the screen →at the meantime, the picture quality adjustment button will appear in the lower left corner of the screen. -
Page 18: Alarm Message
12、Alarm message To check the alarm message of mobile APP, open the APP and click "Message" in the lower left corner of the home page to view. 12.1 How do I filter alarm message records To filter the alarm message, please click the funnel icon in the upper right corner of the message center to enter the filter page, check the corresponding message type and camera, and screen the alarm message type of the camera you want to see. - Page 19 For iPhone, swipe the message left to delete it. For Android phones, click on the corresponding alarm message and select the delete icon in the upper right corner of the message to delete the alarm message. 12.3 Mobile phone storage location of local recording The local recording will be stored in the file SD card /DCIM/Eye4, you can find and open the video recording in this content.
- Page 20 15. About Log in the APP→ click "Me" → click "About" to view the current APP version and update the APP.
Need help?
Do you have a question about the cb73 and is the answer not in the manual?
Questions and answers