Table of Contents
Advertisement
Quick Links
Advertisement
Table of Contents

Summary of Contents for voxicon VXD-P49UWHD
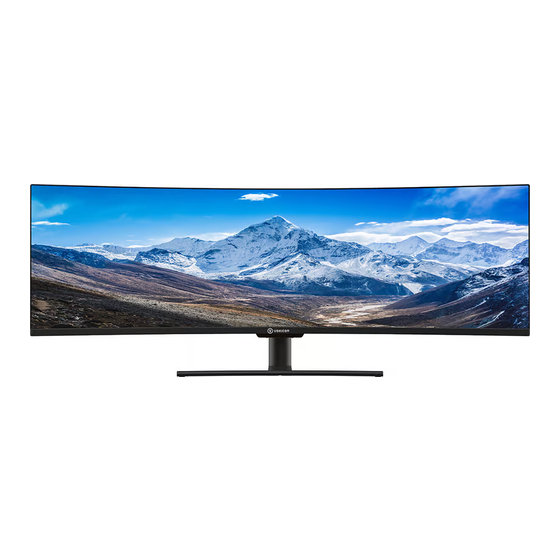
- Page 1 VXD-P49UWHD USER MANUAL...
- Page 2 1. Safety Precautions WARNING: Safety Instructions Do not place the monitor in rain, humid environment or open the monitor case to avoid any shock, electrical hazards, and/or mechanical hazards. Operation Keep the monitor out of direct sunlight and away from stoves or any other heat source.
-
Page 3: Box Contents
35mm length 17mm Screws M4*12mm x 4 Screws CM4*8mm x 3 Screws CM5*12mm x 4 (for wall mounting) (for stand installation) (for stand installation) VXD-P49UWHD USER MANUAL DP Cable x 1 Power Cable x 2 User Manual x 1... -
Page 4: Monitor Ports
4. Product Overview 4.1 —Monitor Buttons M Menu Button: Press to display the OSD menu or enter sub-menus. Down Button: Press to move down in the menus. Up Button: Press to move up in the menus. E Exit Button: Press to exit. Power Button: Press to turn the monitor on/off. - Page 5 5. Stand lnstallation 1. Open the package, remove the product with the foam still attached, and place it gently on a desk or table. 2. Lock the base A and the base B with three CM4*8 screws. Then lock the base assembly and bracket assembly with three CM5*12 screws.
- Page 6 5. If you want to remove the base, take off the decorative cover of the rear shell, pull down the quick release button, and the base can be taken off. Bu�on 6. Use both hands to place the assembled monitor on a flat desk. Keep the foam underneath the monitor before attaching the stand.
- Page 7 2. Take the hexagonal studs from the accessory bag and lock them on the back shell, as shown in the figure, two stud locks with a length of 35mm are above and two stud locks with a length of 17mm are underneath. Stud length 35mm Stud length 17mm 3.
-
Page 8: Connectivity Options
7. Connectivity Options 7.1 – Connecting the Power Cable Connect the included power cable to the power connector and then plug the other end into a wall outlet. Power Cable 7.2 – Connecting Your Earphones Plug in your earphones to receive audio signals from your monitor. If you have an audio device connected to your computer when you connect your earphones to the monitor, the audio devices will not produce sound. -
Page 9: Hdmi Connectivity
7.3 – DP Connectivity For the monitor to receive DP signals from the computer, use the DP cable to connect the monitor to the computer. DP Cable (Included) DP OUTPUT 7.4 – HDMI Connectivity For the monitor to receive HDMl signals from the computer, use an HDMl cable to connect the monitor to the computer. -
Page 10: Basic Operation
8. Basic Operation 1. Insert one end of the DP cable into your PC's graphics card. An HDMl cable may also be used. HDMI cable is not included. 2. Connect the other end of the cable to the corresponding connector on your monitor. DP Connectors HDMI Connectors 3. -
Page 11: On-Screen Display (Osd)
10. On-Screen Display (OSD) The On-Screen Display (OSD) Menu may be used to adjust your monitor's settings and appears on screen after turning on the monitor and pressing the M button. When using the monitor for the first time, settings will automatically adjust to optimal settings according to your computer's configuration and parts etc. -
Page 12: Osd Menu Functions
10.1- OSD Menu Functions Main Menu Sub-Menu Options Description Input Source NONE Switch to DP signal input HDMI 1, NONE Switch to HDMI signal input HDMI 2, HDMI 3 Brightness/ Brightness 0~100 Adjust display brightness Contrast Contrast 0~100 Adjust display contrast Turn on DCR function Turn off DCR function Color Setting Gamma... - Page 13 Main Menu Sub-Menu Options Description Multi-Window Multi-Window Off, PIP Mode, Select PIP/PBP modes according to the PBP 2Win number of input signals etc. Sub Win2 Input DP, HDMI 1, Select according to input signal for HDMI 2, HDMI 3 PBP mode PIP Size PIP Mode, HDMI2, Adjust the PIP/PBP display window size...
- Page 14 11. GamePlus Switching , RGB Ranges and LED Effects 1. Press one of the buttons( ) to activate the navigation window. M, , , E, 2. Press ) to switch Gameplus modes. According to the needs of your game, choose the corresponding game icon.These game icons are primarily designed to optimize your aim during shooting games, though they can be used for other scenarios.
-
Page 15: Technical Specifications
12. Technical Specifications VXD-P49UWHD Model 49" screen Size 32:9 Aspect Ratio E-LED Backlight 350 cd/m (Typ.) / 320 cd/m (Min.) Brightness Panel DP1.2: 3840*1080@144Hz Resolution HDMI 2.0: 3840*1080@120Hz HDMI 1.4: 3840*1080@60Hz 144Hz Refresh Rate OD 4ms Response Time 178°(V) 178°(H) /...

Need help?
Do you have a question about the VXD-P49UWHD and is the answer not in the manual?
Questions and answers