Table of Contents
Advertisement
Quick Links
Advertisement
Table of Contents

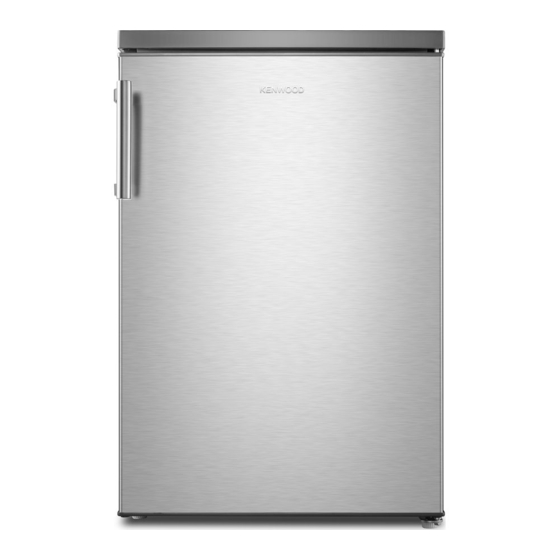
Summary of Contents for Kenwood KUL55X17
- Page 1 55cm Undercounter Fridge Larder KUL55X17 installation / instructions manual...
-
Page 3: Table Of Contents
Contents safety warnings ........................4 unpacking ..........................6 installation ........................... 7 location ..........................7 levelling the unit ....................... 7 installing the rubber support .................... 7 free space requirements ....................7 installing the door handle ....................8 reversing the door swing ....................9 cleaning before use ....................... -
Page 4: Safety Warnings
safety warnings For your continued safety and to reduce the risk of injury or electric shock, please follow all the safety precautions listed below. • Read all instructions carefully before using the unit and keep them for future reference. • Retain the manual. If you pass the unit onto a third party, make sure to include this manual. - Page 5 • Do not store explosive substances such as aerosol cans with a flammable propellant in this appliance. • Do not store bottles or glass containers in the freezer compartment. Contents can expand when frozen (fizzy drinks) which may break the bottle and damage your freezer compartment.
-
Page 6: Unpacking
Thank you for purchasing your new Kenwood Fridge. These operating instructions will help you use it properly and safely. We recommend that you spend some time reading this installation/instruction manual in order that you fully understand all the operational features it offers. -
Page 7: Installation
installation installation location When selecting a position for your unit you should make sure the floor is flat and firm, and the room is well ventilated with an average room temperature of between 16°C and 43°C. Avoid locating your unit near a heat source, e.g. cooker, boiler or radiator. Also avoid direct sunlight as it may increase the electrical consumption. -
Page 8: Installing The Door Handle
installation If the appliance is placed under a continuous worktop, the appliance lid (if applicable) may be removed and a ventilation grille of at least 200 cm (available from DIY shops or specialist retailers) should be installed to the worktop above the rear of the appliance to increase ventilation. -
Page 9: Reversing The Door Swing
installation reversing the door swing tools required: Philips style screwdriver / Flat bladed screwdriver / Hexagonal spanner • Ensure the unit is unplugged and empty. • To take the door off it is necessary to tilt the unit backwards. You should rest the unit on something solid, e.g. -
Page 10: Cleaning Before Use
installation 4. Stand the unit. Place the bottom hole of the door onto the bottom hinge pin. Insert the upper hinge pin into the upper hole of the door. Screw the upper hinge tightly. Screw also the other side tightly. Ensure the door is aligned horizontally and vertically, so that the seals are closed on all sides before finally tightening the hinge. -
Page 11: Product Overview
product overview main unit LED Light and Thermostat Control Dial Glass Shelf Door Shelf Salad Bin Cover Shelf Salad Bin Egg Tray... -
Page 12: Operation
operation switching on your unit 1. Before connecting the unit to the mains supply make sure that the thermostat control dial is set at position 0. This is located on the right side of the cabinet. Connect the mains cable to the mains socket. -
Page 13: Tips For Keeping Food In The Unit
tips for keeping food in the unit • Cooked meats/fishes should always be stored on a shelf above raw meats/fishes to avoid bacterial transfer. Keep raw meats/fishes in a container which is large enough to collect juices and cover it properly. Place the container on the lowest shelf. • Leave space around your food, to allow air to circulate inside the compartments. -
Page 14: Maintenance
maintenance changing the internal LED light The internal light is an LED light. Before changing the light, switch off the appliance and unplug it first. If the light will not work, contact a qualified service agent. care when handling / moving your unit Hold the unit around its sides or base when moving it. -
Page 15: Specifications
Model KUL55X17 Category 1 (Refrigerator with one or more fresh-food Appliance Category storage compartments) Overall Dimension (H x W x D) 845 x 560 x 575 mm Fresh Food Storage Volume 137 L Frozen Food Storage Volume Defrosting Type... - Page 16 DSG Retail Ltd. (co. no. 504877) 1 Portal Way, London, W3 6RS, UK Manufactured for DSG Retail Limited under Licence from Fisher & Paykel Appliances Italy SpA. DSG Retail Limited is responsible for after sales service. IB-KUL55X17-170119V1...


Need help?
Do you have a question about the KUL55X17 and is the answer not in the manual?
Questions and answers
WHAT SHELF DO I USE TO DEFROST FROZEN MINCE FROM FREEZER