
Subscribe to Our Youtube Channel
Related Manuals for glemgas GT955HIX

Summary of Contents for glemgas GT955HIX
- Page 1 BUILT-IN HOB...
-
Page 3: Declaration Of Conformity
Important warning and advice for usage IMPORTANT! This booklet is a fundamental part of the appliance it should be preserved whole and at hand throughout the hob’s lifespan. We recommend that this booklet and all the instructions within it are read carefully before using the appliance. Keep the spare parts supplied in a safe place. - Page 4 HOB CHARACTERISTICS Warning: This appliance is the type for being built into furniture. ♦ The installation class is 3 for the gas parts and Y for the electric parts. ♦ Furniture must be resistant to temperatures of at least 90°C. ♦...
- Page 5 75cm hob with front commands Mod: P8 (**) F5 (Fig. 8) 1. Auxiliary burner(A) 2. Rapid burner(R) 3. Semi-rapid back burner (SR) 4. Semi-rapid front burner (SR) 5. DUAL burner (DUAL) Mod: P8 (**) F5 (Fig. 9) 1. Auxiliary burner(A) 2.
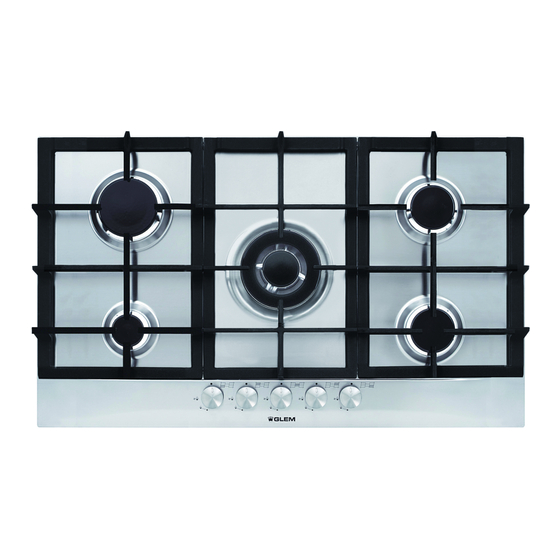
- Page 6 90cm hob with side commands Mod: P9(**)L-5 (Fig.20) 1. Auxiliary burner (A) 2. Rapid burner ( R ) 3. Semi-rapid left back burner (SR) 4. Semi-rapid right front burner (SR) 5. Triple-crown burner (TC) Mod: P9(**)L28 (Fig.21) 1. Auxiliary burner (A) 2.
-
Page 7: Using The Hob
USING THE HOB Gas burners The flow of gas to the burners is regulated by the knobs shown in 30 which command the valves. Depending on the chosen version, the symbols can be printed onto the knobs or the command panel. The following regulations are obtained when the indicator points to the printed symbols: Valve closed, no gas flow Maximum capacity, maximum gas flow... -
Page 8: Pan Diameter
Warning: The ignition device cannot be activated for more than 15 seconds. If it still has not lit after this time or it turned off accidentally, wait for 1 minute before repeating the operation. For models with ignition button, turn the gas valve knob to maximum flow and then press the ignition button and hold it down for about 4 to 5 seconds. -
Page 9: Glass Ceramic Hob
Using the electric plate Once boiling point is reached, adjust the power based on heating intensity desired, bearing in mind that the plate will continue to emit heat for some minutes after being turned off. When using the electric plate it is important to remember: It is crucial not to use it without vessels. -
Page 10: Installation Instructions
Advice for using the hob safely Before switching on, identify which knob controls the desired cooking area. We recommend placing the vessel on the cooking zone before switching on and to remove it after turning off. Use vessels with even, flat bases mind cast-iron vessels. Uneven bases can scratch the surface of the glass-ceramic. - Page 11 We recommend the use of an oven equipped with forced internal cooling. Fixing the hob The hob is to be fixed to the furniture as follows: Place the sealing gasket supplied along the outside edge of the hole drilled in the fittings following the scheme indicated in fig.
-
Page 12: Adaptation To Different Types Of Gas
Carry out the connection so that the appliance is not subjected to stress in any way. The incoming gas connection pipe is threaded G½”. No sealing is necessary for ISO R7 connections. The supplied head washer is to be interposed with ISO R228 connections. After connection, check that the connections hold using a soapy solution. - Page 13 CLEANING To preserve the hob well it needs to be cleaned regularly after every use, when it has cooled down. Never remove the knobs from their housing Enamel parts All enamel parts should only be washed with a sponge and soapy water or other specifically non-abrasive products.
- Page 14 Cat.: II 2H 3+ IT GB ES PT CH IE Tipo di gas/ gas type/ type de gaz/ tipo de gas/ tipo de gás/ gaz type 20 mbar Pressione del gas/ gas pressure/ pression gaz/ presion gas/ pressão gas Portata/power inputs/débit Portata/power inputs/débit Ø...
- Page 15 Fig. Fig. Fig. Fig. Fig. Fig. Fig. Fig.
- Page 16 Fig. Fig. Fig. Fig. Fig. Fig. Fig. Fig.
- Page 17 Fig. Fig. Fig.
- Page 18 Fig. Fig. Fig. Fig. Fig. Fig. Fig.
- Page 19 Fig. Fig. Fig. Fig.
- Page 20 Fig. Fig. Fig. Fig. Fig. Fig.
- Page 21 Fig. Fig. Fig. Fig. Fig.
- Page 22 Fig. Fig. Fig.
- Page 28 COD. H01A374G...
Need help?
Do you have a question about the GT955HIX and is the answer not in the manual?
Questions and answers