Sign In
Upload
Download
Table of Contents
Contents
Add to my manuals
Delete from my manuals
Share
URL of this page:
HTML Link:
Bookmark this page
Add
Manual will be automatically added to "My Manuals"
Print this page
×
Bookmark added
×
Added to my manuals
Manuals
Brands
Dali Manuals
Speaker System
Sound Hub
Manual
Dali SOUND HUB Manual
Hide thumbs
Also See for SOUND HUB
:
Quick setup manual
(12 pages)
,
Manual
(24 pages)
1
Table Of Contents
2
3
4
5
6
7
8
9
10
11
12
13
14
15
16
17
18
19
20
21
22
23
24
25
26
27
28
29
30
31
32
33
34
35
36
37
38
39
40
41
42
43
44
45
46
47
48
49
50
51
52
53
54
55
56
57
58
59
page
of
59
Go
/
59
Contents
Table of Contents
Bookmarks
Table of Contents
Table of Contents
SOUND HUB Overview
D 1: SOUND HUB Rear Panel
D 2: SOUND HUB Front Panel
D 3: Remote Control
Unpacking
D 5: in the Box
Installation and Setup
Location
Getting Started and Switching on
D 6: Inserting Batteries
Connecting Speakers
T 1 : Speaker Channel Assignments
D 7: Connecting Speakers
D 8: Multi-Channel Home Theatre System
Connecting an External Power Amplifier
Connecting Audio Sources
Bluetooth Audio
Wired Audio
Connecting Network Audio Streams
Using Your SOUND HUB
Standby
Volume
Mute
Source Selection
Auto Signal Sensing
Display and Indicator Illumination
Speaker Balance Adjustment
Speaker Distance Adjustment
Trouble-Shooting and Maintaining Your SOUND HUB
Cleaning
Wireless Connection Channel Options
Reset to Defaults
Firmware Update
Disposal
Installing and Using the SOUND HUB NPM Bluos Module
Installation
Network Connection
T 2: LED Blink Codes
Using Your NPM Equipped SOUND HUB
NPM Reset to Defaults
Installing and Using the SOUND HUB HDMI Module
D 10: HDMI Module Rear Panel
Installation
Configuring Your HDMI Equipped SOUND HUB
D 11: HDMI Module
D 12: HDMI Module Switches
Using Your HDMI Equipped SOUND HUB
T 3: Valid Multi-Channel Speaker Arrangements
Technical Specifications
Diagrams / Tables
Advertisement
Quick Links
1
Connecting Speakers
2
Firmware Update
3
Installing and Using the Sound Hub Npm Bluos Module
Download this manual
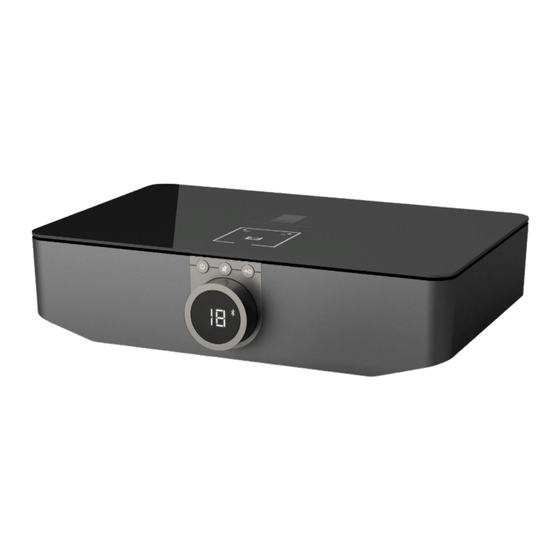
DALI SOUND HUB
MANUAL
HDMI module • NPM BluOS module
Table of
Contents
Previous
Page
Next
Page
1
2
3
4
5
Advertisement
Table of Contents
Need help?
Do you have a question about the SOUND HUB and is the answer not in the manual?
Ask a question
Questions and answers
Related Manuals for Dali SOUND HUB
DJ Equipment Dali Sound Hub Manual
(24 pages)
Switch Dali Sound Hub Quick Setup Manual
(12 pages)
Speaker System Dali Katch One Manual
(19 pages)
Speaker System Dali KUBIK ONE User Manual
(100 pages)
Speaker System Dali OBERON 3 Manual
(35 pages)
Speaker System Dali HELICON MK2 Brochure & Specs
Dali loudspeakers helicon product brochure (16 pages)
Speaker System Dali KATCH ONE Setup Manual
Hdmi setup guide (4 pages)
Speaker System Dali MEGALINE Loudspeaker System Brochure & Specs
Dali loudspeakers loudspeaker system owner's manual (2 pages)
This manual is also suitable for:
Npm-2i
Hdmi module
Table of Contents
Print
Rename the bookmark
Delete bookmark?
Delete from my manuals?
Login
Sign In
OR
Sign in with Facebook
Sign in with Google
Upload manual
Upload from disk
Upload from URL


Need help?
Do you have a question about the SOUND HUB and is the answer not in the manual?
Questions and answers