Table of Contents
Advertisement
Quick Links
Advertisement
Table of Contents

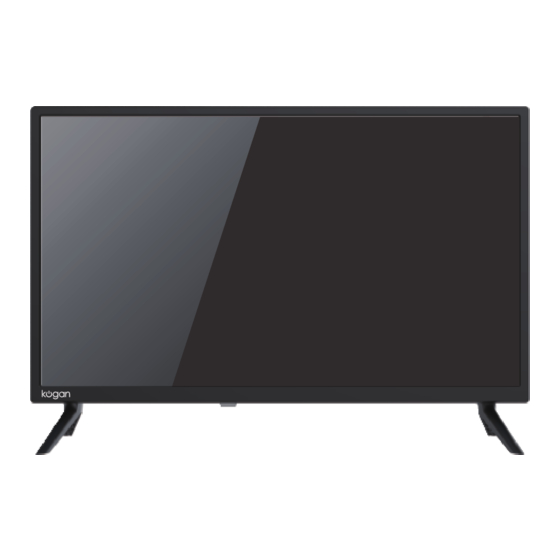
Summary of Contents for Kogan 5 Series
- Page 1 USER GUIDE 24” HD LED TV SERIES 5 DH5200(KALED24DH5200QA)
-
Page 2: Table Of Contents
CONTENTS SAFETY AND WARNINGS Safety and warnings ......02 Settings ............ 12 Thank you for buying this Kogan product. Please read all safety instructions before using your TV. WARNING Components .......... 04 PICTURE .......... 11 SOUND ..........11 Never place a television set in an unstable location. A television set may fall, causing serious Product overview ........ - Page 3 SAFETY AND WARNINGS cont’d • Keep small accessories out of reach of children so they are not mistakenly swallowed. Refer to the table below as a guide to the symbols and warnings which may be on your TV. CAUTION: Connecting the power cord CAUTION CAUTION: TO REDUCE THE RISK OF ELECTRIC SHOCK DO NOT REMOVE Most appliances recommend they be placed upon a dedicated circuit;...
-
Page 4: Components
COMPONENTS QUICK START GUIDE 24” HD LED TV Series 5, DH5200 ( KALED24DH5200QA) A Kogan 24” D B4 x 20mm screw (x4) HD LED TV NOT INCLUDED E AAA battery (x2) B Remote control Phillips head screwdriver, antenna F Quick-start guide cable, broadband internet connection. -
Page 5: Product Overview
PRODUCT OVERVIEW Inputs Audio in Stereo (2.0) audio input. Usually paired with stereo audio inputs Composite (red and white cables), the single-wire video in composite cable provides video signal. Three cables (“Y,” “Pb” and “Pr”) provide a Component higher quality connection than the single- video in wire composite cable (“Y”) commonly used to hook up earlier AV equipment. -
Page 6: Assembly And Installation
ASSEMBLY AND INSTALLATION 2. Connect to antenna BEFORE YOU GET STARTED a. Connect an antenna cable (not supplied) via the ‘ANT’ input port at the Spread cushioning flat to lay the TV on. This will help to prevent damage. back of the TV. b. -
Page 7: Using Remote / Power Button
USING REMOTE CONTROL / POWER BUTTON 3. Remote control assembly 5. Turning TV on a. Open the battery compartment cover on the back side. a. Plug the power cord into a suitable power outlet. The standby will display b. Insert two 1.5V AAA size batteries, making sure to match the polarity a light, showing that the TV is receiving power. -
Page 8: Remote Control Overview
REMOTE CONTROL OVERVIEW 17 SUBTITLE to toggle subtitles on/o 18 + CH - to scroll channels 19 + VOL - to scroll channels 20 T.SHIFT Start / Stop time shi recording 21 Media control buttons including play, pause, backward, forward,and skip to previous and next chapter for use in Media mode Power press to enter or exit to start to record... -
Page 9: First Time Setup
FIRST TIME SETUP When turning the TV on for the first time, the Welcome screen will appear. Use the and OK buttons to navigate the following options. Language and Location You can press le /rigt button to select Language,Country,Time Zone and Tune Type. -
Page 10: Basic Operation
BASIC OPERATION Selecting channels Colour buttons There are two ways to select channel: In some menus and apps, the remote control’s four colour buttons ( ) can be used. 1. Using number buttons followed by the OK button on the remote control to select channel directly. -
Page 11: Picture
SETTINGS PICTURE SOUND You can select the type of picture, which best corresponds to your viewing. You can select the type of sound, which best corresponds to your viewing. Press “MENU” button to enter the OSD menu.Then press “ ” button Press “MENU”... -
Page 12: Settings
SETTINGS (cont’d) TIME LOCK Press “MENU” button to enter the OSD menu.Then press “ ” button Press “MENU” button to enter the OSD menu.Then press “ ” button to select the “TIME” menu. to select the “LOCK” menu. 1.Press “ ”... -
Page 13: Setup
SETTINGS (cont’d) SETUP Press “MENU” button to enter the OSD menu.Then press “ ” button 11.Press “ ” button to select “So ware Update” and press the “ENTER” to select the “SETUP ” menu. button to update so ware using USB. Note: It is only use for service 12.Press “... -
Page 14: Pvr Mode
PVR MODE NOTE ENTER Confirm / Play / Pause • Don’t connect or disconnect any USB device while in USB playback mode. Navigation / Skip backward & forward, Navigation / Skip backward & forward, • Ensure all personal data is backed up before inserting USB device into TV. Hold to skip to start &... -
Page 15: Media Playback
PVR MODE (cont’d) MEDIA PLAYBACK To access media playback mode, insert a USB drive containing files of the any time without missing any of the live broadcast. This can also allow you to following type into the TV’s USB input port. Next, from the Home page, select your preferred media player app. -
Page 16: Specifications
SPECIFICATIONS Audio USB Media Playback Speakers 2 x 3W USB Media Playback Formats JPG, JPEG, PNG, BMP, MP3, DD, DD+, AAC, MPG, MPEG4, H.265 Connectivity Inputs HDMI Composite (AV) HDMI-ARC HDMI HDMI-CEC Outputs 1 x USB 2.0 3.5mm Stereo Audio Coaxial Audio Out Dimensions Power... -
Page 17: Troubleshooting
• Check that MUTE hasn’t been turned • Try a di erent device connected to the same cable and port Picture rolls vertically • Perform a factory reset on your TV • Check all connections © Copyright 2020, Kogan.com – KALED24DH5200QA UM 10-20...


Need help?
Do you have a question about the 5 Series and is the answer not in the manual?
Questions and answers