Advertisement
Quick Links
Advertisement

Related Manuals for Kogan SHANGRI-LA SLROBINBFWA


Summary of Contents for Kogan SHANGRI-LA SLROBINBFWA
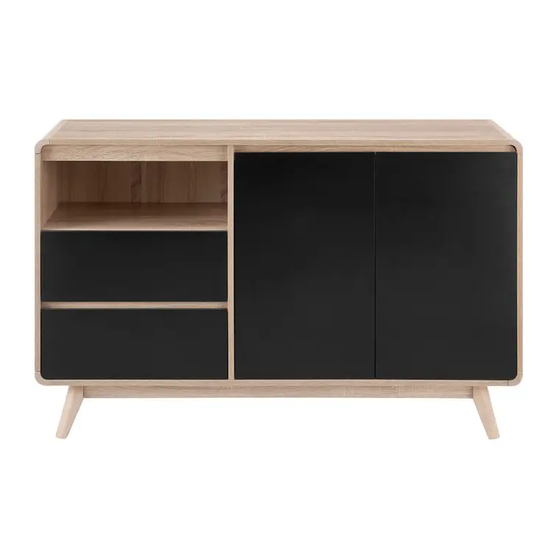
- Page 1 ROBIN 2 DOOR BUFFET SLROBINBFWA & SLROBINBFBA...
- Page 3 SAFETY & WARNINGS Please read these safety instructions thoroughly before using this product. Retain this guide for future reference. • Carefully identify each component, especially those that are similar. The most common mistake is getting things back to front. • Separate and identify each component from the hardware pack and rest it in its final location before fastening.
- Page 4 COMPONENTS Lay all components out on a clean floor and ensure all parts are included. If any pieces are missing, check all packaging thoroughly, then contact help.Kogan.com for assistance. Parts:...
- Page 5 Size (mm) Size (mm) 60 x 395 x 40 387 x 659 x 2.5 60 x 395 x 40 46 x 500 x 15 60 x 395 x 40 46 x 755 x 15 60 x 395 x 40 46 x 500 x 15 394 x 585 x 15 50 x 1052 x 15 394 x 585 x 15...
- Page 6 Hardware: A Ø15x9.6 (x46) B 35mm (x44) C Ø4x25 (x12) D Ø4x32 (x4) E 14" (x4) F 14" (x4) G Ø3.5x12 (x24) H (x40) I Ø5.5x38 (x7) J Legs (x4) K Ø5x16x1 M Ø5x16 (x6) N Ø632 (x2) O 68mm (x3) P Ø35 (x4) Q Ø4x15 (x16) R (x4)
- Page 7 ASSEMBLY IMPORTANT! Read before assembling Slide runner Slide track This product contains multiple sets of metal slide runners and slide tracks (shown separated above). To avoid damage to these items during transportation, the slide runners and tracks have been pre-assembled together in pairs. Each pair includes one slide runner and one slide track.
- Page 8 Step 1: B 35mm (x8)
- Page 9 Step 2: F 14" (x4) G Ø3.5x12 (x12) x2 Drawer Slides F x2 Drawer Slides F...
- Page 10 Step 3: A Ø15x9.6 (x2) D Ø4x32 (x4) Arrow points in the direction of end hole...
- Page 11 Step 4: Arrow points in the direction of A Ø15x9.6 (x2) end hole Arrow points in the direction of end hole Step 5: Arrow points in A Ø15x9.6 (x2) the direction of end hole Arrow points in the direction of end hole...
- Page 12 Step 6: A Ø15x9.6 (x2) Arrow points in the direction of end hole Step 7: C Ø4x25 (x6)
- Page 13 Step 8: B 35mm (x4) Step 9: B 35mm (x5)
- Page 14 Step 10: B 35mm (x8) J (x4)
- Page 15 Step 11: Arrow points in A Ø15x9.6 (x4) the direction of end hole Step 12: Arrow points in A Ø15x9.6 (x4) the direction of end hole...
- Page 16 Step 13: A Ø15x9.6 (x4) I Ø5.5x38 (x4) Arrow points in the direction of end hole...
- Page 17 Step 14: A Ø15x9.6 (x1) I Ø5.5x38 (x1) Arrow to point in the direction of end hole...
- Page 18 Step 15: C Ø4x25 (x6) Step 16: B 35mm (x11)
- Page 19 Step 17: K Ø5x16x1 (x1) L (x1) M Ø5x16 (x1)
- Page 20 Step 18: E 14" (x2) G Ø3.5x12 (x6) x2 Drawer Slide E Step 19: E 14" (x2) G Ø3.5x12 (x6) x2 Drawer Slide E...
- Page 21 Step 20: B 35mm (x8)
- Page 22 Step 21: A Ø15x9.6 (x2) O 68mm (x1) Arrow to point in the direction of end hole...
- Page 23 Step 22: A Ø15x9.6 (x7) Arrow to point in the direction of end hole...
- Page 24 Step 23: A Ø15x9.6 (x1) Arrow to point in the direction of end hole...
- Page 25 Step 24: A Ø15x9.6 (x4) I Ø5.5x38 (x2) Arrow to point in the direction of end hole Stand upright...
- Page 26 Step 25: A Ø15x9.6 (x11) Arrow to point in the direction of end hole Stand upright...
- Page 27 Step 26: M Ø5x16 (x5) N Ø632 (x2) H (x40) Stand upright...
- Page 28 Step 27: R (x4) S Ø3.4x10 (x4) T Ø20 (x14) Cover the fastener holes...
- Page 29 Step 28: P Ø35 (x4) Q Ø4x15 (x16)
- Page 30 Step 29: Assembly Complete!
- Page 31 Anti-toppling • We strongly advise that you use the anti-toppling safety strap provided to prevent the unit from tipping forward. • Always seek advice from a qualified trades person on how to properly attach the safety strap to your wall. •...
- Page 32 ADJUSTMENTS To adjust your doors and make the gaps more even, follow the below procedure: Step 1: Adjust the gap between the door and side panel • Open the door • Loosen the indicated screw (Figure 1), adjust the hinge to the required position (Figure 2), then tighten the screw.
- Page 33 Step 2: Adjust the gap between the doors. • Open the door • Locate the adjusting screw (Figure 3). Turn the screw clockwise to reduce the door gap. Turn the screw counter-clockwise to increase the door gap (Figure 4). Top panel Door Side panel Figure 3...
- Page 34 NOTES...
- Page 36 Need more information? We hope that this user guide has given you the assistance needed for a simple set-up. For the most up-to-date guide for your product, as well as any additional assistance you may require, head online to help.kogan.com...
Need help?
Do you have a question about the SHANGRI-LA SLROBINBFWA and is the answer not in the manual?
Questions and answers