Advertisement
Quick Links
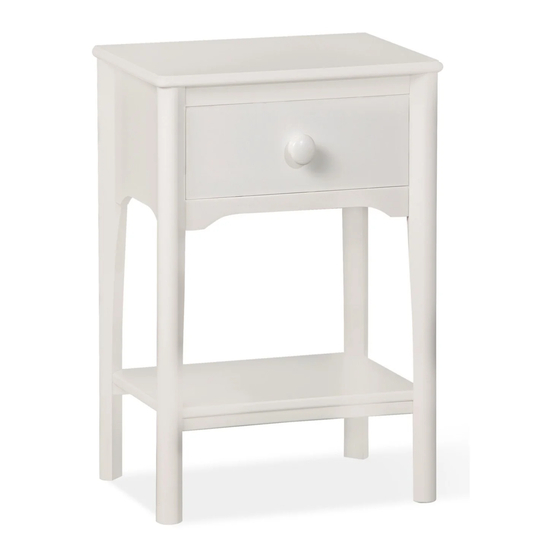
night stand
table de nuit
Read all instructions before assembly and use. Keep instructions for future use.
Adult assembly required. Due to the presence of small parts during assembly,
keep out of reach of children until assembly is complete.
Lisez toutes les instructions avant l'assemblage et l'utilisation. Conservez les
instructions pour un usage ulterieur. Le montage doit être e ectué par un adulte. En
raison de la présence de petites pièces pendant le montage, tenez le meuble hors de la
No drill required.
Do not use power screwdriver
Aucun forage n'est nécessaire.
Ne pas utiliser de tournevis
électrique.
portée des enfants jusqu'au terme du montage.
Style #:
___________
Lot:
___________
Date:
___________
22924- R1 22-August-2012
Advertisement

Subscribe to Our Youtube Channel
Related Manuals for Delta Children Kids R Us Solutions 1900-100


Summary of Contents for Delta Children Kids R Us Solutions 1900-100
- Page 1 night stand table de nuit Read all instructions before assembly and use. Keep instructions for future use. Adult assembly required. Due to the presence of small parts during assembly, keep out of reach of children until assembly is complete. Lisez toutes les instructions avant l’assemblage et l’utilisation. Conservez les instructions pour un usage ulterieur.
- Page 2 Consumer Care: www.DeltaChildren.com Delta Children’s Products 114 West 26th Street New York, NY 10001 Tele.212-645-9033 ©2012 DELTA ENTERPRISE CORP. THIS PRODUCT IS NOT INTENDED FOR INSTITUTIONAL OR COMMERCIAL USE. CE PRODUIT NE PAS DESTINE A UN USAGE INSTITUTIONNEL OU COMMERCIAL...
-
Page 3: Notes On Assembly
- Do not scratch or chip the finish. - Inspect the product periodically, contact delta children's products for replacement parts or questions. - Do not store the product or any parts in extreme temperatures and conditions such as a hot attic or a damp, cold basement. - Page 4 REMARQUES SUR LE SOIN ET L’ENTRETIEN : -Ne pas rayer ou ébrécher la finition. -Examinez de près le produit régulièrement, contactez delta children’s products pour les pièces de rechange ou pour poser des questions. -Ne pas ranger le produit ou des pièces a des températures extrêmes ou dans des conditions comme un grenier chaud ou une cave froide et humide.
-
Page 5: Right Side
How to use cam lock system: PARTS: MAKE SURE THAT ALL PRE-ASSEMBLED PARTS ARE TIGHT. C. TOP Haut x1 PART # 22915 D. SHELF Tablette x1 PART # 22916 A. LEFT SIDE B. RIGHTSIDE Côté gauche x1 Côté droit x1 PART # 22917 PART # 22918 E. - Page 6 Step 1 Étape 1 BB. CAM BOLT DD. 30mm Wood Dowel Came de boulon x4 Goujon De Bois X4 CC. CAM LOC Came de verrouiller x4 Insert the top front rail (part e), front bottom rail (part f) and back frame (part g) to the left side (part a).
- Page 7 Step 2 Étape 2 Attach the right side (part b) using DD. 30mm Wood Dowel BB. CAM BOLT CC. CAM LOC (4) wood dowels (part dd), (4) cam Goujon De Bois X4 Came de boulon x4 Came de verrouiller x4 bolts (part bb) and (4) cam locks (part cc).
- Page 8 Step 3 Étape 3 AA. 25mm Bolt 25mm Boulon x4 Attach the shelf panel (part d) to the case. Insert (4) 25mm bolts (part aa) through the bottom rail on the sides. Tighten all bolts with m4 allen wrench. Fixez le panneau d’étagère (pièce D) caisson, insérez (4) boulons de 25 mm (pièce AA) à...
- Page 9 Step 5A Étape 5A GG. 25mm Screw EE. 45mm Screw FF. Plastic Barrel 25 mmVisser X4 Nutécrou de baril en 45 mmVisser X4 plast x4 Attach the Right and Left Drawer Sides (Parts J And K) to the Drawer Front (Part H) with (4) 25mm Screws (Part GG) Note: Grooves In Bottom Must Align.
- Page 10 Step 6 Étape 6 JJ.Knob Bouton X1 Part # 22928 Attach (1) Knob (Part JJ) with (1) HH. DRAWER SCREW Knob Screw (Part HH) Tighten With VIS DE TIROIR x1 The Phillips Screwdriver. Fixez une (1) poignée (pièce JJ) à l’aide d’une (1) vis pour poignée (pièce HH) Serrez à...
- Page 11 Consumer Care: www.DeltaChildren.com Delta Children’s Products 114 West 26th Street New York, NY 10001 Tele.212-645-9033 KIDS “R” US™ is a trademark of Geo rey, LLC, a subsidiary of Toys“R”Us, Inc. © 2012 Geo rey, LLC...
Need help?
Do you have a question about the Kids R Us Solutions 1900-100 and is the answer not in the manual?
Questions and answers