Advertisement
A
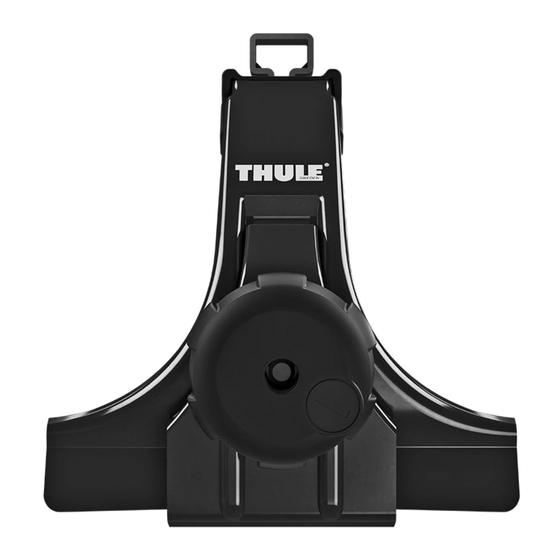
part
description
A
lockable knob
B
bolt
C
washer
D
foot cover
E
bracket
F
foot
WARNINGS / LIMITATIONS:
- The load you are carrying plus
the weight of the roof rack must
not exceed the maximum roof
weight specified by the vehicle's
manufacturer.
- Long loads such as, but not
limited to, paddleboards, kayaks,
surfboards, canoes, lumber,
mattresses, and construction
materials must be securely tied
down at minimum to the roof rack
and to the front of the vehicle.
Overloading the vehicle roof
and/or failing to secure the
load properly may result in loss
of the load or the rack system,
damage to the vehicle, and/
or damage to other persons or
property.
5067058_01
RAPID GUTTER
North American English
PARTS INCLUDED
B
C
FOOT PACK
D
E
300R
F
part number
qty.
7530073
4
8530782
4
951082054
4
8522022001
4
8530815
4
7521767001
4
Advertisement
Table of Contents

Related Manuals for Thule 300R


Summary of Contents for Thule 300R
- Page 1 RAPID GUTTER FOOT PACK 300R North American English PARTS INCLUDED part description part number qty. lockable knob 7530073 bolt 8530782 washer 951082054 foot cover 8522022001 bracket 8530815 foot 7521767001 WARNINGS / LIMITATIONS: - The load you are carrying plus the weight of the roof rack must not exceed the maximum roof weight specified by the vehicle’s...
- Page 2 PARTS NOT INCLUDED AEROBLADE LOAD BARS RAPID AERO LOAD BARS ARB43(B), ARB47(B), ARB53(B), ARB60(B) RB43, RB47, RB53, RB60 - Only a few turns - Assemble Feet using included parts as shown. 5067058_01...
- Page 3 - Slide Feet into slots on underside of load bars. - A. Press top rubber strips into t-slots on top of bars. - B. Press endcaps into ends of bars. - FOR AEROBLADE: NOTE: Rounded edge of bar faces forward on vehicle. - Carefully lower bar assemblies onto roof.
- Page 4 - FOR AEROBLADE: A. Cut under bar cover strips to fit between outside of foot and inside of endcap. Strips should cover endcap retention tab. Press carefully into place. - B. Slide tab on SmartSlides up against feet. 180° - To install locks (available separately), remove the knob plug by turning 90 degrees clockwise.
Need help?
Do you have a question about the 300R and is the answer not in the manual?
Questions and answers