Advertisement
Quick Links
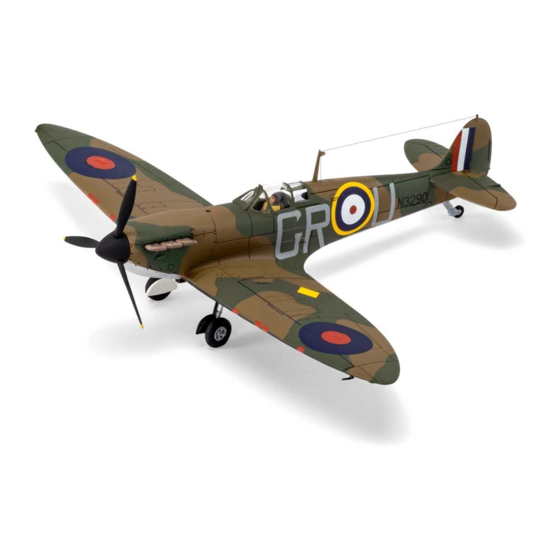
Thank you for purchasing Spitfire MKI from Rbckits
For the first time, R/C enthusiasts we have a choice in scale and fun flyer aircraft designs.
Our goal, through computer technology and state-of-the-art production techniques, is to offer aircraft
which in the past have not been modelled simply because they weren't popular enough to justify mass
production. Our production techniques allow us to produce aircraft which, though not as popular and
well known as P-51s and P-47s, still offer historical significance (good or bad!), Good looks and flying
characteristics, and a uniqueness that is sure to turn heads wherever you take your airplane!
Your airplane has many unique features in its design:
CAD Design
CAD design allows strength to be built into the airplane without sacrificing weight. Accurate parts
design and placement ensures a perfect fit.
CAD Drawn Plans
The plans in this kit are not copied from a master set! They are originals drawn directly from the CAD
program where the airplane was designed. We do this because it allows us to use colour, which helps
you better visualize the various components of the airplane, and we can use better quality paper,
which greatly reduces the possibility of shrinkage.
Since you're going to build directly on the plans, they ought to be the proper size! Also, parts
placement is guaranteed to be accurate, so you can build a better, straighter model.
Small and hard-to-produce parts are simply a computer file away, so you get a more accurate airplane.
Lightening Holes
Lightening holes are cut into all ribs and formers where possible and justified. This allows us to keep
the weight on each plane to a minimum without sacrificing strength.
The same program that generates the design and plans also drives the cnc cutter, so every part is
reproduced exactly as it was designed. cnc cutting also allows us to fit more parts on each sheet of
Advertisement

Related Manuals for RBC kits Spitfire MKI


Summary of Contents for RBC kits Spitfire MKI
- Page 1 Thank you for purchasing Spitfire MKI from Rbckits For the first time, R/C enthusiasts we have a choice in scale and fun flyer aircraft designs. Our goal, through computer technology and state-of-the-art production techniques, is to offer aircraft which in the past have not been modelled simply because they weren’t popular enough to justify mass production.
- Page 2 The cowl and dummy motor are accurately reproduced high quality Polystyrene General Building Information The Spitfire MKI can be built by a person with average building skills. It is designed for someone who has built a trainer or low wing sport plane. No unusual building techniques are required, although more difficult areas are explained in detail where necessary.
- Page 3 Check the 3d pdf and pictures for additional information, a picture says more as a 1000 words Wings: Start with a flat building board with the size for the wing and fuselage Place the drawing of the wing on the building board and protect it with plastic. Start by making the bottom sheeting from the supplied balsa sheet, place the sheets on the work plate and nail them down , use cello-tape to connect the edges, take them of and glue the edges with thick ca , place on the work plate and sand down the glued edge, turn the sheet over and take of the cello...
- Page 4 not glue yet , make sure for straightness . if all seems ok then pin down the main former and start glueing the ribs with thin ca one by one to the bottom sheeting, note roll the ribs over the sheeting and apply ca Place trailing edge to the end of the ribs to the bottom sheeting.
- Page 5 the sheeting when glueing the ribs and formers to it, place sub leading edge and sub ribs. Place the trailing edge from 2x12 balsa sheet, place also some scrap balsa before the trailing edge to support the wing fasteners Place aileron formers from 10mm balsa in the ribs by taking out a small piece of the rib , place scrap balsa fill in the horn and hinge positions...
- Page 6 Place servo and wires into the wing , place servos on extra 1,5mm balsa , we shrinked the servo in shrinking foil and ca them to the bottom sheeting, with a fill on top, make also a opening for the servo arm in the bottom sheeting.
- Page 7 Note that a centre line is drawn over the main-former that is the edge for the nose sheeting, as the wing is elliptical, so place the nose sheeting and after that place the mid-sheeting between trailing edge and nose sheeting. do this the same for the other wing half .
- Page 8 plan. use the supplied hinges for the ailerons they are easy and do perform very well. Choose your retracts and open up the bottom sheeting for taking the retracts and wheels .Place wing dowel .
- Page 9 Fuselage : Make the main crutch and place on building board , let the front over hang at the edge of the building board to take nose formers. place formers as per drawing, make sure for straightness ,place bottom sheet over formers and sand to shape.
- Page 10 Test fit wing and place fairing formers and sheeting drill holes for wing retainers place fairing sheeting , place top-formers and sheet side with balsa Finish fuselage by placing all sheeting and fairing formers and sand to shape , Place cowl and glue to formers and sand fuselage to match the cowl.
- Page 11 Stabilizer: Make the stabilizer from the cnc cut parts glue and sand to shape . Place the fill parts to the fuselage and place stabilizer assembly to the fuselage , make sure for straightness. fill and sand the edges of fuselage and rudders. Place hinges make sure for smooth movement in conjunction with the steering cables and horns.
- Page 12 Spinner : cut the edges of the spinner and backplate but leave a few mm standing for lining out the spinner Place the spinner backplate formers with ca in the backplate with help from the 4mm dowels. Make opening in spinner for your prop, the template gives a bit of lead to the shape.Place spinner to backplate , now you see why the edges need to be there , the spinner edge rest on the backplate , this is very precise drill holes to take the 2,2x9mm screws and screw the spinner to the backplate , it should run straight now ..
- Page 13 Have you found an error in the drawing or parts or instructions, just mail us at I am sure we can find a solution for your build. Have Fun with the Spitfire MKI WWW.RBCKITS.COM Rontgenweg 16G 2408AB Alphen aan den Rijn...
Need help?
Do you have a question about the Spitfire MKI and is the answer not in the manual?
Questions and answers