Sign In
Upload
Download
Table of Contents
Contents
Add to my manuals
Delete from my manuals
Share
URL of this page:
HTML Link:
Bookmark this page
Add
Manual will be automatically added to "My Manuals"
Print this page
×
Bookmark added
×
Added to my manuals
Manuals
Brands
UniOP Manuals
Industrial Equipment
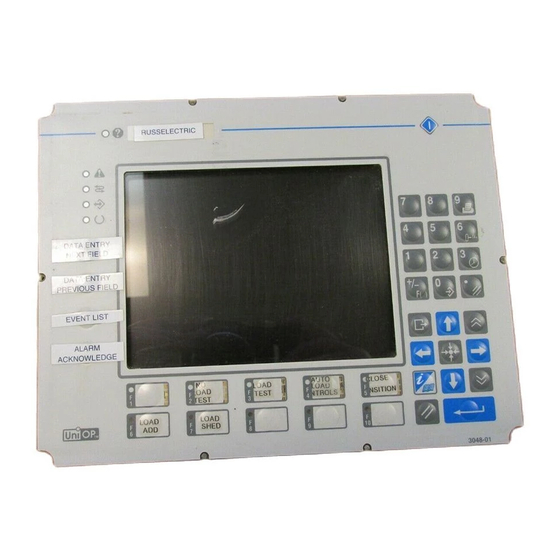
BKDC-16
Installation manual
UniOP BKDC-16 Installation Manual
Hide thumbs
1
2
Table Of Contents
3
4
5
6
7
8
9
10
11
12
13
14
15
16
17
18
19
20
21
22
23
24
25
26
27
28
29
30
31
32
33
34
35
36
37
38
39
40
41
42
43
44
45
46
47
48
49
50
51
52
53
54
55
56
57
58
59
60
61
62
63
64
65
66
67
68
69
70
71
72
73
74
75
76
77
78
79
80
81
page
of
81
Go
/
81
Contents
Table of Contents
Troubleshooting
Bookmarks
Table of Contents
Table of Contents
Introduction
Product Identification
Technical Specifications
Installation
Phisical Dimensions
Connections
Power Supply and Grounding
PLC Port
Pc/Printer Port
AUX Port
Models Without the Pc/Printer Port
External Keyboard Port
Battery Replacement
Removing the Legends
Dedicated Led's
Usage and Safety Guidelines
Installation Environment
Installation Procedures
Handling the Memory Cards
Getting Started
Command Summary
Troubleshooting
Touchscreen Calibration
Advertisement
Quick Links
1
Table of Contents
2
Introduction
3
Technical Specifications
4
Installation
5
Connections
6
Plc Port
7
Getting Started
8
Troubleshooting
Download this manual
UniOP
U n i v e r s a l O p e r a t o r P a n e l s
I n s t a l l a t i o n G u i d e
MANUUNIOP22- v.1.08 - 07.2004
Downloaded from StockCheck.com
Table of
Contents
Previous
Page
Next
Page
1
2
3
4
5
Advertisement
Table of Contents
Need help?
Do you have a question about the BKDC-16 and is the answer not in the manual?
Ask a question
Questions and answers
Related Manuals for UniOP BKDC-16
Industrial Equipment UniOP BKDR-16 Installation Manual
(81 pages)
This manual is also suitable for:
Bkdc-16t
Bkdc-46
Bkdl-16
Bkdl-16t
Bkdr-16
Bkdr-16t
...
Show all
Bkdr-46
Cp01f-02
Cp01r-04
Cp02f-02
Cp02r-04
Cp04f-04
Cp05r-04
Cp10g-04
Cp11g-04
Cp12g-04
Cp13g-04
Ect-16
Ect-vga
Ef-02
Ef-04
El-16n
Elt-16
Elt-vga
El-vga
Epad30
Epad30t
Epad31
Epad31t
Epad32
Epad32t
Epad33
Epad33t
Er-16
Er-16ta
Er-25
Table of Contents
Print
Rename the bookmark
Delete bookmark?
Delete from my manuals?
Login
Sign In
OR
Sign in with Facebook
Sign in with Google
Upload manual
Upload from disk
Upload from URL


Need help?
Do you have a question about the BKDC-16 and is the answer not in the manual?
Questions and answers