
Related Manuals for Seada SDCP10

Summary of Contents for Seada SDCP10
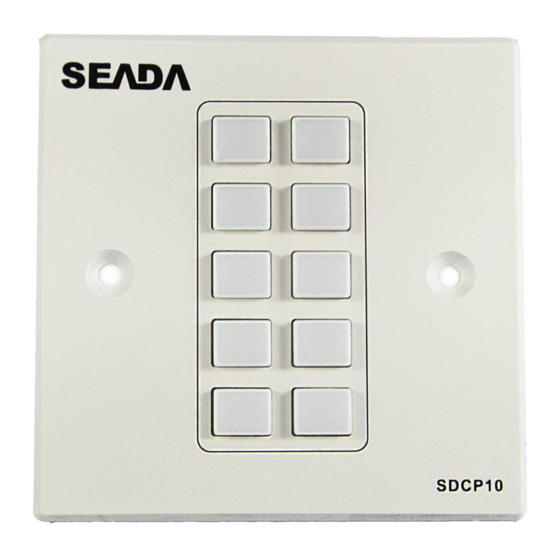
- Page 1 SDCP10 Wallplate Control Panel-10 buttons Program buttons to send TCP/IP and RS232 commands to control projectors, screens, and other third-party devices. S h o w i n g t h e W o r l d VER 2.0...
-
Page 2: Table Of Contents
Use of surge protection systems is highly recommended in order to protect and extend the life of your equipment. Table of Contents 1. Introduction ....................... 1 1.1 Introduction to SDCP10 ..................1 1.2 Features ......................1 1.3 Package List ...................... 1 2. Panel Description ...................... 2 3. -
Page 3: Introduction
1. Introduction 1.1 Introduction to SDCP10 The Wallplate Control Panel is a 10-button IP enabled keypad controller aimed at providing customers simple and economic control solutions. With built-in PoE, it can receive power from PoE enabled ethernet switch. The keypad can control devices like presentation switches through LAN(PoE) port or RS232 port. -
Page 4: Panel Description
LAN (PoE) LAN control (Web UI & Telnet). Connect to DC 12V power adapter (Power adapter is not included in DC 12V the package). * Factory default setting (The factory default IP address is 192.168.1.254) 2/23 Website: www.seada.co.uk E-mail: sales@seada.co.uk... -
Page 5: Specification
If the ethernet switch does not support PoE and keypad can’t get power from PoE, users will need to make a power adapter with supplied phoenix connector to power the keypad through DC 12V port externally. 3/23 Website: www.seada.co.uk E-mail: sales@seada.co.uk... -
Page 6: Configuration Settings
•The default network mode of the keypad is DHCP, ensure the ethernet switch is connected to a DHCP server such as a router. Step 2: Connect a PC to the same network. Step 3: Power on all devices. See the following diagram: 4/23 Website: www.seada.co.uk E-mail: sales@seada.co.uk... - Page 7 Input the IP address(the factory default IP address is 192.168.1.254) to the browser and press Enter. The following Login window will display. Input the default Username(admin) and Password(admin): Click “Login” to enter the following page. 5/23 Website: www.seada.co.uk E-mail: sales@seada.co.uk...
- Page 8 ” are used to configure and store functions for Device Settings Command Settings Key Settings buttons. “ ” is used to configure DHCP/Static IP information. Network Settings “ ” is used to configure general system settings. System Settings 6/23 Website: www.seada.co.uk E-mail: sales@seada.co.uk...
-
Page 9: Device Settings
Wallplate Control Panel-6 buttons 6. Device Settings This section allows you to configure device library for most used devices. See operation in detail as below. 7/23 Website: www.seada.co.uk E-mail: sales@seada.co.uk... - Page 10 • Username: Input the telnet control username of the controlled device. • Password: Input the telnet control password of the controlled device. Note: The Connect Port, Username and Password are provided by third-party devices manufacturers and can be found in instructional documentations. 8/18 Website: www.seada.co.uk E-mail: sales@seada.co.uk...
- Page 11 (3) Click “Save” or “Cancel” to save or cancel the configurations above. If you click “Save”, the page will return to the “Device Settings” tab automatically. After successful configuration, the “Device Settings” page will look like the following: 9/18 Website: www.seada.co.uk E-mail: sales@seada.co.uk...
-
Page 12: Command Settings
” is configured successfully, click “Command Settings” to set control Device Settings commands for the stored devices in “Device Settings” section. Note: The control commands are provided by third-party devices manufacturers and can be found in instructional documentations. 10/18 Website: www.seada.co.uk E-mail: sales@seada.co.uk... - Page 13 (4) Repeat steps from (1) to (3) to program other commands. After “ ” is configured successfully, click “Key Settings” to configure commands Command Settings for each keypad button. For each button, it can configure 6 commands at most. 11/18 Website: www.seada.co.uk E-mail: sales@seada.co.uk...
- Page 14 • Key alias edit: Configure a name for the button. then click “Save” to take effect. Note: The length of each button’s name shall not exceed 24 characters and can include letters, numbers, and underscores. Command: Click “Edit” in the web table to choose devices that are needed to program 12/18 Website: www.seada.co.uk E-mail: sales@seada.co.uk...
- Page 15 This window displays the Device Names you set in “Device Settings” section. a) Click “Matrix Switcher” button in the above window to enter the following page: 13/18 Website: www.seada.co.uk E-mail: sales@seada.co.uk...
-
Page 16: Network Settings
Note: The keypad default network setting is Static, and the default IP address is 192.168.1.254. 9. System Settings “System Settings” is available to configure system functions. Click “System Settings” submenu to enter the configuration page like below. 14/18 Website: www.seada.co.uk E-mail: sales@seada.co.uk... - Page 17 Note: Password starts with letters, numbers, or underscores, it must be within 4 to 16 characters in length. (2) Web Login Timeout (Minutes) Configure web login timeout to automatically exit web in certain time. Click to configure the timeout from the drop-down menu (5-60 minutes optional). 15/18 Website: www.seada.co.uk E-mail: sales@seada.co.uk...
- Page 18 Note: Users can customize the config file by adding the name after config, but not able to delete the config. (5) Reset to Default Click “Reset” to reset the keypad to factory default settings. The following window will pop up. 16/18 Website: www.seada.co.uk E-mail: sales@seada.co.uk...
- Page 19 After rebooting the keypad successfully, the buttons on front panel blink 3 times and the web page returns to the login page. (7) Web Upgrade • Select a file: Select a Web UI upgrade .bin file from the local PC. 17/18 Website: www.seada.co.uk E-mail: sales@seada.co.uk...
-
Page 20: Application
Note: If the controlled device connected to LAN (PoE) port supports PoE function, the keypad can receive power from it and no additional power adapter is needed. Power on all devices. Press the buttons on front panel of the keypad to control the third-party devices. 18/18 Website: www.seada.co.uk E-mail: sales@seada.co.uk...
Need help?
Do you have a question about the SDCP10 and is the answer not in the manual?
Questions and answers