Table of Contents
Advertisement
Quick Links
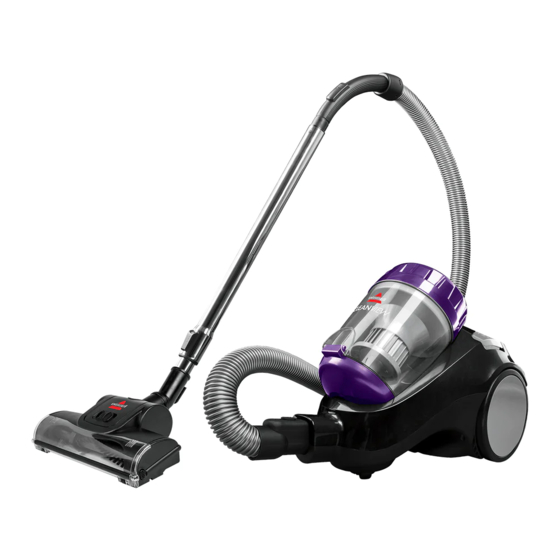
1) Detach hose from base of canister by pushing on release tab and pulling out.
2) Detach hose from extension wand by grasping each piece and pulling them
apart. Do the same to detach the foot.
Updated by A. Lentz 10/7/2021P:\Customer Service Dept\Knowledge Base\Troubleshooting\TROUBLESHOOTING GUIDES NEW
MODELS\VACUUM\Troubleshooting 1994U\1994U No or Low Suction.docx
Cleanview Turbo
1994U
Low or No Suction
Advertisement
Table of Contents

Summary of Contents for Bissell Cleanview Turbo 1994U
- Page 1 Cleanview Turbo 1994U Low or No Suction 1) Detach hose from base of canister by pushing on release tab and pulling out. 2) Detach hose from extension wand by grasping each piece and pulling them apart. Do the same to detach the foot. Updated by A.
- Page 2 6) Also, inspect hose section by section for holes or cracks. If a hole or crack is found, BISSELL Consumer Care: please refer to product changeover guide. External Support: Contact BISSELL 7) Reattach pieces by inserting them into their corresponding parts.
- Page 3 10) Separate top handle from bottom tank by grasping carry handle and base of dirt tank. Twist the carry handle counterclockwise. 11) Grasp filter handle and lift it out of dirt tank. 12) To separate filter pieces, twist filter handle counterclockwise while grasping base of outer cyclone.
- Page 4 15) Do the same to connect inner and outer cyclone pieces. Reinsert pieces into dirt tank. Filter should sit level. NOTE: filter will not sit level if tabs on front are not aligned 16) Reattach top lid to dirt tank by aligning clear notch with slot on top lid. Clear notch should point towards unlocked.
- Page 5 17) Reattach dirt tank to canister and turn on. If the machine still has no or low suction, BISSELL Consumer Care: please refer to product changeover guide. External Support: Contact BISSELL Updated by A. Lentz 10/7/2021P:\Customer Service Dept\Knowledge Base\Troubleshooting\TROUBLESHOOTING GUIDES NEW...


Need help?
Do you have a question about the Cleanview Turbo 1994U and is the answer not in the manual?
Questions and answers