Advertisement
Quick Links
Genconnex
35 Pond Park Road, Hingham, MA 02043
-800-34 -0792
Step 1
Disassembly
tep 1a - Remove fuel pump cover & left side door
a- Remove # 0mm side
a-2 /3Pull back rubber gasket and remove 2 # 0mm nuts
bolt holding corner cover on
then pull up and remove corner cover.
tep 1b - Disconnect fuel pump
b- Disconnect electrical connector
for fuel pump by pressing tab.
fuel pump by pushing down on yellow
tab then pushing in fuel hose quick
connect fitting, then pull out fitting
(pushing in first makes release easier).
tep 1c - Remove fuel tank (U E CAUTION A
c- Disconnect gas tank vent tube from underneath
side of gas tank. No fuel should spill doing this. NOTE:
pry down from top vs pulling so as not to rip tube.
tep 1d - Move gasoline tank vent tube out of way and open air box
d- /2 Gently twist tank vent tube and insert into forward
hole on backside of door latch for safe keeping.
tep 1e - Remove airbox, throttle body to air box spacer and bracket
e- /2/3 Remove final piece of airbox from throttle body by removing inner two # 0mm
nuts, loosening clamp below and then swinging plastic box off studs and pulling up.
®
https://genconnexdirect.net/Liturature/Installation/EU7000is_Kit_r2.07_EC.pdf
b-2 Disconnect fuel line fitting from
IT
c-2/3 Locate and remove four # 0mm corner bolts with washers then disconnect
gas line from white clip on fuel pump bracket.
d-3/4 Remove air box cover by prying up on 4 corner clips
then lift off vent tube from top corner.
Genconnex
®
Copyright 2020 New England Gen-Connect LLC. All rights reserved.
Online PDF
a-4 Lift off door to gain access to air cleaner side
of generator (left side when looking at front)
b-3/4 Catch small amount of any remaining gasoline with
small rag and use supplied caps to seal both ends. Push
round end in first.
TILL MAY CONTAIN FUEL)
e-4/5 Remove cable harness support bracket by first removing
black plastic push in connector. use pliers to press backside of
small push through and pull from other side to release. Then
press tab on larger connected and pull down and away. Save
gasket after removing from silver plate.
ngineered to the next level.
®
Genconnex
Propane & Natural Gas kit
Assembly instructions
Version 2.07
#2 Phillips head screw driver
# 0mm box end wrench
flat head screw driver
0mm socket
+
spark plug socket
needle nose pliers or channel locks
socket extension
socket U joint (optional)
c-4 Lift back edge of tank - pull back, up and
away from back of unit to clear front frame bracket.
d-5 Unplug gasoline fuel injector electrical connector.
This will prevent the gasoline fuel injector from "dry
firing".
e-6 Move fuel injector harness
up and backup to make room for
further assembly.
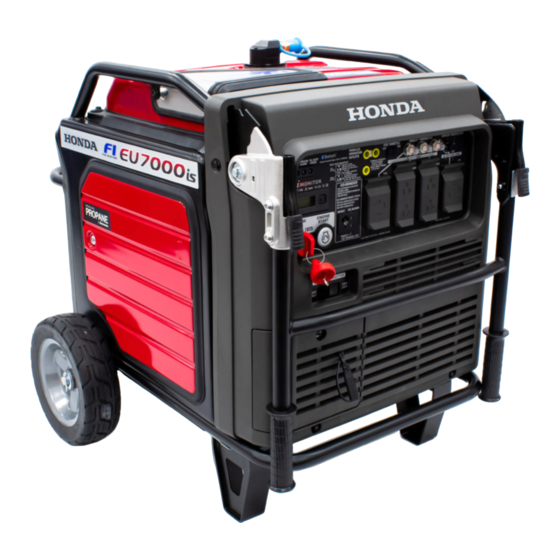
Honda EU7000is
c-5 Secure pump connectors
with supplied tie wrap.
Removed Parts
that won't be used
for re-assembly.
Advertisement

Related Manuals for GenConnex Honda EU7000is


Summary of Contents for GenConnex Honda EU7000is
- Page 1 ® Genconnex Genconnex Honda EU7000is ® Propane & Natural Gas kit Assembly instructions 35 Pond Park Road, Hingham, MA 02043 Version 2.07 -800-34 -0792 Online PDF https://genconnexdirect.net/Liturature/Installation/EU7000is_Kit_r2.07_EC.pdf #2 Phillips head screw driver Step 1 # 0mm box end wrench flat head screw driver...
- Page 2 2e - Change spark plug, install labels, and read safety information to finish 2e- Change spark plug 2e-2/3/4/5 Attach “GenConneX” label on rear handle, and “Propane & Natural Gas” labels one each side door as shown. For all states except California place Emissions label over existing to one supplied after gapping EPA/CARB label at base of engine (inside door).
Need help?
Do you have a question about the Honda EU7000is and is the answer not in the manual?
Questions and answers