Advertisement
Quick Links
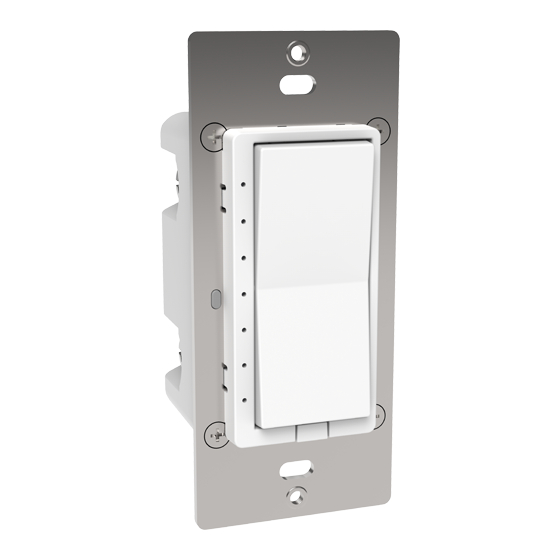
HS-WX300 User Guide
Online manual for the HS-WX300 In-wall Dimmer & Switch
Overview
™
HS-WX300 is a Z-Wave in-wall light switch that may be configured to operate as either a dimmer switch or an on/off switch. It may be installed with or
without a neutral wire and it works with both wired and wireless companion switches in 3-way circuit configurations. This switch has been designed,
tested and certified for use in the United States and Canada.
Important
WARNING RISK OF FIRE | RISK OF ELECTRICAL SHOCK | RISK OF BURNS
DO NOT USE THIS SWITCH TO CONTROL ANYTHING THAT MAY PRESENT A HAZARD WHEN CONTROLLED REMOTELY OR USED IN AN
UNATTENDED FASHION. DO NOT USE WITH MEDICAL AND LIFE SUPPORT INSTRUMENTS.
CAUTION:
To Reduce the Risk of Overheating And Possible Damage To Other Equipment, Do Not Install To Control A Receptacle, A Motor-
Operated Appliance, A Fluorescent Lighting Fixture, Or A Transformer-Supplied Appliance.
Circuit Types
Most lighting loads are powered with line (120 VAC) and neutral wires. The line wire always runs through the wall switch box but the neutral may not
be present there. If the neutral wire is present, use the 3-wire method below. If no neutral is present, use the 2-wire method. For 3-way circuits, a
neutral is only required at the companion switch location (using HS-WA100+ or standard 3-way switches).
Single Switch, 3-Wire Circuit
Single Switch, 2-Wire Circuit
Multi Switch (3-Way) Wiring for 2-Wire & 3-Wire Circuits
Advertisement

Related Manuals for HomeSeer HS-WX300


Summary of Contents for HomeSeer HS-WX300
- Page 1 ™ HS-WX300 is a Z-Wave in-wall light switch that may be configured to operate as either a dimmer switch or an on/off switch. It may be installed with or without a neutral wire and it works with both wired and wireless companion switches in 3-way circuit configurations. This switch has been designed, tested and certified for use in the United States and Canada.
-
Page 2: Installation
Changing Switch Mode (Must be done BEFORE Z-Wave inclusion) HS-WX300 may be configured to operate as an ON-OFF switch or as a DIMMER. By default, it will operate as a dimmer. To change the switch mode, follow these steps: Press & hold the small button located on the metal yoke next to the column of LEDs, if the trim plate is already installed, in rapid succession, tap the top paddle 3 times, then press &... -
Page 3: Operation
Changing Wire Mode HS-WX300 may be installed with a neutral wire (3-wire mode) or without a neutral wire (2-wire mode). Selecting the correct wire mode will yield the best results, especially if the switch is configured as a dimmer. By default, 3-wire mode is enabled. To change the wire mode (at the switch):... - Page 4 However, other systems may also provide satisfactory results depending on the level of support they provide for these same technologies. If you’re using a non-HomeSeer system, use the information below and consult with your system manufacturer to determine the level of compatibility.
-
Page 5: Specifications
Set dimmer Ramp rate for remote Possible values: 0-90 control 0=No delay (instant ON), 1=1 second Set dimmer Ramp rate for local Possible values: 0-90 control 0=No delay (instant ON), 1=1 second Sets the display mode of the LEDs 0=Normal mode (LEDs show load status) 1=Status mode (custom LED status) Sets the Normal display mode... -
Page 6: Fcc Statements
HomeSeer warrants to the original purchaser that this product, for the warranty period, will be free from material defects and workmanship. This warranty is subject to proper installation and operation of the product. HomeSeer’s sole obligation, under this warranty, is to repair, replace or correct any defect that was present at the time of delivery.