Table of Contents
Advertisement
Quick Links
Advertisement
Table of Contents

Subscribe to Our Youtube Channel
Related Manuals for ALT N20722 Riga


Summary of Contents for ALT N20722 Riga
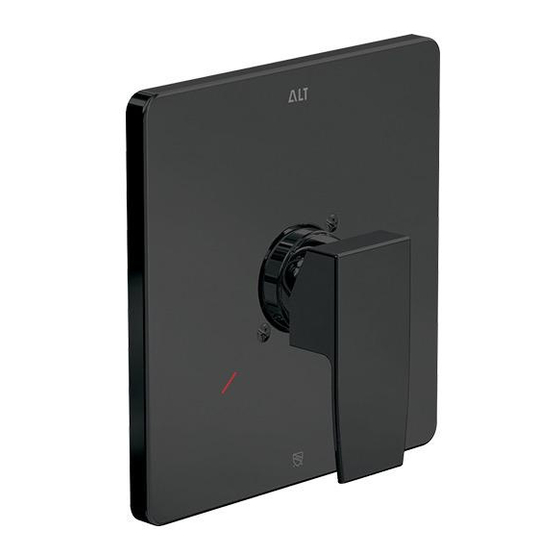
- Page 1 RIGA/M ISTO Pressure balance trim kit with cartridge and #N20722 Riga handle #N30722 Misto Garniture pour valve à pression équilibrée avec cartouche et poignée Installation & care guide Guide d’installation et d’entretien RIGA MISTO last revision: 16/03/2021...
- Page 2 Félicitations pour l’achat de purchase of your Alt product votre produit Alt By purchasing an Alt product, you are taking part in En achetant un produit Alt, vous prenez part au the global movement for better living. We take pride in mouvement global pour le mieux-vivre.
- Page 3 TRIM KIT COMPONENTS COMPOSANTS DE LA GARNITURE RIGA MODEL MODÈLE RIGA MISTO MODEL MODÈLE MISTO SPECS AT LARGE / SCHÉMA DES PIÈCES 1A ALT7-60-861-01: RIGA handle / poignée RIGA 1B ALT7-50-993-01: MISTO handle / poignée MISTO ALT7-60-849-01: trim plate+screw / plaque+vis ALT7-CTCB-0185-01: Dome cap / Capuchon en dôme ALT7-60-699-00: cartridge / cartouche (since summer 2016) ALT7-60-697-00: cartridge / cartouche (before summer 2016)
- Page 4 BEFORE YOU START AVANT DE COMMENCER CAUTION: FOR BEST RESULTS, WE STRONGLY REC- MISE EN GARDE: POUR OBTENIR UN RÉSUL- OMMEND THE INSTALLATION OF THIS VALVE BE DONE TAT OPTIMAL, NOUS RECOMMANDONS FORTEMENT BY A LICENSED PLUMBER. QUE L’INSTALLATION DE CETTE VALVE SOIT FAITE PAR UN PLOMBIER PROFESSIONNEL.
-
Page 5: Installation
INSTALLATION Installing the cartridge First, verify the 2 check-valves (1) & (2) are shut off. Afterwards, unscrew the cartridge holder (4) and remove the pro- tective plug (3) (see Fig.1) . Insert the cartridge into the valve body as shown (Fig.2). Screw the cartridge holder (4) back into place. - Page 6 INSTALLATION Installing the trim kit Insert the decorative sleeve (6) onto the cartridge holder (See Fig.3) then screw the dome cap (7) onto the valve body. Slide in trim around the valve body and press it firmly against the wall. Make sure the trim is properly aligned with red marking (HOT water) on the left and blue marking (COLD water) on the right.
-
Page 7: Water Temperature Adjustment
INSTALLATION Water temperature adjustment The highest tempature setting has been factory preset at 120˚F (49˚C). However, the preset temperature can be adjusted by follow- ing these steps: Remove the decorative cap (1), the setscrew (2) and the volume control handle (3) (See Fig.4). Pull out the temperature stop ring (5) from the cartridge (6). -
Page 8: Maintenance
MAINTENANCE To Service the cartridge Remove all the components from (1) to (6). (See Fig.5). Afterwards, shut off the 2 check valves (9) & (10) by turning them clockwise with a screwdriver. Unscrew the cartridge holder (7) and remove the cartridge (8). - Page 9 CARE SOIN To clean your ALT faucet or accessory, wash with a wet Pour nettoyer et conserver l’apparence de vos robinets ou accesoires ALT, lavez-les avec un linge nonabrasive soapy cloth. Then wipe dry with a mouillé à l’eau tiède et enduit d’un savon doux soft towel or cloth.
-
Page 10: Warranty Garantie
Nous sommes fiers our brand and certify that ALT products carry a limited lifetime warranty de notre marque et certifions que les produits ALT offrent une garantie à vie against defects in materials and workmanship.
Need help?
Do you have a question about the N20722 Riga and is the answer not in the manual?
Questions and answers