Sign In
Upload
Download
Table of Contents
Contents
Add to my manuals
Delete from my manuals
Share
URL of this page:
HTML Link:
Bookmark this page
Add
Manual will be automatically added to "My Manuals"
Print this page
×
Bookmark added
×
Added to my manuals
Manuals
Brands
Milltronics Manuals
Lathe
ML Series
Instruction handbook manual
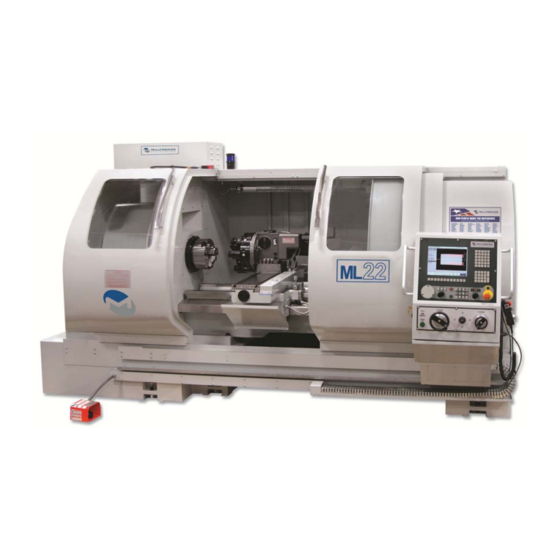
Milltronics ML Series Instruction Handbook Manual
Hide thumbs
1
2
Table Of Contents
3
4
5
6
7
8
9
10
11
12
13
14
15
16
17
18
19
20
21
22
23
24
25
26
27
28
29
30
31
32
33
34
35
36
37
38
39
40
41
42
43
44
45
46
47
48
49
50
51
52
53
54
55
56
57
58
59
60
61
62
63
64
65
66
67
68
69
70
71
72
73
74
75
76
77
78
79
80
81
82
83
page
of
83
Go
/
83
Contents
Table of Contents
Bookmarks
Table of Contents
Table of Contents
Chapter 1 - Safety
Safety Checklist
Basic Points of Safety
Clothing and Personal Safety
Safety Related to Workpiece Machining and Tooling
Safety Related to Machine Maintenance
Electrical Safety
Release of Trapped Persons
Machine Safety Labels
TL14-ML16-ML18 Safety and Maintenance Label Locations and Descriptions
ML22-26 Safety and Maintenance Label Locations and Descriptions
ML30-40 Safety and Maintenance Label Locations and Descriptions
ML30-40 Safety and Maintenance Label Locations and Descriptions
Chapter 2 - Specification
Machine Weights
Current/Voltage Requirements
Coolant Capacities
Coolant Recommendation
Hydraulic Fluid Tank Capacity (if Equipped)
Control Instructions, Schematics, Complete Specification Sheets
Tooling Specifications
ML14-26 Series Machine Layout
ML35-40 Series Machine Layouts
Leveling Bolt and Pad
Chapter 3 - Site Preparation
Machine Placement Considerations
Power and Ground Requirements
Connecting a Transformer
Autotransformer Connection Diagram
Air Supply System (if Equipped)
Lifting
By Crane or Hoist
ML16-ML18 Lifting Device Drawing
ML22-ML26 Lifting Device Drawing
Chapter 4 - Installation
Startup Checklist
Required Assembly
Level the Machine
ML Lathe Head Stock Taper Specification
Initial Checks of the Machine, Its Guards and Safety Systems
General Checks
Electrical Checks
Visually Check that Guards Are in Place
Safety Checks
Test the Emergency Stop Circuit
Test the Enclosure Safety Circuit
Chapter 5 - Failure Modes, Detection and Prevention
Minimizing Wear and Tear
Clearing Faults in Electrical Components
Diagnosing Mechanical Faults
Chapter 6 - Maintenance
Periodic Maintenance; Verification of Safety Systems
Maintenance Schedule
Always
Daily
Weekly
Monthly
Annually
Safety Checks, to be Carried out Monthly and after Maintenance Operations
Air System Maintenance (if Equipped)
Way Lube Maintenance
Adjustment
Tool Turret Maintenance - Pragati
Tool Turret Maintenance - Baruffaldi
Hydraulic System Maintenance
Hydraulic Valves and Pressure Switch/Gauges
Hydraulic Tailstock Speed Adjustment
2-Speed Transmission Maintenance - ML35-40 Only
Spindle Bearing Maintenance (some Models)
Steady Rest Operation Guidelines and Maintenance
Chapter 7 - 7200 CNC Operation
Milltronics 7200 CNC Front Panel
Power on
Power off
Diagram of Main Screen
C-Axis and Live Tooling Operation (Option)
Chapter 8 Machine Specifications
TL14 & TL15 Specifications
ML16-ML26 Specifications
ML30-ML45 Specifications
Chapter 9 Startup Checklist for ML/TL Series Lathes
Advertisement
Quick Links
1
Ml14-26 Series Machine Layout
2
Ml16-Ml26 Specifications
Download this manual
Instruction Handbook for ML/TL Series Lathes
Milltronics Manufacturing Company
1400 Mill Lane
Waconia, MN 55387 USA
Phone 952-442-1410 Fax 952-442-6457
www.milltronics.net
Rev 1 11-2-11
Table of
Contents
Previous
Page
Next
Page
1
2
3
4
5
Advertisement
Table of Contents
Need help?
Do you have a question about the ML Series and is the answer not in the manual?
Ask a question
Questions and answers
Related Manuals for Milltronics ML Series
Lathe Milltronics ML16 Instruction Handbook Manual
(83 pages)
Lathe Milltronics ML18 Instruction Handbook Manual
(83 pages)
Lathe Milltronics ML22 Instruction Handbook Manual
(83 pages)
Lathe Milltronics ML26 Instruction Handbook Manual
(83 pages)
Lathe Milltronics ML40 Instruction Handbook Manual
(83 pages)
Lathe Milltronics SL6 Series Instruction Handbook Manual
(52 pages)
Lathe Milltronics SL12 Series Instruction Handbook Manual
(93 pages)
Lathe Milltronics SL12 Series Instruction Handbook Manual
(50 pages)
This manual is also suitable for:
Tl series
Tl14
Ml16
Ml18
Ml22
Ml26
...
Show all
Ml35
Ml40
Table of Contents
Save PDF
Print
Rename the bookmark
Delete bookmark?
Delete from my manuals?
Login
Sign In
OR
Sign in with Facebook
Sign in with Google
Upload manual
Upload from disk
Upload from URL


Need help?
Do you have a question about the ML Series and is the answer not in the manual?
Questions and answers