Sign In
Upload
Download
Table of Contents
Contents
Add to my manuals
Delete from my manuals
Share
URL of this page:
HTML Link:
Bookmark this page
Add
Manual will be automatically added to "My Manuals"
Print this page
×
Bookmark added
×
Added to my manuals
Manuals
Brands
Russell Hobbs Manuals
Ventilation Hood
RHVSRCH602SS-M
Instruction manual
Russell Hobbs RHVSRCH602SS-M Instruction Manual
Hide thumbs
1
Table Of Contents
2
3
4
5
6
7
8
9
10
11
12
13
14
15
16
17
18
19
20
21
22
23
24
page
of
24
Go
/
24
Contents
Table of Contents
Troubleshooting
Bookmarks
Advertisement
Table of Contents
1
Table of Contents
2
Safety Instructions
3
Product Overview
4
Positioning
5
Operating Modes
6
Venting Modes
7
Installation
8
Usage
9
Cleaning and Maintenance
10
Trouble Shooting
11
Connection to the Mains Supply
12
Guarantee
13
Technical Specification
Download this manual
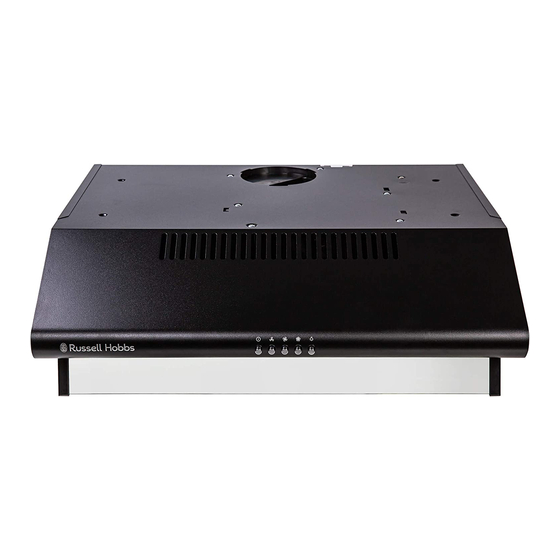
Cooker Hood
Instruction Manual
Model number(s):
RHVSRCH602SS-M/B-M
For Customer Services & Spare Parts please call 0345 208 8750
or visit us at https://mda.russellhobbs.com
IMPORTANT:
RETAIN FOR FUTURE REFERENCE
Table of
Contents
Previous
Page
Next
Page
1
2
3
4
5
Advertisement
Table of Contents
Need help?
Do you have a question about the RHVSRCH602SS-M and is the answer not in the manual?
Ask a question
Questions and answers
Related Manuals for Russell Hobbs RHVSRCH602SS-M
Ventilation Hood Russell Hobbs RHSCH601SS Instruction Manual
(24 pages)
Ventilation Hood Russell Hobbs RHSCH901SS Instruction Manual
(24 pages)
Ventilation Hood Russell Hobbs RHGCH902B Instruction Manual
(28 pages)
Ventilation Hood Russell Hobbs RHGCH702B Instruction Manual
(28 pages)
Ventilation Hood Russell Hobbs RHGCH702B-M Instruction Manual
(28 pages)
Ventilation Hood Russell Hobbs RHVSRCH602B-M Instruction Manual
(24 pages)
Ventilation Hood Russell Hobbs RHICH904DB Instruction Manual
(32 pages)
Ventilation Hood Russell Hobbs RHSCH601SS-M Instruction Manual
(28 pages)
Ventilation Hood Russell Hobbs RHSCH901B-M Instruction Manual
(28 pages)
Ventilation Hood Russell Hobbs RHSCH601B Instruction Manual
(28 pages)
Ventilation Hood Russell Hobbs RHGCH902B-M Instruction Manual
(28 pages)
Ventilation Hood Russell Hobbs Midnight RHGCH603DS Instruction Manual
(28 pages)
Ventilation Hood Russell Hobbs Midnight RHGCH903DS Instruction Manual
(28 pages)
Ventilation Hood Russell Hobbs RHGCH601SS/B Instruction Manual
(28 pages)
Ventilation Hood Russell Hobbs RHGCH601SS-M-M Instruction Manual
(28 pages)
Ventilation Hood Russell Hobbs RHTSCH600B1 SS/B Operating Manual
(20 pages)
This manual is also suitable for:
Rhvsrch602b-m
Table of Contents
Print
Rename the bookmark
Delete bookmark?
Delete from my manuals?
Login
Sign In
OR
Sign in with Facebook
Sign in with Google
Upload manual
Upload from disk
Upload from URL


Need help?
Do you have a question about the RHVSRCH602SS-M and is the answer not in the manual?
Questions and answers