Subscribe to Our Youtube Channel
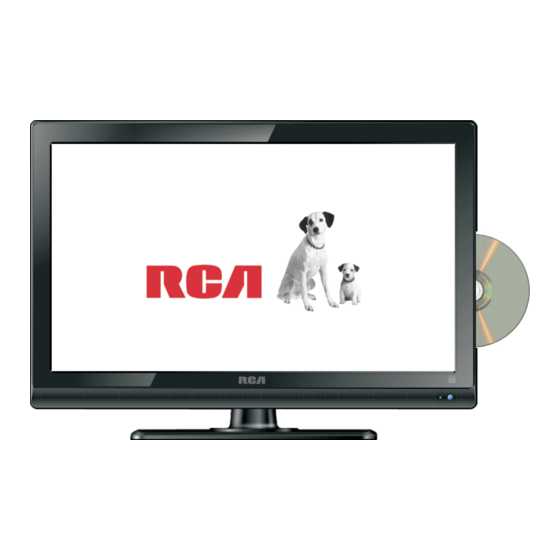
Summary of Contents for RCA DECK22DR
- Page 1 For Sales Information Please Contact RoadTrucker Inc (www.RoadTrucker.com) 8312 Sidbury Rd. Wilmington, NC 28411 (800) 507-0482 / (910) 686-4281...
- Page 2 For Sales Information Please Contact RoadTrucker Inc (www.RoadTrucker.com) 8312 Sidbury Rd.; Wilmington, NC 28411 - (800) 507-0482 / (910) 686-4281...
- Page 3 For Sales Information Please Contact RoadTrucker Inc (www.RoadTrucker.com) 8312 Sidbury Rd.; Wilmington, NC 28411 - (800) 507-0482 / (910) 686-4281...
- Page 4 AVIS RISQUE DE CHOC ELEC TRIOUE/NE PAS OUVRIR The MAINS plug or an appliance coupler is used as the disconnect device, The disconnect device shall remain readily operable. The TV set should not be subjected to water droplets, vapor, or splash. This equipment should not be placed on objects filled with liquids.
-
Page 5: Table Of Contents
Table of Contents Introduction Features W arnings Introduction TV adopts TFT LED display screen Features HDTV Compatible( 480p,720p, 1080i, 1080p) Specifications Support American TV Standard 8VSB/Free 64/256QAM,NTSC System, ATSC System Accessories Connect to computer directly to realize TV/monitor combo. General Description Zero X radiation complies to green environment protection requirement Overview of front and side panel Advanced Chroma Processing... -
Page 6: Introduction
Please make sure the following items are included with your LED TV. If any items are Specifications W arnings missing, contact your dealer. Color active matrix LED display Remote Control & Model DECK22DR Owner’ s Batteries (AAAx 2) Instructions 1920X1080 Fine digital control Power supply... -
Page 7: Overview Of Back Panel
General Description General Description Overview of remote control Overview of back panel POWER: Turn the TV on or off. MUTE: Press to mute the sound, Press again to regain the sound. 0-9: Press 0-9 to selet a TV channel directly The channel will change after 2 seconds. -
Page 8: Installing Batteries In The Remote Control
General Description External Connection Connecting VCR Installing Batteries in the Remote Control Installing Batteries These instructions assume that you have already connected your TV to an antenna or a cable TV system. Skip step 1 if you have not yet connected to an antenna or a cable Open the battery compartment system. -
Page 9: Connecting Dvd Player/Set-Top Box
External Connection External Connection Connecting DVD Player/Set-Top Box Connecting Digital Audio System The rear panel jacks on your TV make it easy to connect a DVD to your TV. The rear panel jacks on your TV make it easy to connect a Digital Audio System to your TV. DVD Player/Set-Top Box Digital Audio System Audio Cable (Not supplied) -
Page 10: Connecting Amplifier/Dvd Home Theater
External Connection External Connection Connecting Amplifier/DVD Home Theater Connecting DVD Player/Set-Top Box via HDMI This connection can only be made if there is a HDMI Output connector on the external device. DVD Player/Set-Top Box Amplifier Audio Cable (Not supplied) HDMI Cable (Not supplied) HDMI AUDIO VIDEO... -
Page 11: Connecting Pc
External Connection External Connection Connecting a Headphone Connecting PC DateTraver PC AUDIO Cable (Not supplied) Headphone Cable D-Sub Cable (Not supplied) HDMI AUDIO VIDEO HDMI AUDIO VIDEO Each PC has a different back panel configuration. The HDMI jacks do not support PC connection. Supporting signals We recommend the use of cables with a Ferrite Core. -
Page 12: Basic Operation
Basic Operation OSD Menu Operations Turning the TV On and Off Adjust the OSD Screen How to turn the TV on or off Press SOURCE button to display the INPUT SOURCE input source list; 1. Insert the power cord plug into a polarized AC Press ▼/▲... -
Page 13: Picture
OSD Menu Operations OSD Menu Operations Adjust the OSD Screen TIME Press MENU button to display the main menu. PICTURE Press◄ / ► button to select TIME in the main menu, it will highlight the first option. Press MENU button to display the main menu. Press◄... -
Page 14: Lock
OSD Menu Operations OSD Menu Operations LOCK Adjust the OSD Screen Press MENU button to display the main menu. INPUT BLOCK Press ▼ / ▲ button to select (TV、 、 Press◄ / ► button to select LOCK in the main menu, it will highlight the first option. Press ENTER to display the Input Block , 、... -
Page 15: Usb
USB Operation USB Operation Note: Before operating Media menu, Plug in USB device, then press SOURCE button to set the Input Source to USB. Press ◄ / ► button to select Photo/Music , and then press ENTER button to enter. Enter the model of scanning music can scan the music files, as shown below: Choose PHOTO to enter the photo scan model, if there are many zones in mobile equipment, it would shown below:... -
Page 16: Usb/Sd Operation
USB/SD OPERATION Interface Function INITIAL SETTING(DVD) 1. TV Type: This product supports output of various system, including Multi, NTSC, PAL. 1. TV DISPLAY: Set the ratio of output to the television signal options are: PAL: Choose this settings if your DVD Normal/PS(4:3 Pan Scan), Nomal/PS player is connected to a PAL TV. -
Page 17: Troubleshooting
Troubleshooting Picture defects and the reason Snowy Picture plugged in. MUTE been For Sales Information Please Contact RoadTrucker Inc (www.RoadTrucker.com) 8312 Sidbury Rd. Wilmington, NC 28411 (800) 507-0482 / (910) 686-4281 For Sales Information Please Contact RoadTrucker Inc (www.RoadTrucker.com) 8312 Sidbury Rd.; Wilmington, NC 28411 - (800) 507-0482 / (910) 686-4281...


Need help?
Do you have a question about the DECK22DR and is the answer not in the manual?
Questions and answers