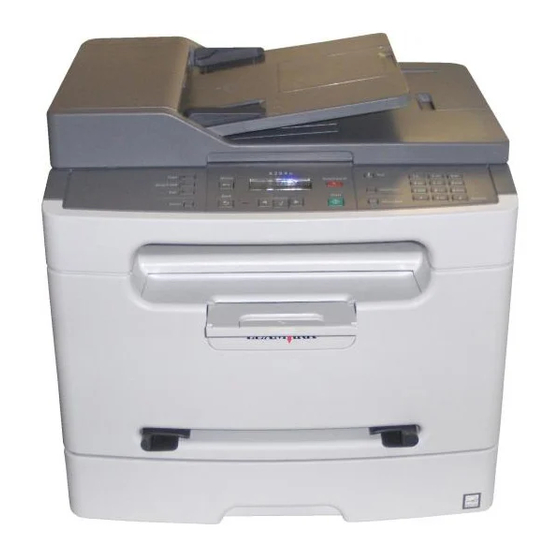
Lexmark X203N series Maintenance Manual
Hide thumbs
Also See for X203N series:
- Servise manual (194 pages) ,
- User manual (185 pages) ,
- Service manual (176 pages)
Table of Contents
Advertisement
Quick Links
Advertisement
Table of Contents

Summary of Contents for Lexmark X203N series
- Page 1 Lexmark X203n and X204n Series Maintenance Guide February 2011 www.lexmark.com...
-
Page 2: Table Of Contents
Contents Maintaining the printer................3 Cleaning the exterior of the printer......................3 Cleaning the scanner glass........................4 Cleaning the ADF separator rollers......................5 Storing supplies............................7 Checking the status of supplies from a network computer..............7 Ordering supplies............................8 Ordering toner cartridges ........................... 8 Ordering a photoconductor kit ........................... 8 Replacing supplies.............................9 Replacing the toner cartridge .......................... -
Page 3: Maintaining The Printer
Maintaining the printer Periodically, certain tasks are required to maintain optimum print quality. Cleaning the exterior of the printer Make sure that the printer is turned off and unplugged from the wall outlet. CAUTION—SHOCK HAZARD: To avoid the risk of electric shock when cleaning the exterior of the printer, unplug the power cord from the wall outlet and disconnect all cables to the printer before proceeding. -
Page 4: Cleaning The Scanner Glass
Cleaning the scanner glass If you encounter print quality problems, such as streaks on copied or scanned images, clean the areas shown. Slightly dampen a soft, lint-free cloth or paper towel with water. Open the scanner cover. White undersides of the scanner glass cover and the ADF cover Scanner glass and ADF glass ADF tabs Wipe the areas shown and let them dry. -
Page 5: Cleaning The Adf Separator Rollers
Cleaning the ADF separator rollers After you have copied over 5,000 pages using the ADF, or if streaks are appearing, clean the ADF separator rollers. Open the ADF cover. Unlock the separator roll. Remove the separator roll. Maintaining the printer... - Page 6 Use a clean, lint-free cloth dampened with water to wipe the separator roller. Reinstall the separator roll. Lock the separator roll. Maintaining the printer...
-
Page 7: Storing Supplies
Use a second clean, lint-free cloth dampened with water to wipe the other separator roller while gently rotating it. Close the ADF cover. Storing supplies Choose a cool, clean storage area for the printer supplies. Store supplies right side up in their original packing until you are ready to use them. -
Page 8: Ordering Supplies
To order supplies in the U.S., contact Lexmark at 1-800-539-6275 for information about Lexmark authorized supplies dealers in your area. In other countries or regions, visit the Lexmark Web Site at www.lexmark.com or contact the place where you purchased the printer. -
Page 9: Replacing Supplies
Part name Part number Photoconductor kit X203H22G Replacing supplies Replacing the toner cartridge When 88 Cartridge is low appears, or when you experience faded print, remove the toner cartridge. Firmly shake it side‑to‑side and front‑to‑back several times to redistribute the toner, and then reinsert it and continue printing. When shaking the cartridge no longer improves the print quality, replace the toner cartridge. - Page 10 Press the button on the base of the photoconductor kit, and then pull the toner cartridge out using the handle. Unpack the new toner cartridge. Shake the cartridge in all directions to distribute the toner. Maintaining the printer...
-
Page 11: Replacing The Photoconductor Kit
Install the new toner cartridge by aligning the rollers on the toner cartridge with the arrows on the tracks of the photoconductor kit. Push the toner cartridge in as far as it will go. The cartridge clicks into place when correctly installed. - Page 12 Open the front door by pressing the button on the left side of the printer and lowering the front door. Pull the photoconductor kit and toner cartridge out of the printer as a unit by pulling on the toner cartridge handle. Note: The photoconductor kit and toner cartridge form a unit.
- Page 13 Press the button on the base of the photoconductor kit. Pull the toner cartridge up and out using the handle. Unpack the new photoconductor kit. Be careful not to touch the photoconductor drum. Warning—Potential Damage: When replacing the photoconductor kit, do not leave the kit exposed to direct light for an extended period of time.
-
Page 14: Moving The Printer To Another Location
Insert the toner cartridge into the photoconductor kit by aligning the rollers on the toner cartridge with the tracks. Push the toner cartridge until it clicks into place. Install the unit into the printer by aligning the arrows on the guides of the unit with the arrows in the printer. Push the unit in as far as it will go. -
Page 15: Shipping The Printer
• Use the handholds located on both sides of the printer to lift it. • Make sure your fingers are not under the printer when you set it down. • Before setting up the printer, make sure there is adequate clearance around it. The printer and options can be safely moved to another location by following these precautions: •...


Need help?
Do you have a question about the X203N series and is the answer not in the manual?
Questions and answers