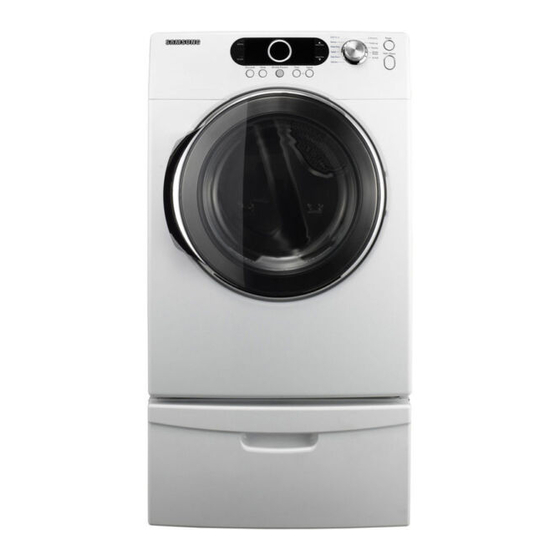
Samsung DV337 User Manual
Gas and electric dryer
Hide thumbs
Also See for DV337:
- User manual (32 pages) ,
- Manual del usuario (32 pages) ,
- Fast track troubleshooting (6 pages)
Summary of Contents for Samsung DV337
- Page 1 DV337 Gas and Electric Dryer user manual imagine the possibilities Thank you for purchasing a Samsung product. To receive a more complete service, please register your product at www.samsung.com/global/register...
-
Page 2: Tools Needed For Installation
installing your dryer TOOLS NEEDED FOR INSTALLATION Hire a professional to install this dryer properly. If there is a service call performed as a result of poor setup, adjustment, and connection, it is considered the responsibility of the installer. If you install the dryer you are responsible. -
Page 3: Ducting Requirements
installing your dryer DUCTING REQUIREMENTS • Use a 4-inch (10.2 cm) diameter rigid aluminum or rigid galvanized steel duct. • Do not use a smaller duct. • Ducts larger than 4 inches (10.2 cm) in diameter can result in increased lint accumulation. Lint accumulation should be cleaned regularly. -
Page 4: Important To Installer
If the new dryer is installed into an existing exhaust system you must make sure: • The exhaust system meets all local, state, and national codes. • That a flexible plastic duct is not used. • To Inspect and clean all lint buildup from inside the existing duct. •... -
Page 5: Mobile Home Installation
A minimum of 72 in² (183 cm²) of unobstructed space is required. Call 1-800-SAMSUNG for information on purchasing the Floor Anchoring Kit as an accessory. All mobile home installations must be exhausted to the outside with the exhaust duct termination securely fastened to the mobile home structure, using materials that will not support combustion. -
Page 6: Gas Requirements
GAS REQUIREMENTS Use only natural or LP (liquid propane) gases. THE INSTALLATION MUST CONFORM WITH LOCAL CODES, OR IN THE ABSENCE OF LOCAL CODES, WITH THE NATIONAL FUEL GAS CODE ANSI/Z223.1, LATEST REVISION (FOR THE UNITED STATES), OR WITH THE CAN/CGA-B149 INSTALLATION CODES (FOR CANADA). Gas dryers are equipped with a burner vent for use with natural gas. -
Page 7: Electrical Requirements
installing your dryer ELECTRICAL REQUIREMENTS Wiring diagram is located on plate below the control panel. • Improper connection of the equipment grounding conductor can result in a risk of electric shock. Check with a qualified electrician or serviceman if you are in doubt as to whether your dryer is WARNING properly grounded. -
Page 8: Electrical Connections
It is not permissible to convert a dryer in Canada to 208 volts. REPLACEMENT PARTS AND ACCESSORIES If your dryer requires replacement parts or accessories, contact the dealer from whom you purchased your dryer or the SAMSUNG customer care center at 1-800-SAMSUNG (726-7864). Installing your dryer _13... -
Page 9: Installation
installing your dryer INSTALLATION For proper installation, it is highly recommended to hire a professional. To install: 1. Move your dryer to an appropriate location for installation. Consider installing the dryer and washer side- by-side, to allow access to gas, electrical, and exhaust connections. Lay two of the carton cushion-tops on the floor. -
Page 10: Final Installation Checklist
3-WIRE system connections 1. Loosen or remove the center terminal block screw. 2. Connect the neutral wire (white or center wire) of the power cord to the center, silver-colored terminal screw of the terminal block. Tighten screw. 3. Connect the other wires to outer terminal block screws. Tighten screws. 4. -
Page 11: Dryer Exhaust Tips
installing your dryer DRYER EXHAUST TIPS Plastic or non-metal flexible duct presents a potential fire hazard. WARNING 1. Let your dryer exhaust the air easily. 2. Use 4” diameter rigid metal duct. Tape all joints, including at the dryer. Never use lint-trapping screws. 3. -
Page 12: Door Reversal
DOOR REVERSAL 1. Unplug the power cord. 7. Reassemble the black screw in the other hole. 2. Remove two door hinge screws. 3. Lift the door and remove from the dryer. 4. Remove two screws on 8. Place the door on the the opposite side of the other side and reattach it door hinge.


Need help?
Do you have a question about the DV337 and is the answer not in the manual?
Questions and answers