Advertisement
Quick Links
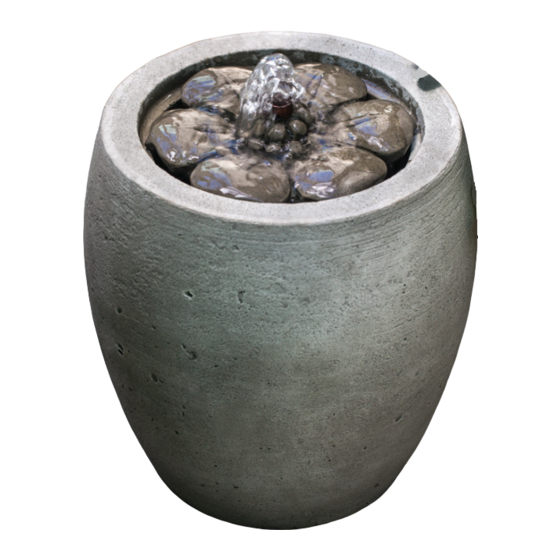
Fountain Components
Image
Item Description
Fountain Disc
Fountain Basin
Assembly & Installation - A fountain can be diffi cult to install without knowing and understanding the steps involved. To ensure your fountain is
installed properly, please read our instructions and tips before you begin.
Step 1 - Seek Professional Help: Check if professional installation is recommended for your fountain.
Step 2 - Check Foundation: Place your fountain on a level surface. It is recommended to place your fountain on concrete or a hard packed
gravel pad. If the base is level but some components seem off, rotate components or use wedges to level them.
Step 3 - Create a Drip Loop: To prevent water from dripping down the cord and damaging the electrical socket, create a drip loop by allowing
the pump power cord to fall below the wall outlet.
Step 4 - Use a GFCI Outlet: Use only a GFCI outlet when running a fountain.
Fountain Information:
• This fountain holds approximately 1 gallon of water.
• A fountain cover is not available for this fountain.
• No refi ll device or submersible lights are suggested for this fountain.
Pump Information:
WP450LV - 120 GPH Low Voltage Pump (16 ft. cord length)
Tools Required:
Bubble Level
Screwdriver
Scissors
Component
Quantity
Item #
M-Series
Camellia
FT-265A
M-Series
Camellia
FT-265B
Fountain Set-Up:
FT-265 M-Series Camellia Fountain
Image
1
1
Assembly Instructions
Pump Kit Parts List
Component
PK120-LV Pump with Transformer
#10 Stopper
2-1/2" length of PermaGum Putty
Approx. 12" length of 1/2" black
non-kink tubing
Approx. 1" length of 5/8" clear tubing
Approx. 1" length of 1/2" CPVC Pipe
Adhesive Dots
Hose Clamp
Proudly
MADE IN USA
Quantity
1
1
1
1
1
1
4
1
rev 3/30/2020
Advertisement

Related Manuals for Campania International FT-265


Summary of Contents for Campania International FT-265
- Page 1 FT-265 M-Series Camellia Fountain Assembly Instructions Fountain Information: • This fountain holds approximately 1 gallon of water. • A fountain cover is not available for this fountain. • No refi ll device or submersible lights are suggested for this fountain.
- Page 2 FT-265 M-Series Camellia Fountain Assembly Instructions Assemble your fountain on a level surface capable of holding a minimum of 23 lbs with an approximate 1/4 sq. ft. footprint (actual dimensions 7.25" Diam.). Step 1 - Place the adhesive dots provided evenly around the bottom of the basin (FT-265B) to prevent scratching anything beneath the fountain.
- Page 3 Maintenance: Pump Care - The fountain relies heavily on the quality of the pump. A well-maintained pump can last several years. Step 1 - Fully submerge: Ensure the pump is fully submerged at all times to avoid damage. Step 2 - E nsure water level is sufficient: Check water levels regularly as water may evaporate over time, and periodically change water to avoid algae buildup.