Advertisement
Introduction
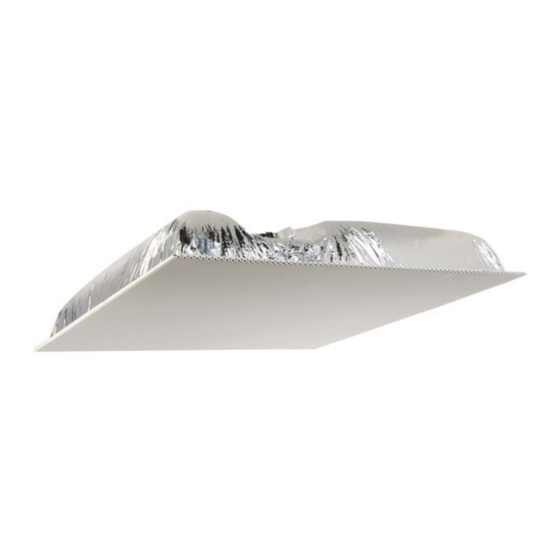
The SPKR-IP-CS is a PoE powered (802.3af) 2'x2' IP Ceiling Speaker and can be
configured as a SIP extension for use with a SIP based phone system. It includes:
•
8" O.D. Speaker
•
8-Watt Amplifier
•
PoE (802.3af)
•
Integrated Microphone
•
Integrated Back Box
•
Optional external connectors available:
o Line Level Microphone
o Call button w/LED
o Auxiliary analog speaker for better coverage in large areas (500 to 1000 square feet)
o External power input. Requires 12VDC @ 1.2Amps
The SPKR-IP-CS is configured using the Digital Acoustics eSIP Configuration utility. This Getting Started Guide
covers basic hardware installation and software configuration of the SPKR-IP-CS.
Installation
The controls, connectors and LEDs for the SPKR-IP-CS are located on the faceplate on top of the speaker. There is
also a green LED in the speaker grill that matches the state of the Ready LED. Please note, the SPKR-IP-CS can be
pre-configured before being installed in the ceiling.
•
Connect a PoE (802.3af) network cable to
the SPKR-IP-CS ceiling speaker's RJ-45
connector. The SPKR-IP-CS will power up
within 5 seconds and request 15.4 watts
from the Power Source Equipment.
Optionally, 12VDC can be supplied to
connectors 12 (positive) and 13 (negative).
•
The red Ready LED (connector 14) will
flash 4x per second
•
The red Link LED (connector 15) will turn
solid
•
Record the ID# from the label on back of the SPKR-IP-CS for use during software configuration.
•
Optionally, label the speaker grill with one of the extra ID# labels included in the box
•
Install the connected Speaker in a 2'x2' ceiling grid and verify that the green Ready LED in the speaker
grill is on solid
•
Please refer to the SPKR-IP-CS_ReferenceManual available at
https://www.digitalacoustics.com/support/ip7-hardware-talkmaster-software-manuals/ for information on
installation and setup of optional accessories
SPKR-IP-CS
SIP Getting Started Guide
Page 1 of 3
SPKR-IP-CS Connector Layout
Advertisement
Table of Contents

Summary of Contents for Digital Acoustics SPKR-IP-CS
- Page 1 The controls, connectors and LEDs for the SPKR-IP-CS are located on the faceplate on top of the speaker. There is also a green LED in the speaker grill that matches the state of the Ready LED. Please note, the SPKR-IP-CS can be pre-configured before being installed in the ceiling.
- Page 2 • After the configuration utility has been installed, open it from the Windows® Start menu by selecting Digital Acoustics IP7 → eSIP Configuration • Click menu option Tools → Setup SIP Defaults to setup the default SIP based Phone system •...
- Page 3 SIP Extension • Check the Full Duplex option to enable full duplex operation using the integrated microphone in the SPKR-IP-CS or leave it blank for of half duplex or speaker only operation In a half-duplex phone call, one party has their microphone active while the other party has their speaker active.


Need help?
Do you have a question about the SPKR-IP-CS and is the answer not in the manual?
Questions and answers