
Related Manuals for Siemens T26DS59N0A


Summary of Contents for Siemens T26DS59N0A
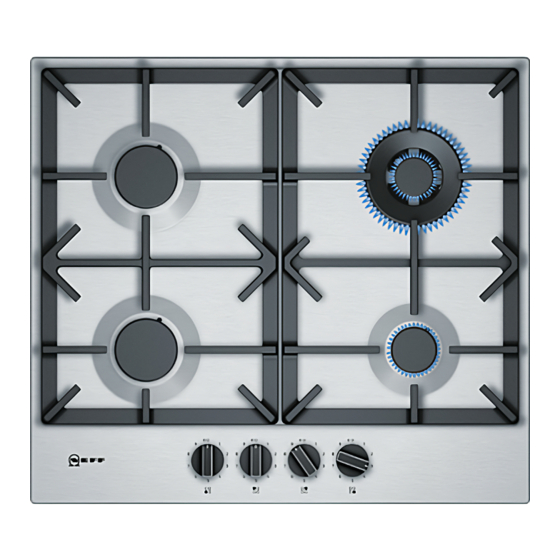
- Page 1 T26DS59N0A Gas hob USER INSTRUCTIONS INSTALLATION INSTRUCTIONS MAINTENANCE INSTRUCTIONS This cooktop is approved for use with Natural Gas and Universal LPG. Leave these instructions with the owner.
-
Page 2: Table Of Contents
Table of contents [ e n ] I N S T R U C T I O N M A N U A L Intended use ......3 Important safety information . -
Page 3: Intended Use
Intended use a person responsible for their safety. Children 8Intended use should be supervised to ensure that they do not play with the appliance. Read these instructions carefully. You will only All operations relating to installation, I n t e n d e d u s e be able to use your appliance safely and connection, regulation and conversion to effectively when you have read them. -
Page 4: Important Safety Information
Important safety information Do not store or use corrosive chemicals, Risk of fire! (Important safety ■ products which produce fumes, information inflammable materials or non-food products below or near this domestic appliance. Fat or oil which is overheated can catch fire DO NOT MODIFY THIS APPLIANCE. -
Page 5: Installation And Connection
Installation and connection 5Installation and connection Statutory requirements c o n n e c t i o n I n s t a l l a t i o n a n d This installation must conform with the following: Manufacturer’s Installation instructions ■... -
Page 6: Clearances
Installation and connection Clearances Installation of cooktop into the kitchen bench A range hood fitted above the top must be installed according to the installation instructions for the range Side clearances: If the distance measured from the hood. A minimum distance of 650 mm is required for a periphery of the nearest burner to any vertical surface is range hood and 750 mm for an exhaust fan. -
Page 7: Gas Connection
Installation and connection When making this connection make sure that the Fit regulator (N.G.) or a test point (Universal LPG) lead cannot come into contact with hot parts of the directly to the R 1/2’’ connection. cooktop. This appliance must be earthed. When connecting ■... -
Page 8: Converting The Cooktop From Nat. Gas To
Installation and connection Fasten the distributors and burner caps to the Before Leaving corresponding burners. In addition to this, put the Check all connections for gas leaks with soap and pan supports in place on the corresponding burners. water. DO NOT use a naked flame for detecting leaks. Ignite all burners both individually and concurrently to ensure correct operation of gas valves, burners and ignition. -
Page 9: Getting To Know Your Appliance
Getting to know your appliance If necessary, use a Torx screwdriver to adjust the *Getting to know your bypass screws: A: For ULPG the bypass screws must be tightened appliance properly. B: For Natural Gas the bypass screws must finish Burner locations flush with the fitting. -
Page 10: Accessories
Gas burners ÄGas burners Switching on manually G a s b u r n e r s Press the control knob for the selected burner and turn it anticlockwise to the highest power setting. Hold an igniter or a naked flame (such as a lighter or a match) against the burner. -
Page 11: Settings Table And Tips
Settings table and tips Pans should be placed on If the burner flames are accidentally blown out, switch the hob carefully. off the burner operating control knob and do not try to Do not strike the hob and relight it for at least 1 minute. do not place excessive weight on it. - Page 12 Settings table and tips burner that was mentioned. The model overview Food Total Step 1 Step 2 describes all of the burners on the hob. time in Burner ˜ § v ˜ § v min. Example: Mini wok 15-20 11-14 ›...
- Page 13 Settings table and tips Food Total Step 1 Step 2 Food Total Step 1 Step 2 time in time in Burner Burner ˜ § v ˜ § v ˜ § v ˜ § v min. min. Spanish tortilla Standard-out- 12-17 12-17 š...
-
Page 14: Cleaning And Maintenance
Cleaning and maintenance 2Cleaning and maintenance Food Total Step 1 Step 2 time in Burner ˜ § v ˜ § v min. Cleaning Milk chocolate t e n a n c e C l e a n i n g a n d m a i n Once the appliance is cool, use a sponge to clean it Economy 10-14... -
Page 15: Trouble Shooting
Trouble shooting 3Trouble shooting DO NOT MODIFY THIS APPLIANCE. Sometimes certain faults detected can be easily T r o u b l e s h o o t i n g Only authorized personnel from the Service Centre are resolved. Before calling the Technical Assistance qualified to work on the appliance. - Page 16 *9001250416* 9001250416 970308(A)
Need help?
Do you have a question about the T26DS59N0A and is the answer not in the manual?
Questions and answers