Table of Contents
Advertisement
Quick Links
INSTRUCTION MANUAL
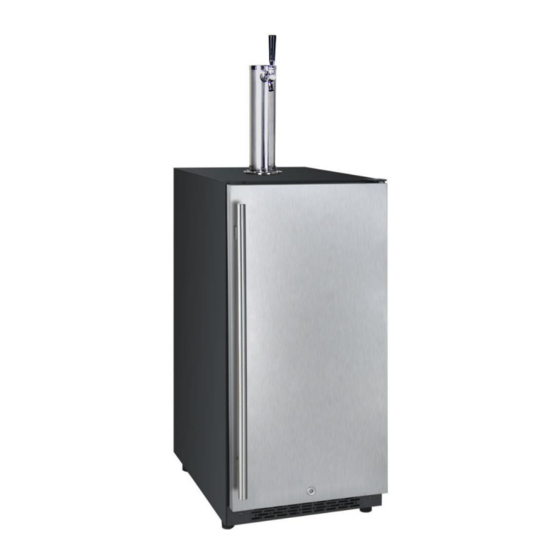
15" BUILT-IN KEGERATOR
MODEL:VSK-15
BEFORE USE, PLEASE READ AND FOLLOW ALL SAFETY RULES AND OPERATING INSTRUCTIONS.
Kegco has a policy of continuous improvement on its products and
reserves the right to change materials and specifications without notice
KEGCO
8520 Miralani Dr., San Diego, CA 92126
www.kegco.com
1
1-888-980-4810
Advertisement
Table of Contents

Summary of Contents for Kegco VSK-15
- Page 1 15” BUILT-IN KEGERATOR MODEL:VSK-15 BEFORE USE, PLEASE READ AND FOLLOW ALL SAFETY RULES AND OPERATING INSTRUCTIONS. Kegco has a policy of continuous improvement on its products and reserves the right to change materials and specifications without notice KEGCO 8520 Miralani Dr., San Diego, CA 92126 www.kegco.com...
-
Page 2: Table Of Contents
Table of Contents Diagram and Description ............................ Safety Tips ............................ Installation Instructions ............................ Handle Installation ............................ Operation Instructions ............................ Setting Temperature ............................ Care and Maintenance ............................ Troubleshooting ............................ Technical Specifications ............................ Warranty Information ............................ www.kegco.com 1-888-980-4810... -
Page 3: Diagram And Description
Diagram and Description 1. Draft Tower 2. Control Panel 3. Temperature Sensor 4. Fan 5. Front Ventilation Base 6. Door Hinge 7. Adjustable Feet 8. Door Handle Door Lock www.kegco.com 1-888-980-4810... -
Page 4: Safety Tips
California Proposition 65 Warning: This product contains a chemical or chemicals known to the State of California to cause cancer and birth defects or other reproductive harm. Failure to heed these safety warnings may result in extensive product damage, serious personal injury, or death. www.kegco.com 1-888-980-4810... -
Page 5: Installation Instructions
Step 1: Remove the box containing the handle and screws from the kegerator. Step 2: Pull out a bit of the rubber gasket from the back side of the holes. Step 3: Insert the screws through the holes and connect with the handle. www.kegco.com 1-888-980-4810... -
Page 6: Operation Instructions
Setting Temperature This Kegco Kegerator has a temperature range of 32 to 75 degrees Fahrenheit. You can set the temperature as you desire by touching the UP or DOWN button. When you touch the buttons for the first time, the LED readout will show the original temperature set at the manufacturing facility. -
Page 7: Care And Maintenance
• Turn the adjustable leg up to the base to avoid damage. • Be sure the appliance stays secure in the upright position during transportation. • Protect the outside of the appliance with a blanket or similar item. www.kegco.com 1-888-980-4810... -
Page 8: Troubleshooting
Contraction and expansion of the inside walls may cause popping and crackling noises. The kegerator is not on a level surface. The door will not close properly The kegerator is not on a level surface. The gasket is dirty. www.kegco.com 1-888-980-4810... -
Page 9: Technical Specifications
One (1) 7.75 Gallon Quarter Slim Keg Dimensions 33-1/2" H x 15" W x 23-1/4" D (25" w/ handle) Weight 92.6 lbs. Voltage / Frequency 115v / 60 Hz Running Amps 2.3 A Operating Temperature 32°F - 75°F Maximum Ambient Temperature 90°F www.kegco.com 1-888-980-4810... -
Page 10: Warranty Information
WHAT IS COVERED LIMITED ONE-YEAR WARRANTY: For one year from the date of purchase by the original owner, Kegco will, at its option, repair or replace any part of the unit, which proves to be defective in material or workmanship under normal use. During this period Kegco will provide all parts and labor necessary to correct such defects free of charge, so long as the unit has been installed and operated in accordance with the written instructions in this manual. - Page 11 V S K - 1 5 - L...
- Page 12 V S K - 1 5 - R...


Need help?
Do you have a question about the VSK-15 and is the answer not in the manual?
Questions and answers