Table of Contents
Advertisement
Quick Links
Advertisement
Table of Contents

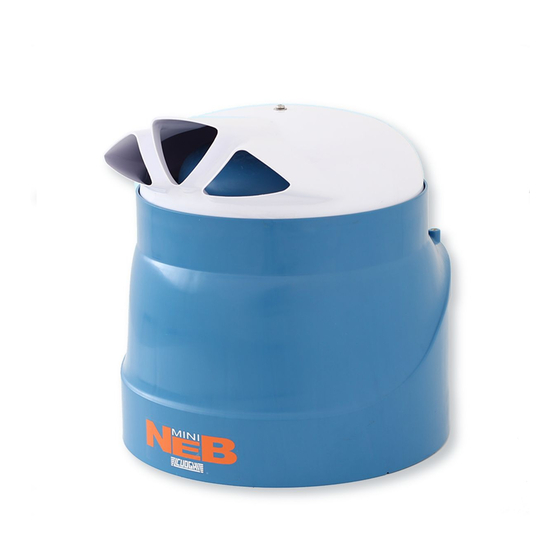
Summary of Contents for CUOGHI mini NEB F3005
- Page 1 Adiabatic humidifi er F3005 - mini NEB READ AND SAVE THESE INSTRUCTIONS...
- Page 3 F3005 - mini NEB Code Description 0010011 Electric motor 0060028 Capacitor 4 µF, 470 V 0060205 Terminal block 0060287 Locknut PG9 0060310 Cable gland PG9 0070086 PCB terminal board 0070103 Level sensor 0080051 Gasket 0080333 Atomizing disk 0080336 Suction cone 0080337 Suction cone o-ring 0080347...
-
Page 4: Table Of Contents
mini NEB Table of Contents 1 Technical features ....................5 Technical data table ............................5 Weight and dimensions ..........................5 2 Introduction ......................5 General safety rules ............................5 Main components ............................5 3 Installation ......................6 Preliminary operations ........................... 6 Positioning ................................. -
Page 5: Technical Features
mini NEB 1 Technical features function properly. » e humidi er must be connected to an electrical supply 1.1 Technical data table that complies with local regulations. It is strongly recom- mended to plug the humidi er into a properly grounded receptacle. -
Page 6: Installation
mini NEB 3 Installation 3.3 Electrical connections 3.3.1 Electrical wiring diagram 3.1 Preliminary operations Installation requirements: » Electrical Power Supply 120 V / 60 Hz grounded and with protection devices. Ground fault receptacles are strongly rec- ommended and may be required by local code. »... -
Page 7: Cabling
mini NEB 3.3.2 Cabling 3.4 Hydraulic connections Pic. 6 - Hydraulic connections e installation of the humidi er requires 2 water connections— one to feed the humidi er (water supply hose) and one for drain- ing (drain hose). Both are included with your humidi er. Pic. 5 - Cabling 3.4.1 Water Supply Hose If installing your own power cord, use only a three prong... -
Page 8: Installation
WARNING! Any failure in the drainage can cause water dripping from the humidi er. 3.5 Installation Th e Cuoghi Mini NEB humidifi er can be installed in one of two Pic. 9 - Hooks ways: Mounting on the side of a wall or Hanging from a ceiling. -
Page 9: Startup, Control, Turn O
mini NEB switch at the H-H terminals. » e humidi er will slow down and the water inside the unit will fall back down to the water basin and trigger the siphon, where it will be discharged through the drain hose. IMPORTANT! After shutting down the humidi er, wait at least 30 seconds to allow the waste water to be completely discharged, otherwise the siphon may not completely close... -
Page 10: Air Lter Cleaning
mini NEB » Disassemble the lter assembly by unscrewing the two screws “V” that keep the plastic screen “R” in place. » Remove plastic assembly and mesh air lter. » Clean the air lter media rst by vacuuming, then by rinsing upside down with water and a household detergent. -
Page 11: Cleaning Of The Cone And The Disk
mini NEB 5.6 Cleaning of the cone and the disk Pic. 16 - Th e cone and the disk » Remove the cone C by releasing the two tabs t: remove the Pic. 14 - Advanced cleaning of the basin cone C from the top and gently pulling it up and down until Remove any dirt that can reduce or stop the ow of water. -
Page 12: Storage
mini NEB 6 Storage 7 Problems and solutions 6.1 General notes 7.1 Th e humidifi er doesn’t start » Store the machine in a room with a temperature between POSSIBLE CAUSES SOLUTIONS » 14 °F and 140 °F. Th e power supply is interrupted Check the electrical connections, start- »... - Page 14 Notes...
- Page 15 Notes...
- Page 16 CUOGHI LLC 135 Brandywine blvd, suite A Fayetteville, GA, 30214 info@cuoghillc.com www.cuoghillc.com...


Need help?
Do you have a question about the mini NEB F3005 and is the answer not in the manual?
Questions and answers